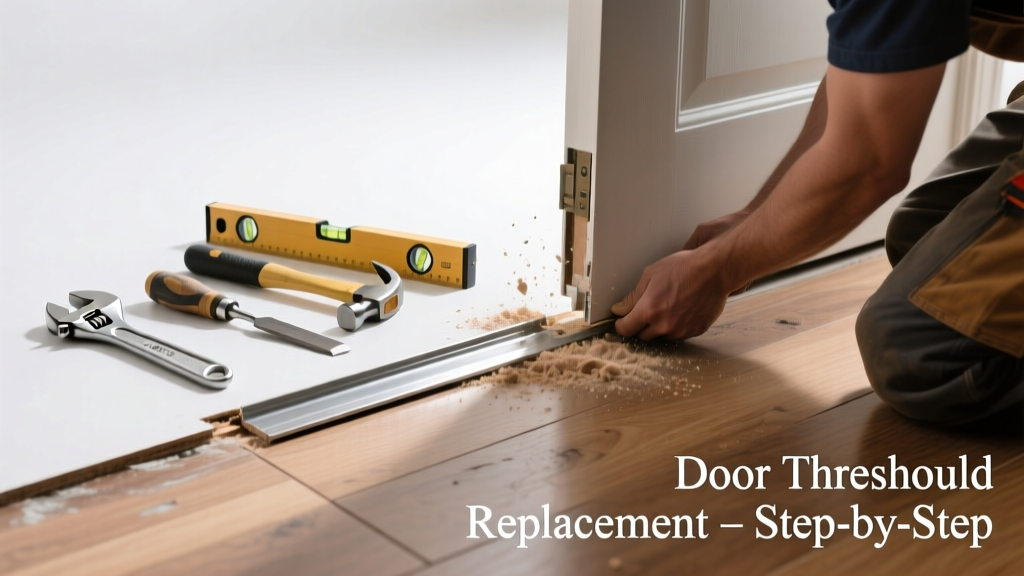
If your door drags, scrapes, or sticks when opening—especially near the bottom—it’s likely not the hinge or frame at fault. More often, it’s a worn-out threshold, bent door sweep, or warped sill letting the door sag into contact with the floor. This isn’t just annoying; it wears down finishes, traps dirt, and compromises weather sealing.
Quick Diagnosis
Before grabbing tools, confirm which part is failing. Door rubbing usually stems from one of these:
- A bent, cracked, or corroded aluminum or vinyl door sweep mounted to the bottom of the door
- A warped, rotted, or sunken threshold (the metal or wood strip embedded in the floor at the doorway)
- Loose or stripped screws holding the sweep or threshold in place
- Swelling of hardwood or laminate flooring beneath the door due to humidity or water exposure
- Settling foundation or shifting subfloor lifting the threshold unevenly
Tools & Materials Needed
| Item | Purpose | Estimated Cost |
|---|---|---|
| Phillips and flathead screwdrivers | Remove old sweep/threshold screws and adjust mounting hardware | $8–$15 |
| Utility knife with fresh blades | Cut away old adhesive, caulk, or foam sealant without gouging wood or tile | $5–$12 |
| Measuring tape (metal, 25 ft) | Verify exact door width and threshold length before ordering replacement parts | $10–$20 |
| Replacement door sweep (brush or vinyl) | Seals gap and lifts door clearance; choose adjustable-height models for fine-tuning | $12–$35 |
| Replacement aluminum threshold (48" or custom-cut) | Provides stable, level base; select height-matched to existing floor transition | $22–$65 |
| Weather-resistant silicone caulk (e.g., GE Silicone II) | Seals threshold edges against moisture infiltration and air leaks | $5–$9 |
Step-by-Step Fix
Most cases fall into two repair paths—start with the simpler option first:
- Replace the door sweep: Unscrew the old sweep (usually 3–5 screws along the door’s underside). Measure door width, then install an adjustable aluminum-brush sweep like Frost King DSW-12. Tighten screws gradually while checking clearance with a business card slid under the door.
- Re-seat or replace the threshold: Pry up the old threshold using a stiff putty knife and hammer. Clean debris and old caulk from the sill channel. Dry-fit the new threshold, ensuring it sits flush with interior and exterior flooring. Secure with stainless steel screws every 6 inches, then seal side and end joints with silicone.
- Shim and re-level (if threshold is intact but sagging): Lift the low end of the threshold slightly, insert 1/16" aluminum shims beneath it, then re-screw. Test door swing and recheck clearance with a credit card—ideal gap is 1/8" over carpet, 1/16" over hardwood.
When to Call a Pro
Don’t risk structural compromise or safety if you encounter any of these:
- The door jamb itself is warped or pulling away from framing—this indicates settling or water damage behind drywall
- You discover rot or mold in the subfloor beneath the threshold during removal
- The door is part of a fire-rated assembly (common in condos or multi-family units), requiring certified replacement parts and inspection
- Your home has a concrete slab with no access underneath and the threshold is mortared in—not screwed
According to the Insurance Institute for Business & Home Safety's 2023 report, improperly sealed thresholds contribute to nearly 27% of water intrusion claims in entryway repairs.
Prevention Tips
Maintaining proper clearance prevents premature wear and costly callbacks. Here’s what works:
- Check door sweep condition every 6 months—replace if bristles are flattened or vinyl is cracked
- Keep interior humidity between 30–50% year-round to minimize wood swelling (U.S. EPA Indoor Air Quality Guidelines, 2022)
- Vacuum under doors monthly to remove grit that accelerates sweep abrasion
- Install a removable threshold ramp on exterior doors in snowy climates to reduce ice buildup and mechanical stress
Can I reuse the old screws when replacing the threshold?
No—old screws often strip the pilot holes or corrode in place. Always use new stainless steel or coated deck screws sized for your threshold material and subfloor type (e.g., 1-1/4" for plywood, 2" for concrete with anchors).
How do I know if my door sweep is adjustable?
Look for vertical slots in the mounting bracket or a knurled adjustment wheel on the side. Adjustable sweeps let you raise/lower the brush or vinyl fin by turning a screw—no need to remount. Brands like Dorma and Pemko label this clearly on packaging.
Will replacing the sweep fix dragging on carpet?
Sometimes—but only if the carpet pile isn’t compressed or bunched. If the door still catches after sweep replacement, lift the door slightly using hinge shims or consider trimming the bottom edge (max 1/4") with a hand plane—see our door trimming guide.
Do I need to remove the door to replace the threshold?
Rarely. Most residential thresholds install from the top and secure directly to the sill. Only remove the door if the threshold is mortised deep into masonry or if hinge clearance prevents full access—this happens in historic homes or commercial steel doors.
What’s the difference between a saddle threshold and a beveled one?
A saddle threshold rises above both floor surfaces like a small bridge—ideal for high-traffic entries. A beveled threshold slopes gently from interior to exterior, minimizing trip hazard. Choose based on ADA compliance needs and floor height differences: per ANSI A117.1-2017, bevels over 1/4" require a ramp.
Can I install a rubber threshold over tile without adhesive?
No—rubber thresholds rely on pressure-sensitive adhesive or construction adhesive for stability. Without bonding, they’ll shift, curl, or trap moisture underneath. Use a tile-safe urethane-based adhesive like PL Premium, and allow 24 hours cure before door use.
A well-replaced threshold or sweep restores smooth operation, improves energy efficiency, and protects your floors from scuffing and moisture. Don’t wait until the scraping turns into squeaking or the gap lets in drafts—you’ve got the tools and steps to fix it right now. Just remember: measure twice, cut once, and seal thoroughly.