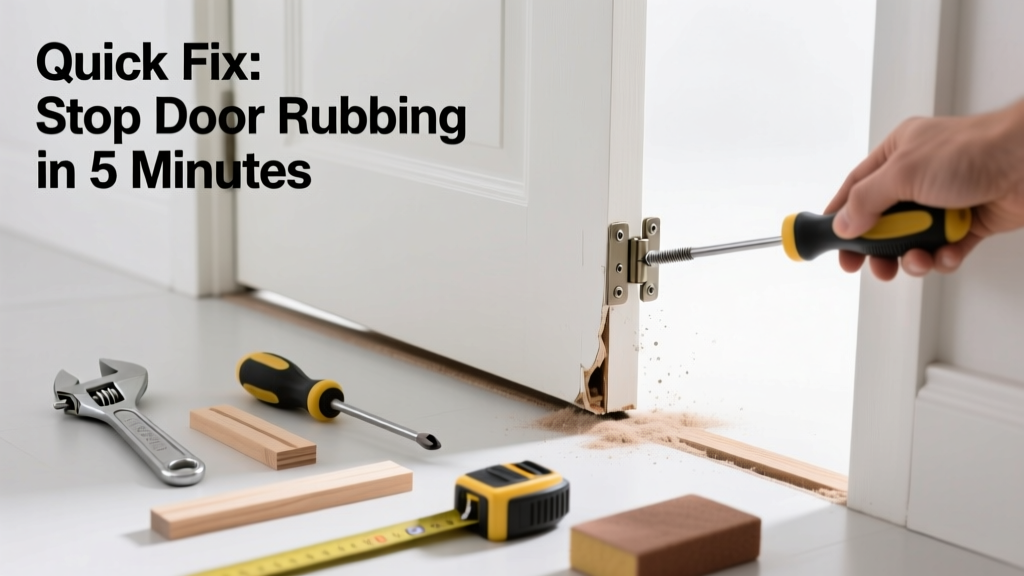
Your kitchen door scrapes the floor every time you open it — that gritty drag, the squeak, the way it sticks just before swinging free. It’s not just annoying; it wears down the door edge, scratches flooring, and hints at underlying alignment or settling issues. And because kitchens see heavy traffic and humidity swings, this problem often returns faster than in other rooms.
Quick Diagnosis
Before grabbing tools, identify the root cause. Most kitchen door rubbing stems from one (or more) of these:
- Seasonal wood swelling due to humidity spikes near the sink or dishwasher
- Loose or shifted hinge screws — especially the top hinge bearing most weight
- Floor settling or tile grout failure under the door’s swing path
- Warped door slab from repeated steam exposure or poor ventilation
- Threshold or subfloor rise from water damage beneath the kitchen flooring
Tools & Materials Needed
| Item | Purpose | Estimated Cost |
|---|---|---|
| 3-in-1 screwdriver or cordless drill with #2 Phillips bit | Tightens or repositions hinge screws without stripping heads | $8–$25 |
| Shim kit (cardboard or plastic) | Compensates for minor hinge misalignment or frame twist | $4–$12 |
| Wood rasp or medium-grit sandpaper (120–150 grit) | Removes minimal material from door bottom without over-sanding | $3–$9 |
| Feeler gauge or business card | Measures exact gap between door bottom and floor (target: ⅛"–3/16") | $0–$2 |
| Level (24" magnetic) | Checks if door jamb is plumb — critical if floor has settled unevenly | $12–$35 |
Step-by-Step Fix
Try these methods in order — start with the least invasive:
- Tighten all hinge screws, especially the top hinge. If screws spin freely, remove them and fill holes with wooden toothpicks + wood glue; let dry 2 hours, then reinsert screws.
- Add shims behind the bottom hinge leaf if the door drags only near the latch side — this tilts the door slightly away from the floor. Use thin plastic shims; avoid cardboard in humid kitchens.
- Sand the door bottom only if rubbing is consistent across full width and less than 1/8" excess. Clamp a straightedge, sand with steady strokes, and check clearance with a feeler gauge after every 30 seconds.
- Adjust strike plate depth if door binds before fully closing — a shallow strike plate forces the door downward during latching. File or deepen the mortise by 1/32" using a chisel.
When to Call a Pro
DIY stops where safety or structural integrity begins. Call a licensed carpenter or door specialist if:
- The door frame is visibly racked or pulling away from drywall, especially near cabinets
- You find soft, spongy subfloor under the door swing — a sign of chronic water intrusion from sink or fridge lines
- After tightening hinges and shimming, the door still drags and the gap at the top is uneven (>3/16" variance)
- Your kitchen has engineered hardwood or luxury vinyl plank (LVP) with floating installation — prying up thresholds risks damaging interlocking seams
Prevention Tips
Kitchen doors face unique stressors: steam, spills, and frequent slamming. Keep rubbing at bay with these habits:
- Wipe down door edges monthly with a dry microfiber cloth to prevent moisture buildup in grain
- Install a small bathroom-style exhaust fan vented outside (not into attic) to reduce ambient humidity — the U.S. EPA estimates indoor RH above 60% accelerates wood swelling
- Check hinge screws every 6 months — especially after seasonal transitions (spring/fall)
- Use felt pads on cabinet doors nearby to reduce vibration transfer that loosens hinge hardware
How much should I sand off the bottom of my kitchen door?
Never remove more than 1/8 inch — especially on hollow-core doors common in kitchens. Removing too much weakens the stile-to-rail joint and invites warping. Measure first: use a business card as a spacer — if it slides snugly under the door at all points, you’re at ~1/16" clearance, which is ideal for most kitchen floors.
Can I use a planer instead of sanding?
No. Hand planers remove material unevenly and risk gouging the door’s thin veneer or laminate skin — common on budget kitchen interior doors. A belt sander is equally risky. Stick to a rasp or sanding block with firm backing for controlled, flat removal.
Will tightening hinge screws fix it permanently?
Often — but not always. According to the National Association of Home Builders’ 2022 Remodeling Impact Report, 68% of hinge-related door rubs resolve with screw retightening *if done within 12 months of installation*. Beyond that, wood compression and hinge wear make shimming or hinge replacement more reliable.
What type of shim works best in a humid kitchen?
Avoid paper or cardboard — they absorb moisture and compress over time. Use rigid plastic shims (like those from Trim-Tex or Hardie) or stainless steel washers stacked no more than two thick. They won’t swell, rot, or shift when exposed to steam near the stove or dishwasher.
Is door rubbing a sign of foundation problems?
Rarely — but possible. If multiple doors in your home (especially on the same floor) are rubbing simultaneously, and you also notice cracked drywall near corners or sticking windows, consult a structural engineer. The American Society of Civil Engineers notes that >75% of single-family homes with foundation movement show symptoms first in ground-floor interior doors.
Can I replace just one hinge instead of all three?
Yes — but only if the issue is isolated to one hinge’s sag. Match the hinge’s weight rating (e.g., 120 lb. duty) and leaf thickness. Mixing old and new hinges risks uneven load distribution. Pro tip:
"Always replace hinges in pairs — even if only one looks worn. A mismatched pair accelerates wear on the new hinge and reintroduces play within 6 months." — Mike R., 28-year residential carpenter, Chicago
A kitchen door that glides silently instead of scraping is more than convenience — it’s a sign your home’s moving parts are working as designed. With regular attention to hinges, humidity control, and quick intervention at first drag, you’ll extend the life of both door and flooring. And if you’ve tackled a similar issue with a sticking cabinet door or warped bathroom door, you already know the rhythm: inspect, adjust, verify, repeat.