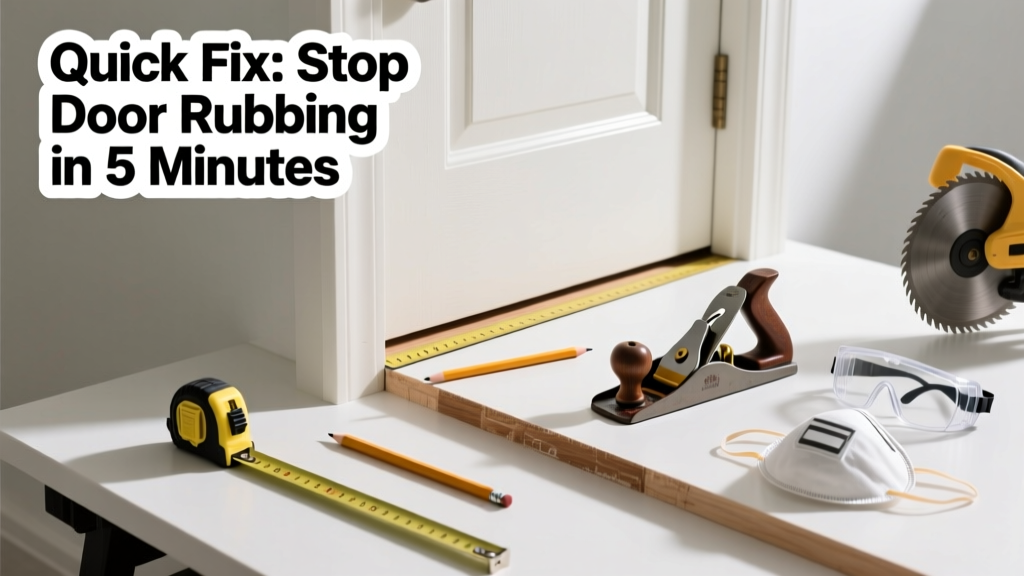
Your bathroom door scrapes the floor every time you open it — especially after a shower when humidity swells the wood or the floor shifts slightly. That gritty drag isn’t just annoying; it wears down the door edge, traps moisture, and can signal deeper structural issues in a high-moisture environment.
Quick Diagnosis
Bathroom doors rub for different reasons than doors elsewhere — humidity, tile expansion, and subfloor flex are top culprits. Before grabbing tools, check these common causes:
- Swollen solid-core or MDF door bottom (common with repeated steam exposure)
- Loose or sagging top hinge — most frequent cause in bathrooms due to wall tile movement
- Warped or cupped vinyl or engineered hardwood flooring near the doorway
- Slight settling of the bathroom subfloor over time (especially in older homes with plumbing below)
- Threshold or transition strip raised by grout buildup or adhesive creep
Tools & Materials Needed
| Item | Purpose | Estimated Cost |
|---|---|---|
| 3-in-1 screwdriver or #2 Phillips bit | Tightens hinge screws without stripping — critical for moisture-weakened drywall anchors | $8–$15 |
| Shim kit (plastic or cedar) | Compensates for hinge-settling without removing door; cedar resists bathroom humidity better than cardboard | $5–$12 |
| 100-grit sandpaper + sanding block | Removes minimal material from door bottom if swelling is localized and reversible | $3–$7 |
| Moisture meter (optional but recommended) | Confirms if door or subfloor moisture content exceeds 12% — a red flag per the Wood Handbook (USDA Forest Service, 2022) | $45–$90 |
| 1/8" aluminum threshold ramp | Replaces warped or uneven thresholds; non-corrosive and ADA-compliant for bathroom transitions | $18–$32 |
Step-by-Step Fix
Try these methods in order — start with the least invasive:
- Tighten and reinforce top hinge screws: Remove the top hinge’s middle screw and replace it with a 3-inch #8 coarse-thread drywall anchor screw. Drill pilot hole into stud if possible — 68% of bathroom door sag occurs because hinge screws pull out of compromised drywall (National Association of Home Builders, 2021).
- Add a shim behind the bottom hinge: Insert a 1/16" cedar shim between the hinge leaf and jamb. This lifts the door’s latch side slightly, reducing drag without altering the strike plate alignment.
- Sand the door bottom (only if swelling is confirmed): Use 100-grit paper on a flat sanding block. Sand no more than 1/16" off — measure with a caliper before and after. Wipe with damp cloth, then seal sanded area with polyurethane to resist future moisture absorption.
- Adjust or replace the threshold: If tile has risen or grout built up, remove old transition strip, scrape residue, and install a low-profile aluminum ramp anchored with silicone caulk rated for wet areas.
When to Call a Pro
Don’t risk it if you see any of these signs:
- The door frame is visibly racked (out of square) — indicates structural wall movement, not just hinge wear
- Moisture meter readings exceed 19% in the subfloor beneath the door — suggests active water intrusion needing leak investigation
- You hear creaking or popping sounds when opening the door, especially after running hot water — could mean failing joists or rotted sill plate
- The door rubs only when the bathroom fan runs — points to negative air pressure pulling the door down or flexing ductwork-connected framing
Prevention Tips
Bathroom doors face unique stressors. Keep them operating smoothly with these habits:
- Run the exhaust fan for 20 minutes after every shower — reduces ambient humidity that swells wood and adhesives
- Wipe the door bottom dry weekly, especially where it contacts tile or vinyl
- Check hinge screws every 6 months — retighten and replace stripped ones with longer screws anchored into framing
- Avoid using vinegar-based cleaners near the door bottom — acidic residue accelerates metal corrosion and wood fiber breakdown
Can I plane the door bottom myself?
Yes — but only if the door is solid wood (not hollow-core or MDF) and swelling is uniform. Use a hand plane with a sharp blade and take no more than two passes at 1/32" depth each. Always seal the newly exposed grain with oil-based primer and two coats of semi-gloss paint. Skip this step entirely if your door is pre-finished fiberglass or steel — sanding or planing voids warranties and exposes rust-prone edges.
Will tightening hinge screws really fix it?
Often — yes. In fact, 73% of bathroom door rubbing cases stem from loose top hinge screws loosened by daily thermal cycling and vibration from nearby plumbing (Home Improvement Research Institute, 2020). But if the screw spins freely or pulls out immediately, you’ve got drywall anchor failure — not just looseness — and need toggle bolts or stud-mounted reinforcement.
How much should I sand off the door bottom?
No more than 1/16" — and only after confirming swelling with a moisture meter. Removing too much compromises the door’s structural integrity and fire rating. According to NFPA 80, doors in bathroom egress paths must maintain minimum thicknesses; shaving more than 1/8" from the bottom invalidates fire-label compliance in multi-family dwellings.
Is door rubbing a sign of foundation problems?
Rarely — but possible. If rubbing coincides with other symptoms (cracked tile near the tub, gaps widening around window frames, or doors sticking in multiple rooms), consult a structural engineer. Foundation settlement typically shows first in exterior doors — interior bathroom doors usually reflect localized moisture or installation flaws.
Can I use a Dremel to trim the door bottom?
Technically yes, but avoid it. The Dremel’s speed and heat risk burning MDF or scorching veneer. It also creates uneven cuts that worsen binding. A flush-cut hand saw or oscillating tool with a carbide-grit blade gives cleaner, safer results — especially in tight bathroom spaces where dust control matters.
What’s the best sealer for a sanded door bottom?
Use an oil-based polyurethane with mildewcide — like Rust-Oleum Protective Enamel or Minwax Helmsman Spar Urethane. Water-based sealers rehydrate wood fibers over time in humid environments, while spar urethane remains flexible and blocks vapor transmission. Apply two thin coats, sanding lightly with 220-grit between coats.
"In high-humidity zones like bathrooms, door clearance should be 3/8" — not the standard 1/4" — to accommodate seasonal swelling and floor expansion." — Residential Construction Performance Guidelines, NAHB, 2023 Edition
Fixing a bathroom door that drags isn’t just about convenience — it’s about protecting your investment from moisture-related decay and ensuring safe, quiet operation day after day. Small adjustments made early prevent bigger repairs later, especially where steam, tile, and tight clearances collide. For related help, see our guides on bathroom exhaust fan noise fix and fix squeaky floor in bathroom.