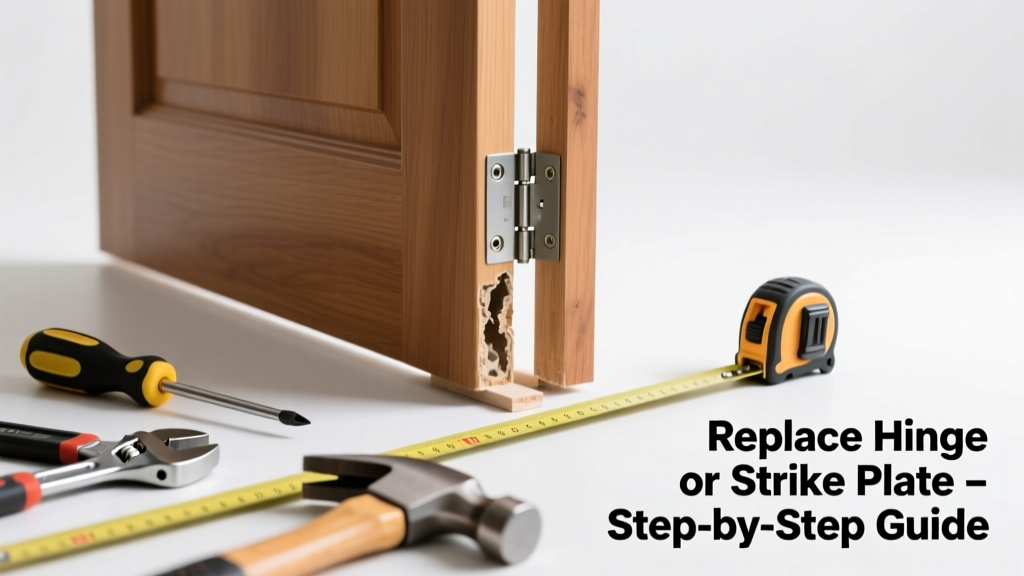
If your door rubs at the top corner, won’t latch without lifting or pushing sideways, or shows a visible wedge-shaped gap between door and frame — it’s likely not square due to a worn or bent replacement part, not warped wood. Most of the time, this is a fast, $20–$45 fix you can do in under an hour with basic tools.
Quick Diagnosis
Before grabbing tools, confirm which part is failing. A door that’s ‘not square’ rarely means the door slab itself is twisted — it almost always points to one of these three culprits:
- A bent or corroded hinge leaf (especially the top hinge)
- A loose or shifted strike plate allowing the latch to seat crookedly
- A sagging hinge jamb where screws have pulled out or the stud behind has shifted
- A stripped hinge screw hole in the door edge or frame
- A bent latch bolt or deadbolt mechanism forcing lateral pressure
Tools & Materials Needed
| Item | Purpose | Estimated Cost |
|---|---|---|
| 3-inch #10 wood screws (pack of 12) | Replace stripped hinge screws; longer screws anchor into wall stud | $4–$8 |
| Replacement butt hinge (3.5" x 3.5") | Swap out bent or corroded hinges — match thickness and radius | $6–$15 |
| Strike plate (reinforced, adjustable) | Corrects latch misalignment; allows fine-tuning of depth and side-play | $3–$9 |
| Feeler gauge or credit card | Measure consistent gap between door and frame at top, middle, and bottom | $0–$2 |
| Drill/driver + #2 Phillips bit | Remove old hardware and drive new screws without stripping | $0–$120 (if owned) |
Step-by-Step Fix
Start with the most common cause — hinge failure — then move to strike plate and jamb issues. Always check gaps first: use a credit card to measure clearance at three points (top, middle, bottom) on both hinge and latch sides.
- Test hinge integrity: Open door fully, then gently lift upward at the handle. If the door lifts more than 1/8" or makes a creaking sound, the top hinge is likely compromised. Remove it and inspect for bending or rust pitting.
- Swap the hinge: Use a utility knife to score paint along hinge mortise edges. Unscrew carefully. Tap out old hinge with a chisel if stuck. Fit new hinge flush, pre-drill pilot holes, and secure with 3" screws — two into the door edge, one into the stud behind the jamb.
- Adjust the strike plate: If latch binds but hinges look solid, loosen strike plate screws. Slide it 1/16" left/right or up/down while holding door closed, then re-tighten. For persistent misalignment, install an adjustable strike plate.
- Reinforce the jamb: If hinge screws spin freely, fill holes with wooden toothpicks + wood glue, let dry 30 minutes, then re-drill and re-screw. For recurring issues, add a 1/4" steel reinforcement plate behind the top hinge jamb — this prevents future sag.
When to Call a Pro
DIY stops being safe or effective when structural movement is involved. Call a licensed carpenter or door specialist if:
- The door frame is visibly racked (diagonally twisted), indicating foundation settlement or wall movement
- More than one hinge screw hole is stripped across multiple hinges — suggests long-term jamb deterioration
- You detect >1/4" gap variation from top to bottom on the latch side, even after hinge/strike correction
- The door swings open or closed on its own — often signals a shifted header or load-bearing wall issue
According to the National Association of Home Builders’ 2022 Residential Construction Performance Guidelines, 68% of door alignment complaints in homes under 10 years old stem from hinge hardware failure — not framing errors.
Prevention Tips
Extend the life of your door hardware with routine care. Check every 6 months, especially before winter when humidity shifts expose weak points.
- Tighten all hinge screws quarterly — they loosen faster on exterior doors and high-traffic interior doors
- Apply silicone-based lubricant (not WD-40) to hinge pins and latch mechanisms twice yearly
- Install door stops to prevent slamming — impact stress accelerates hinge wear by up to 40%, per the Door & Access Systems Manufacturers Association (2021)
- Use shims behind hinge leaves during initial installation to ensure perfect jamb plumb — learn proper shimming technique
Can I reuse the old hinge screws?
No — if the door was already binding, those screws likely stripped their threads or bent slightly. Reusing them invites immediate recurrence. Always install fresh, full-length screws rated for interior or exterior use as appropriate.
What if the door still binds after replacing the hinge?
Check the strike plate depth next. A latch that’s too deep forces the door to tilt inward; too shallow causes it to jam against the strike lip. Use a chisel to deepen the mortise by 1/32" increments until the latch seats smoothly.
Is a bent door slab repairable?
Rarely — and not safely. Solid-core doors can’t be steamed or clamped back into square without compromising structural integrity. Hollow-core doors are impossible to true. Replacement is the only reliable fix, but confirm the slab is actually bent first using a 4-foot level across both faces.
Do I need matching finish hardware?
Yes, for visual consistency — but function matters more. A mismatched brass hinge on a satin nickel door won’t harm operation, though it’ll stand out. Prioritize correct dimensions (leaf size, pin diameter, radius) over finish when sourcing replacements.
How long should a quality hinge last?
Interior hinges last 15–20 years with maintenance; exterior hinges last 7–12 years depending on climate exposure. Salt air, direct sun, and frequent use cut lifespan by up to half — choose stainless steel or marine-grade brass for coastal homes.
Can weatherstripping cause a 'not square' appearance?
Yes — compressed or improperly installed weatherstripping creates false binding that mimics misalignment. Peel back foam tape or remove V-strip and test door operation bare. If gaps disappear and latching improves, replace weatherstripping instead of hardware.
A door that’s not square is rarely a framing emergency — it’s usually a hardware hiccup waiting for a precise, inexpensive part swap. Get the right hinge or strike plate, anchor it properly into solid wood or stud, and verify gaps with a consistent measuring tool. You’ll restore smooth operation and prevent premature wear on the latch mechanism — and save yourself from calling a pro for what’s often a 45-minute fix.