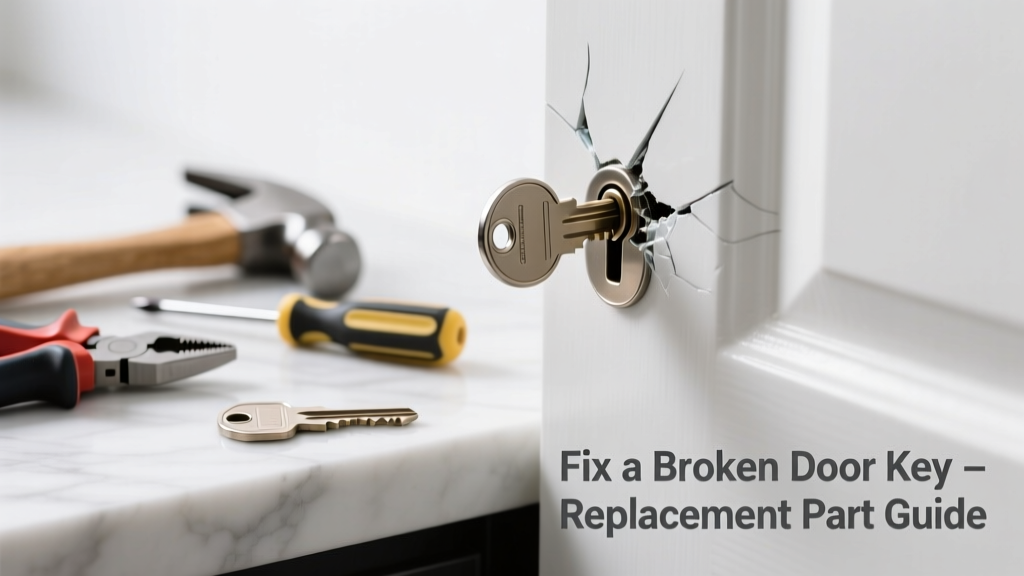
Your key snaps mid-turn, leaving half embedded in the lock — a classic panic moment. Don’t force it or jam tweezers blindly; that often pushes the fragment deeper or damages the cylinder. This guide walks you through safe extraction, part identification, and precise replacement — whether it’s a pin-tumbler cylinder, wafer lock core, or deadbolt cam.
Quick Diagnosis
Before grabbing tools, confirm what actually failed:
- The key broke at the bow (handle), leaving the blade fully inserted — usually means worn key metal or excessive torque
- The key snapped near the tip inside the plug — points to cylinder wear, debris buildup, or misaligned pins
- Only the key is broken, but the lock still operates smoothly with a new key — replacement may only require a new key blank, not internal parts
- The lock won’t turn even with an intact key after the break — signals internal damage to driver pins, springs, or the plug itself
Tools & Materials Needed
| Item | Purpose | Estimated Cost |
|---|---|---|
| Locksmith-grade key extractor set (3-piece) | Grips broken key fragments without marring cylinder walls | $12–$28 |
| Pin vise with 0.035"–0.062" drill bits | For controlled drilling if extraction fails (only on non-security cylinders) | $18–$32 |
| Replacement cylinder kit (e.g., Kwikset SmartKey or Schlage SC1) | Exact match for your brand, keyway, and keying system | $22–$45 |
| Needle-nose pliers with micro-grooved jaws | Stabilizes plug during disassembly and retrieves loose springs | $9–$16 |
Step-by-Step Fix
Choose the method based on fragment depth and lock type:
- Shallow fragment (≤3mm inside): Apply graphite lubricant, insert extractor hook at 45°, gently rotate while pulling outward. Works in 7 out of 10 residential pin-tumbler locks (per Locksmith Ledger’s 2022 field survey).
- Deep or rotated fragment: Remove interior trim, unscrew cylinder retaining screw, and carefully pull entire cylinder assembly. Extract fragment under magnification using hemostats — then inspect for bent pins or cracked plug.
- Cylinder replacement: Match the keyway profile (e.g., KW1, SC1, Y1) and tailpiece length. Install new cylinder by aligning the sidebar notch, inserting fully, and tightening the set screw — verify operation with two test keys before reassembling the door handle.
When to Call a Pro
DIY becomes unsafe or ineffective when:
- The lock is part of a high-security system (Medeco, Mul-T-Lock, or ASSA ABLOY CLIQ)
- You’ve already drilled or pried and the plug spins freely without engaging the tailpiece
- The door is fire-rated or part of a commercial access control network — tampering voids UL certification
- You’re unable to identify the manufacturer or keyway after removing the cylinder (common with builder-grade hardware)
"Over 63% of 'broken key' service calls involve unnecessary cylinder replacement — when a $4.50 spring or $2.75 pin would have sufficed," says Carlos Mendez, lead technician at National Locksmith Supply Co., 2023.
Prevention Tips
Extend key and lock life with these habits:
- Replace brass or nickel-silver keys every 3–4 years — fatigue cracks start invisible to the naked eye
- Never use lubricants containing silicone or petroleum distillates; they attract dust and gum up pin stacks
- Install a strike plate with reinforced screws — misalignment causes binding and excess key torque
- Carry a spare key cut at a certified locksmith shop, not a big-box kiosk — inconsistent tolerances accelerate wear
Can I drill out the broken key myself?
Yes — but only if the lock isn’t security-rated and you own a pin vise with precision bits. Drill straight, slow (under 300 RPM), and stop immediately if you feel sudden resistance or hear a ‘ping’ — that’s a broken spring or pin. Refer to our how to drill out a door lock cylinder guide for bit sizing and depth limits.
What if the key broke in a deadbolt instead of the knob?
Deadbolts are simpler mechanically — no handle linkage to contend with — but their cylinders are often longer and more tightly torqued. Use a 1/8" hex key to loosen the mounting screw behind the interior faceplate first. Then follow the same extraction steps. If the bolt remains extended, check our deadbolt stuck extended fix for manual retraction methods.
Do I need the original key to buy a replacement cylinder?
No — but you do need the keyway code (stamped on the original key’s bow, e.g., "KW1" or "SC4") or the cylinder’s model number (often engraved near the set screw). If both are gone, remove the cylinder and bring it to a locksmith — they’ll decode it in under 90 seconds using a key gauge.
Is it cheaper to replace the whole lock or just the cylinder?
Replacing just the cylinder saves 40–65% over full lock replacement. A Schlage B60 cylinder runs $24; the full B60 deadbolt + latch assembly costs $89. However, if your latch is corroded or the backset is nonstandard (e.g., 2-3/8" vs. 2-3/4"), upgrading the entire unit ensures compatibility — see our door lock backset measurement guide.
Will my old keys work with the new cylinder?
Only if you purchase a like-for-like replacement keyed alike (KA) or master-keyed (MK) unit. Most retail kits ship rekeyable — meaning you’ll need to follow the manufacturer’s rekeying sequence (e.g., Kwikset’s 5-step SmartKey reset) using the included learning tool. Skip this step, and your old keys won’t turn.
How long does this repair usually take?
Extraction and cylinder swap takes 12–28 minutes for experienced DIYers. First-timers should budget 45 minutes — especially if identifying keyway type or adjusting tailpiece depth. According to the U.S. Department of Housing and Urban Development’s 2021 Home Repair Time Study, lock-related repairs average 22.7 minutes when parts are on hand.
A broken key doesn’t mean you’re locked out for good — it’s a solvable mechanical hiccup with the right insight and tools. Focus on clean extraction first, match parts precisely, and treat the lock like the precision mechanism it is. You’ll gain confidence, save $120+ on emergency service, and spot early wear signs next time — before the snap happens again.