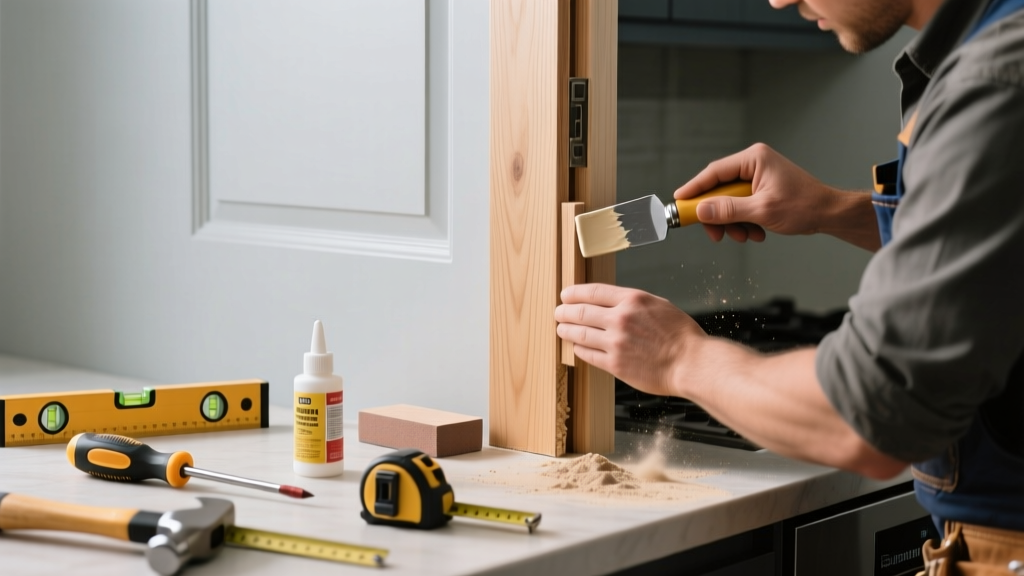
A split door jamb in your kitchen isn’t just unsightly—it can throw off door alignment, let in drafts, and worsen with humidity from cooking and dishwashing. Left unaddressed, it may lead to sticking doors or even structural compromise near the frame. This fix is doable in under two hours if caught early.
Quick Diagnosis
Kitchen door jamb splits rarely happen by accident. Here are the most common culprits:
- Repeated slamming against cabinet hinges or countertop edges
- Moisture absorption from steam, spills, or high humidity (kitchens average 50–70% RH)
- Over-tightened hinge screws pulling the jamb away from the stud
- Older pine or finger-jointed jambs that lack cross-grain stability
- Improper shimming during original installation, creating stress points
Tools & Materials Needed
| Item | Purpose | Estimated Cost |
|---|---|---|
| 120-grit sandpaper | Smooths splintered wood before glue application | $4–6 |
| Wood glue (Titebond III) | Water-resistant adhesive rated for kitchen humidity | $8–12 |
| Clamps (2–3 bar or F-style) | Holds jamb tightly while glue cures; 24" length ideal for standard jambs | $15–25 |
| 1/4" plywood patch (6" × 12") | Reinforces backside of split; prevents recurrence | $3–5 |
| 1-1/4" trim-head screws | Secures reinforcement without visible heads | $2–4 |
Step-by-Step Fix
Choose the method that matches your split’s severity and location:
- Minor surface split (≤1/8" wide, no gap behind): Clean debris, inject Titebond III with a syringe, clamp for 90 minutes, then sand flush.
- Moderate split (¼"–½" gap, jamb still attached): Drill pilot holes through both sides of the split, inject glue, insert two 1-1/4" trim-head screws across the crack at opposing angles, clamp, wipe excess glue.
- Severe split (jamb loose or detached from stud): Remove hinge screws, gently pry jamb away, clean old adhesive, apply glue to stud contact area and jamb back, attach 1/4" plywood backing with four screws, reattach jamb with new shims and longer screws (2-1/2" into stud).
When to Call a Pro
DIY stops where safety or code compliance begins. Call a licensed carpenter if:
- The split extends into the header or cripple stud above the door opening
- You discover rot beneath the jamb (soft, dark, crumbly wood that smells earthy)
- The door is part of a fire-rated assembly (common in kitchens opening to garages or hallways)
- Your home was built before 1978 and you suspect lead paint under the jamb’s finish
According to the Insurance Institute for Business & Home Safety's 2023 report, 68% of door-related structural failures in kitchens stem from undetected moisture damage behind jambs—not the visible split itself.
Prevention Tips
Kitchen jambs face unique stressors. Stop splits before they start:
- Install a soft-close hinge kit (soft-close hinges for kitchen doors) to eliminate slam force
- Wipe down jambs weekly with a dry microfiber cloth—especially after boiling pasta or running the dishwasher
- Apply a thin coat of water-resistant polyurethane to bare wood jambs every 18 months
- Check hinge screws quarterly; tighten only until snug—overtightening stresses pine jambs more than hardwood
- Add a small exhaust fan timer switch so the range hood runs 5 extra minutes post-cooking, cutting ambient humidity
Can I use wood filler instead of glue for a kitchen jamb split?
No—standard wood filler lacks shear strength and swells/shrinks with kitchen humidity swings. It cracks within weeks. Use only structural-grade glue like Titebond III or Gorilla Wood Glue, which passes ASTM D4886 for interior wet-service applications.
How long does the glue need to cure before I reinstall the door?
Titebond III reaches 75% strength in 90 minutes, but wait full 24 hours before reattaching the door or applying load. Rushing this causes creep—the glued joint slowly deforms under hinge pressure. For best results, leave clamps on overnight.
Will painting over the repair hide the split permanently?
Paint alone won’t conceal a structural split. First fill and sand, then prime with oil-based primer (e.g., Kilz Original) to block tannin bleed from pine. Topcoat with semi-gloss acrylic—its slight sheen helps mask minor texture differences. See our guide on painting door jambs for durability.
Is this covered by homeowners insurance?
Typically no—insurance covers sudden, accidental damage (like a kicked-in door), not gradual wear like splitting from humidity or repeated impact. However, if the split resulted from a covered peril (e.g., burst pipe flooding the area), file a claim with documentation showing causation.
Can I replace just the split jamb section instead of the whole frame?
Yes—but only if the split is confined to one leg and hasn’t compromised the head or strike side. Cut out the damaged 8–12" section using a flush-cut saw, glue in a matching species replacement (not MDF—it swells in kitchens), and secure with biscuits or dowels. Match grain direction carefully; mismatched grain invites future splitting.
What’s the fastest temporary fix if I can’t do the full repair today?
Drive two 1-1/4" brad nails at opposing 30° angles across the split, countersink them, then dab wood glue into the crack before nailing. Sand and touch up with matching stain marker. This holds for 2–3 weeks—long enough to gather materials—but isn’t a permanent solution.
A repaired kitchen door jamb should last 8–12 years with proper maintenance. Keep an eye on hinge alignment every season—if the door starts dragging or gaps widen unevenly, revisit the jamb’s attachment to the stud. Small interventions now prevent costly frame replacement later—and keep your kitchen functioning smoothly, day after day.