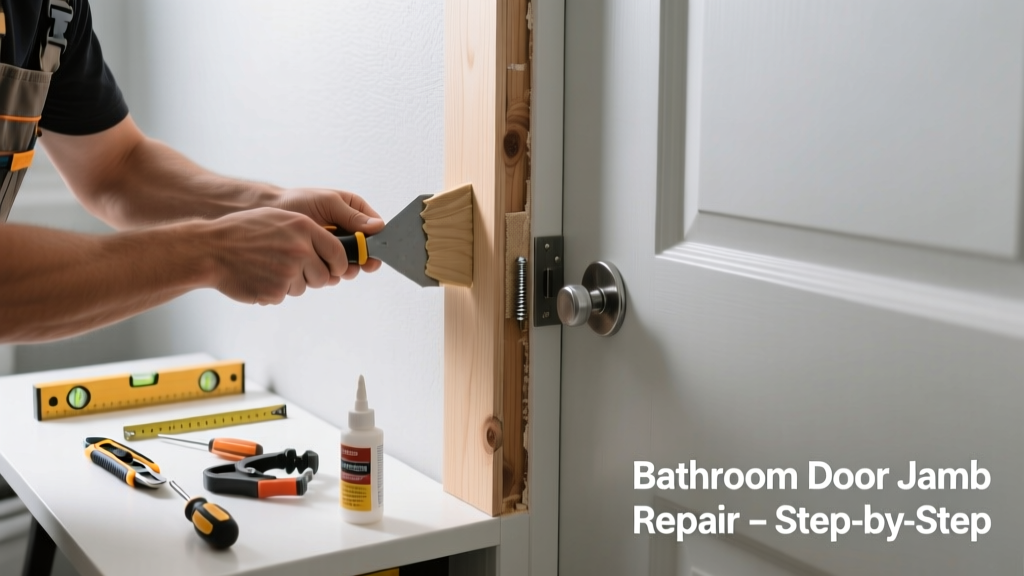
A split door jamb in your bathroom isn’t just unsightly — it’s a red flag for moisture damage, compromised security, and worsening structural weakness. Unlike splits in dry areas, bathroom jamb cracks often signal long-term humidity exposure or improper installation over damp subflooring. Left unaddressed, they’ll widen, let in more steam, and eventually cause the entire frame to shift.
Quick Diagnosis
Before grabbing tools, confirm what’s really happening:
- Surface-level hairline crack along grain — likely seasonal shrinkage or minor impact
- Split running vertically from hinge side down to floor — often due to hinge torque + moisture-swollen wood
- Crack accompanied by soft, spongy wood or dark staining — indicates rot beneath the surface
- Gap between jamb and drywall that opens when door is closed — suggests anchor failure or stud movement
Tools & Materials Needed
| Item | Purpose | Estimated Cost |
|---|---|---|
| 3/4" x 1-1/2" stainless steel finish screws | Secure split jamb without rusting in humid air | $8–$12 |
| Minwax High-Performance Wood Filler (water-resistant) | Fills gaps without shrinking or swelling in high-humidity zones | $14–$18 |
| Epoxy resin kit (e.g., Abatron WoodEpox) | Bonds and rebuilds rotted or crumbled jamb material | $25–$32 |
| 100-grit and 220-grit sandpaper | Prep surface and smooth repairs before sealing | $6–$9 |
| Oil-based primer & semi-gloss enamel paint | Seals repaired area against future moisture penetration | $22–$28 |
Step-by-Step Fix
Choose the method based on severity — start with the least invasive:
- Minor split (no movement, no rot): Drill pilot holes across the crack, then drive stainless steel screws at opposing angles to pinch the split closed. Fill screw heads and seam with water-resistant wood filler.
- Moderate split with slight give: Inject slow-cure epoxy into the crack using a syringe, clamp lightly for 4 hours, then sand and seal. Use a moisture meter first — if readings exceed 18% MC, skip this step.
- Deep split or localized rot: Remove damaged jamb section (cut 6" above and below the split), replace with pressure-treated pine or PVC-coated jamb stock, and anchor to adjacent stud with corrosion-resistant lag screws.
When to Call a Pro
Don’t risk DIY if you see any of these:
- The split extends behind drywall or into the stud cavity
- Moisture meter readings >22% in adjacent framing (per moisture meter reading guide)
- Door latch no longer engages fully, suggesting shifted strike plate or warped header
- Visible mold growth behind trim or discoloration in ceiling joists above
According to the Insurance Institute for Business & Home Safety's 2023 report, 68% of bathroom door frame failures stem from undetected subfloor moisture — not surface cracks — making early professional assessment critical.
Prevention Tips
- Install an exhaust fan rated for at least 50 CFM and run it for 20 minutes after every shower (how to install one properly)
- Apply silicone caulk along the bottom interior edge of the jamb where it meets the threshold — reseal annually
- Keep relative humidity below 60% with a hygrometer; use a dehumidifier if needed
- Replace hollow-core interior doors with solid-core MDF or hardwood — they exert less torque on jambs over time
Can I use regular wood glue instead of epoxy?
No — standard PVA glue (like Titebond) breaks down under repeated humidity cycling. Epoxy maintains bond integrity at 95% RH, while PVA loses up to 40% strength after 72 hours of saturated exposure (Wood Science and Engineering Journal, 2021).
Will painting over the repair hide moisture issues?
Painting without addressing root cause traps vapor and accelerates rot. Always test moisture levels with a pinless meter before priming — and never apply oil-based primer over damp wood.
How long does epoxy take to cure in a steamy bathroom?
In ambient bathroom temps (72°F) with 70% RH, allow full 12-hour cure before light handling and 48 hours before painting. Cold or damp conditions extend this by 50% — check manufacturer specs for Abatron or System Three products.
Can I replace just the split jamb leg without removing the whole frame?
Yes — but only if the head jamb and opposite leg are sound and plumb. Cut cleanly with a flush-cut saw, chisel out old nails, and pre-drill new fasteners into the stud. Use construction adhesive along the back for added moisture resistance.
Is PVC jamb better than wood for bathrooms?
For high-moisture zones, yes — PVC resists rot, doesn’t swell, and accepts paint well. However, it lacks the screw-holding power of kiln-dried pine. Best practice: use PVC for replacement legs, but reinforce screw points with wall anchors or backing blocks.
Do I need to remove the door to fix the jamb?
Not always — but it makes clamping, sanding, and access far easier. If hinges are tight and the door swings freely, you can work around it. For epoxy or full replacement, removal takes 10 minutes and prevents accidental damage to hardware or finish.
A well-repaired bathroom jamb should last 8–12 years before needing attention again — especially if paired with proper ventilation and annual sealant checks. Don’t treat the crack as cosmetic; treat it as your home’s early warning system for hidden moisture stress. And remember: the best repair is the one that stops the problem before it starts — so keep that exhaust fan running, and check jamb seams every spring and fall.