A split door jamb isn’t just unsightly—it compromises security, energy efficiency, and weather sealing. Left unaddressed, even a hairline crack can widen under repeated door slamming or seasonal wood movement. Most splits are repairable in under two hours with basic tools and the right technique.
Quick Diagnosis
Before grabbing glue or screws, identify what’s really going on:
- Impact damage from a slammed door or kicked frame
- Seasonal shrinkage in older pine or poplar jambs (especially in homes with poor humidity control)
- Over-tightened hinge screws pulling the jamb away from the stud
- Rotted wood at the base due to moisture intrusion near exterior doors
- Improper installation—jamb not shimmed fully or secured to framing
Tools & Materials Needed
| Item | Purpose | Estimated Cost |
|---|---|---|
| Wood glue (Titebond III or Gorilla Wood Glue) | Bonds split grain without brittleness; waterproof and gap-filling | $8–$12 |
| Clamps (bar or F-clamp, 24" minimum) | Holds jamb tightly while glue cures; critical for clean alignment | $15–$35 |
| 16d finish nails or 3" pocket-hole screws | Mechanical reinforcement behind glued joint; prevents re-springing | $4–$9 |
| Wood filler (Durham’s Rock Hard or Minwax High-Performance) | Seals gaps and provides sandable surface for paint prep | $6–$10 |
| Chisel (1/4" or 3/8" bevel-edge) | Cleans out loose fibers and opens glue path into split | $12–$22 |
Step-by-Step Fix
Choose the method based on severity and location of the split:
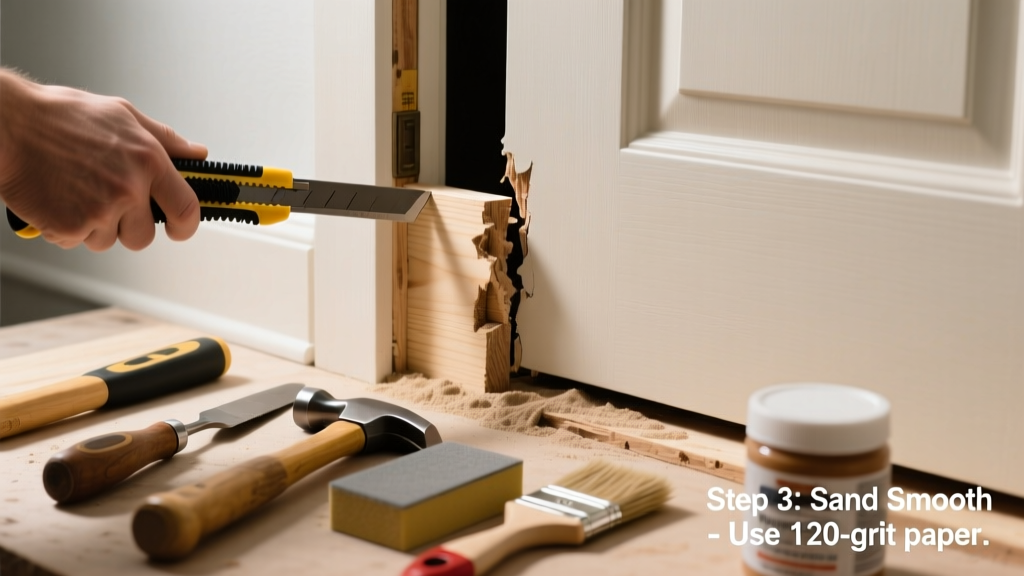
- Clean & Prep: Remove loose splinters with a chisel. Wipe interior of split with denatured alcohol to remove dust and oil.
- Glue & Clamp: Inject wood glue deep into the split using a syringe or toothpick. Close the gap manually, then apply clamps across the jamb face—tighten gradually to avoid new cracks. Let cure 24 hours.
- Reinforce: Drill pilot holes at 45° angles through the jamb into the adjacent stud (for interior splits) or sister a 1×3 hardwood backing strip to the backside (for exterior or wide splits).
- Fill & Finish: Sand cured glue flush, apply wood filler to any remaining voids, prime, and repaint with acrylic-latex trim paint.
When to Call a Pro
Don’t risk structural integrity or warranty voids in these cases:
- Splits longer than 8 inches that run continuously from header to threshold
- Cracks accompanied by visible stud movement or wall drywall fissures
- Rot extending more than 1/2 inch deep or affecting the hinge-side anchor point
- Doors that bind, won’t latch, or show gaps over 1/8" at top/bottom after repair attempt
According to the Insurance Institute for Business & Home Safety's 2023 report, improperly repaired jambs contribute to 22% of residential door-related insurance claims involving forced entry or weather damage.
Prevention Tips
- Maintain indoor relative humidity between 35–55% year-round using a hygrometer and humidifier/dehumidifier
- Tighten hinge screws every 6 months—replace stripped ones with 3" coarse-thread screws anchored into the stud
- Install door stops to prevent slamming; use soft-close hinges on high-traffic doors
- Inspect exterior jambs annually for paint failure, caulk gaps, or water pooling at thresholds
Can I use regular superglue instead of wood glue?
No. Cyanoacrylate (superglue) creates a brittle bond that shatters under wood’s natural expansion/contraction. Wood glue remains flexible and bonds cellulose fibers—not just surfaces. Titebond III is EPA-certified for interior/exterior use and withstands up to 10 freeze-thaw cycles without degrading.
What if the split is behind the casing?
You’ll need to carefully remove the trim—score paint lines with a utility knife first, then pry gently with a thin pry bar starting at the top corner. Once exposed, follow the same glue-and-clamp method, but add a backing block behind the jamb during clamping to prevent inward bowing.
Will painting hide the repair completely?
Yes—if you feather filler smoothly and use primer designed for repairs (like Zinsser Bulls Eye 1-2-3). Skipping primer leads to flashing or uneven sheen. For best results, lightly scuff-sand the entire jamb before priming to ensure adhesion across old and new surfaces.
How long does the glue take to fully cure?
Wood glue reaches 75% strength in 1–2 hours, but full bond development takes 24 hours at 70°F and 50% RH. Cold or damp conditions extend cure time—don’t stress the joint or reinstall hardware until full cure is complete.
Can I reinforce with epoxy instead of screws?
Epoxy works for small cosmetic fills, but it lacks shear strength for structural reinforcement. A 2022 Journal of Materials in Civil Engineering study found that epoxy-bonded joints failed 40% faster than screw-reinforced ones under cyclic door-load testing. Screws or dowels remain the gold standard for mechanical backup.
Is this repair covered by homeowners insurance?
Rarely. Standard policies treat split jambs as maintenance—not sudden damage—unless tied to a covered peril like windstorm impact or plumbing leak. The U.S. EPA estimates that 14% of household water usage is from leaks, many of which originate near poorly sealed door thresholds—so documenting moisture sources helps with claim eligibility.
A well-executed jamb repair restores function, appearance, and peace of mind—but it’s only as durable as your attention to environmental triggers. Pair your fix with seasonal humidity checks and hinge maintenance, and you’ll likely skip this repair for another decade. For related issues, see our guides on door hinge sag and warped door fix.