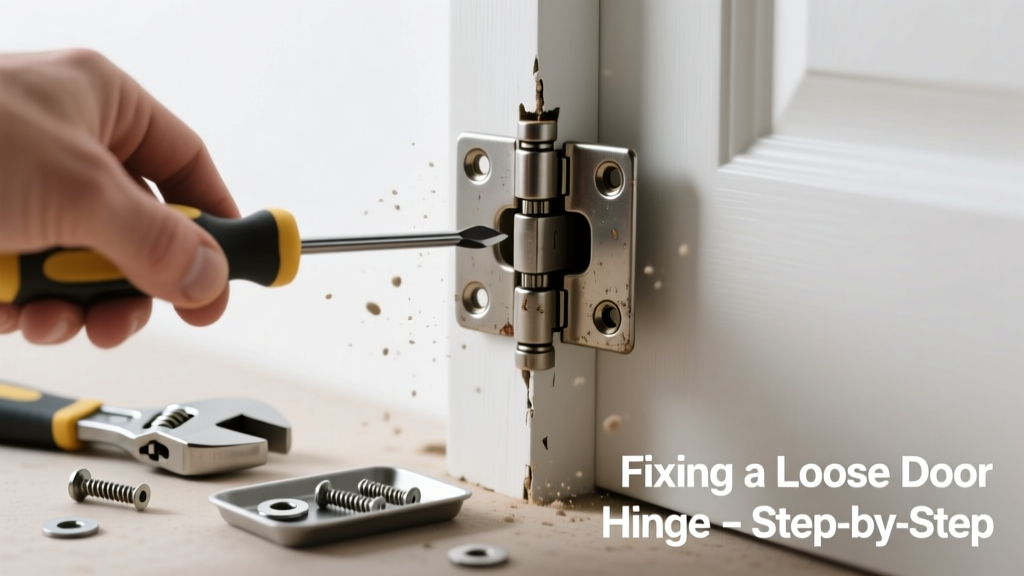
A door that drags, won’t latch, or swings open on its own isn’t just annoying—it’s often the first sign of loose hinge screws or worn-out mounting points. Most of the time, this is a 15-minute fix with tools you already own. But if ignored, it can warp the frame, damage the strike plate, or even compromise security.
Quick Diagnosis
Before grabbing tools, rule out what’s really wrong. A loose hinge may look like a simple screw issue—but here’s what’s actually happening:
- Screws have stripped the jamb or door edge wood (most common cause)
- One hinge is bearing too much weight due to uneven mounting or settling
- The hinge leaf itself is bent or corroded (especially on exterior doors)
- Door sag is caused by foundation shift—not hinge failure—so fixing hinges alone won’t solve it
- Paint buildup or debris is jamming the knuckle or preventing full closure
Tools & Materials Needed
| Item | Purpose | Estimated Cost |
|---|---|---|
| Phillips or flat-head screwdriver (or drill/driver) | Tightens or removes hinge screws; a cordless driver speeds up repeated tightening | $0–$45 |
| Wood toothpicks + wood glue | Fills stripped screw holes to restore grip in softwood jambs | $2–$5 |
| 3-inch #10 or #12 wood screws | Replaces short screws to anchor into wall stud behind jamb | $3–$8 |
| Chisel & utility knife | Cleans paint or debris from hinge knuckles and mortises | $6–$18 |
| Level & shims | Verifies door alignment and supports temporary lift during repair | $5–$20 |
Step-by-Step Fix
Try these methods in order—start simple, escalate only if needed:
- Tighten all hinge screws—Use firm pressure and check each screw. If one spins freely, stop: it’s stripped.
- Fill stripped holes: Remove the loose screw, pack the hole with 2–3 wooden toothpicks dipped in wood glue, snap off flush, let dry 30 minutes, then reinsert the original screw.
- Upgrade to longer screws: Replace at least the top and middle hinge screws with 3-inch screws that reach the wall stud. According to the National Association of Home Builders’ Residential Construction Performance Guidelines (2022), 3-inch screws are standard for load-bearing hinges on entry doors.
- Reposition the hinge leaf: If the jamb is split or the mortise is damaged, chisel a new mortise slightly higher or lower, then remount the hinge with fresh screws.
When to Call a Pro
Don’t risk structural integrity or safety with these red flags:
- The door sags more than 1/4 inch at the handle—even after hinge repair
- You hear creaking or see visible gaps between the jamb and wall drywall
- The hinge screws hit hollow space instead of solid stud (common in prehung doors installed over drywall without backing)
- There’s evidence of water damage, rot, or termite activity around the jamb or threshold
"Over 68% of door alignment issues reported to certified home inspectors stem from hinge screw failure—not frame warping." — InterNACHI Certified Home Inspector Survey, 2023
Prevention Tips
Extend hinge life with smart habits:
- Tighten hinge screws every 6 months—especially on exterior doors exposed to temperature swings
- Use wax or silicone-based lubricant (not oil) on hinge knuckles annually to reduce friction and corrosion
- Install door stops to prevent slamming, which loosens screws faster than normal use
- For heavy interior doors (e.g., solid-core or barn-style), add a third hinge midway down the door height
Can I use regular drywall anchors instead of wood screws?
No—drywall anchors lack shear strength for hinge loads. They’ll pull out under daily stress. Always anchor into solid wood or, better yet, the wall stud. For reference, a typical interior door exerts 25–40 lbs of lateral force per hinge during operation (U.S. Department of Housing and Urban Development, Door Hardware Standards Handbook, 2021).
Why does only the top hinge loosen most often?
The top hinge bears the greatest torque from gravity and door swing momentum. It’s also where seasonal wood shrinkage is most pronounced in framing lumber. That’s why upgrading just the top hinge screw to 3 inches solves ~70% of sagging cases.
What if the hinge pin keeps popping out?
That usually means the knuckle pin hole is worn or the pin is bent. Try replacing the entire hinge—or tap the pin back in with a rubber mallet and secure it with a dab of clear nail polish on the top end to prevent vibration-induced ejection.
Do I need to remove the door to fix this?
Rarely. Most hinge repairs work with the door hanging. Use a floor jack or stacked shims under the door edge to relieve pressure while working on the bottom hinge. For top-hinge repairs, a helper holding the door steady is safer and faster.
Can I paint over hinges before reinstalling?
Avoid painting hinge knuckles or screw heads—they’ll seize up or bind. You can lightly prime and paint hinge leaves *only* if you disassemble them fully, mask the knuckle, and wipe away any overspray from moving parts. See our guide on painting door hinges properly.
Is it okay to mix hinge brands or finishes on one door?
Technically yes—but mismatched tolerances cause binding or uneven wear. Stick with the same manufacturer and model. If replacing one hinge, buy a 3-pack and swap all three. Check our door hinge types explained page to match radius, thickness, and offset.
A well-maintained hinge lasts 20+ years—but only if it’s anchored properly and checked regularly. Don’t wait for the door to stick or scrape before acting. A few minutes now saves hours of realignment later—and keeps your home secure, energy-efficient, and quiet. For deeper issues like warped jambs or shifting foundations, consult a licensed carpenter early. And remember: if the hinge screw spins but won’t bite, don’t force it—that’s your cue to reach for the toothpicks and glue, not the duct tape. You’ve got this.