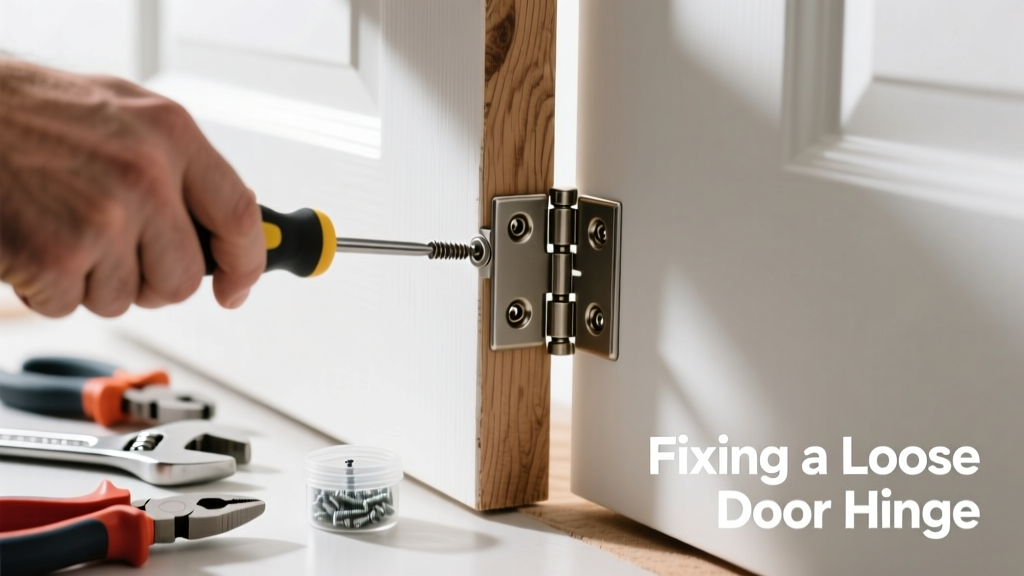
That high-pitched squeak every time you open the bathroom door? Or the dull thud-and-grind when the front door swings? It’s rarely the door itself—it’s almost always a loose hinge pin, stripped screw hole, or misaligned jamb. Ignoring it invites wear on the frame, uneven gaps, and eventually, binding or sticking.
Quick Diagnosis
Before grabbing tools, rule out these common culprits:
- Loose hinge screws (most frequent—check all three hinges, top and bottom especially)
- Worn or bent hinge pins (look for visible pitting, corrosion, or sideways wobble)
- Stripped screw holes in the door or jamb (screws spin freely or won’t tighten)
- Door sagging due to settling or foundation shift (causes uneven pressure across hinges)
- Dry or contaminated hinge knuckles (dust, old grease, or paint buildup)
Tools & Materials Needed
| Item | Purpose | Estimated Cost |
|---|---|---|
| Phillips #2 screwdriver or drill/driver with clutch | Tightens screws without stripping heads or overdriving | $8–$25 |
| 3-inch wood screws (No. 10 or #12) | Replaces short stock screws; provides deeper grip into stud or solid jamb | $4–$7 |
| Wood toothpicks + wood glue | Fills stripped screw holes for secure re-anchoring | $2–$5 |
| White lithium grease or silicone-based lubricant | Lubricates hinge knuckles without attracting dust like oil | $6–$10 |
| Small pry bar or stiff putty knife | Helps gently lift door if sagging prevents hinge access | $12–$18 |
Step-by-Step Fix
Try these methods in order—start simple, escalate only if needed:
- Tighten all hinge screws: Use a screwdriver with firm pressure. If a screw spins without biting, skip to step 2.
- Repair stripped screw holes: Remove the loose screw. Dab wood glue into the hole, then tightly pack 3–4 wooden toothpicks (snapped to length). Let dry 30 minutes. Trim flush, then reinsert original or longer screw.
- Replace short screws with 3-inch screws: Especially in the top hinge—these anchor into the wall stud behind the jamb, dramatically increasing stability. Pre-drill pilot holes to prevent splitting.
- Re-lubricate hinge knuckles: Lift the pin using a flathead screwdriver and small hammer (tap upward gently). Wipe away old grease or debris. Apply white lithium grease to pin and knuckle interior before reinserting.
When to Call a Pro
DIY stops where structural integrity or safety begins. Call a licensed carpenter or door specialist if:
- The door sags more than 1/4 inch at the handle (sign of jamb pull-out or framing shift)
- You hear cracking or creaking from the wall around the door frame when operating the door
- Two or more hinge screws are stripped in the same hinge—and the jamb feels spongy or moves when pressed
- The door is fire-rated or part of an egress path (altering hardware may violate local code)
According to the National Association of Home Builders’ Residential Construction Performance Guidelines (2022), “door alignment issues exceeding 3/16” gap variation across the latch side often indicate underlying structural movement—not just hinge wear.”
Prevention Tips
Maintain your doors year-round to avoid repeat repairs:
- Lubricate hinges with white lithium grease every 6 months—especially exterior doors exposed to humidity
- Check hinge screws seasonally (spring and fall); wood expands and contracts, loosening fasteners
- Avoid slamming doors—impact stress accelerates hinge wear and jamb flex
- Install door stops to prevent hinges from bearing full force during rapid closing
Can I use WD-40 instead of lithium grease?
No—WD-40 is a water-displacing solvent, not a long-term lubricant. It washes away existing grease and leaves little protective film. In under two weeks, dust sticks to the residue and creates abrasive gunk inside the knuckle. Stick with white lithium grease or silicone spray for hinges.
Why does only the top hinge loosen first?
The top hinge bears the most torque and gravitational load—especially on tall or heavy doors. It’s also furthest from the floor’s stabilizing resistance, making it the first point of failure when screws loosen or wood compresses. That’s why upgrading its screws is the single most effective fix.
What if the hinge pin won’t lift out?
Don’t force it. Corrosion or paint buildup often welds the pin in place. Soak the knuckle joint with penetrating oil (like PB Blaster) for 15 minutes, then tap *upward* on the pin’s base with a brass punch and hammer. Never use steel on steel—it mushrooms the pin end. If still stuck, replace the entire hinge—you can do it without removing the door.
Can I fix this without removing the door?
Yes—95% of hinge repairs happen with the door hanging. Only remove it if you need full access to recessed hinge mortises or are replacing hinges entirely. Use a sturdy door stop or wedge under the bottom edge to relieve pressure while working.
How do I know if my hinge is bent, not just loose?
Closed, measure the gap between door edge and jamb at top, middle, and bottom. If the gap widens progressively from top to bottom—or if the door rubs only at one spot—the hinge leaf may be bent. Test by loosening all screws on that hinge: if the leaf shifts visibly when tapped, it’s deformed. Replace it with an exact match—standard residential hinges are 3.5" x 3.5".
Will tightening screws fix a squeaky hinge permanently?
Only if the squeak was caused purely by vibration from looseness. Most persistent noise comes from metal-on-metal friction inside the knuckle. Tightening helps—but without cleaning and relubricating, the noise will return in days. Always pair screw work with hinge maintenance.
A loose hinge isn’t just annoying—it’s a warning sign that something’s shifting. Address it early, and you’ll extend the life of your door, jamb, and even the surrounding drywall. Most fixes take under 20 minutes and cost less than $15. And once you’ve done it once, you’ll start hearing—and fixing—those little warnings before they become big problems.