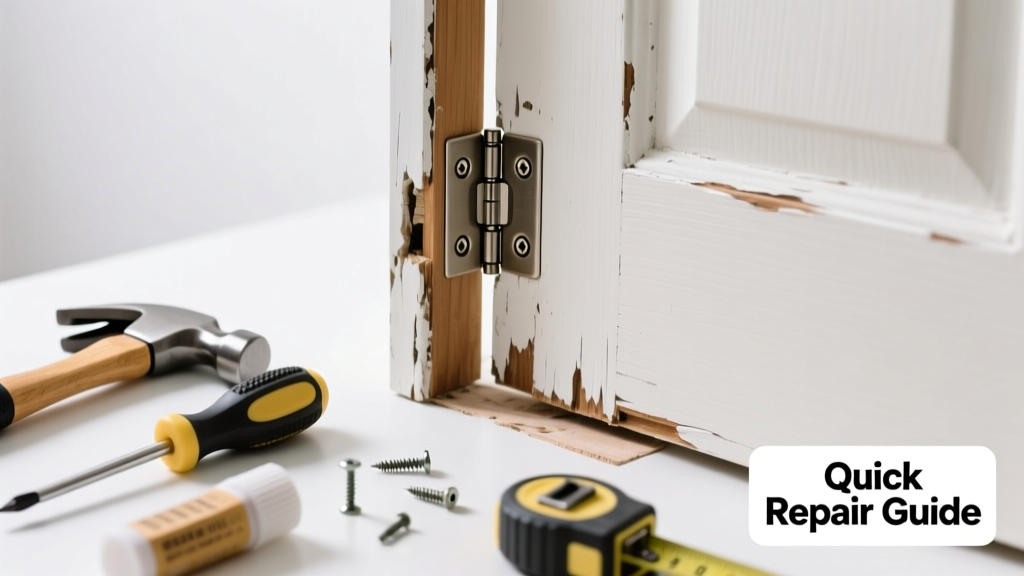
Your kitchen cabinet door sags, scrapes the frame, or won’t stay closed—and you notice the top hinge wobbles when you push it. That’s not just annoying; it’s a sign of mounting stress on the cabinet structure and potential long-term alignment issues.
Quick Diagnosis
Before grabbing tools, identify the root cause:
- The screw holes in the cabinet frame are stripped (most common)
- The hinge itself is bent or worn from repeated use
- The cabinet door is warped or overloaded with heavy hardware or accessories
- The mounting plate on the cabinet side has pulled away from particleboard
- Moisture exposure near the sink or dishwasher softened the substrate over time
Tools & Materials Needed
| Item | Purpose | Estimated Cost |
|---|---|---|
| #2 Phillips screwdriver | Tightens standard Euro-style or inset hinge screws without stripping | $8–$15 |
| Wood toothpicks + wood glue | Fills stripped screw holes for immediate grip restoration | $3–$6 |
| 1/4" hardwood dowels (3/8" length) | Stronger alternative to toothpicks for high-stress hinges | $5–$9 |
| Drill with 1/8" bit | Pre-drills pilot holes for new screws or dowel insertion | $25–$60 (rental available) |
| 3/4" #8 pan-head screws (stainless steel) | Replaces original screws for better bite in particleboard | $4–$7 |
Step-by-Step Fix
Try these methods in order—start simple, escalate only if needed:
- Tighten all hinge screws: Use firm, steady pressure—not excessive torque—to avoid further stripping. If resistance drops mid-turn, stop—you’ve hit stripped wood.
- Fill stripped holes with glue + toothpicks: Insert 3–4 wooden toothpicks into the hole, break flush, apply wood glue, let dry 30 minutes, then reinsert original screws.
- Upgrade to longer or thicker screws: Replace 3/8" screws with 3/4" stainless #8 screws—especially effective if the hinge mounts into solid wood backing or a plywood face frame.
- Install hardwood dowels for full structural repair: Drill out the stripped hole to 1/4", glue in a 3/8" hardwood dowel, saw flush, pre-drill, and install new screws.
When to Call a Pro
DIY stops being safe or effective in these scenarios:
- The cabinet frame is cracked or split around the hinge area
- Three or more hinges on the same door are loose simultaneously
- You’re dealing with frameless (European) cabinets where hinge mounting plates are embedded in 3/4" particleboard with no reinforcement
- Moisture damage is visible (swelling, dark stains, musty odor) behind or beneath the cabinet
According to the National Kitchen & Bath Association’s Cabinet Installation Standards (2022), “Hinges bearing load on doors over 24" wide should be secured into structural framing or reinforced substrates—not just face panels.”
Prevention Tips
Kitchen doors take more abuse than any other room’s—steam, grease, frequent opening, and weight from spice racks or pull-out trays. Prevent future looseness by:
- Tightening hinge screws every 6 months during routine cleaning
- Avoiding slamming doors—install soft-close hinges like Blum Clip Top if upgrading
- Using cabinet organizers to reduce door weight imbalance
- Wiping hinge areas dry after steam-heavy cooking sessions near the stove or dishwasher
Can I use super glue instead of wood glue for hinge repair?
No—super glue (cyanoacrylate) bonds poorly to porous wood and creates brittle joints that shatter under vibration. Wood glue (like Titebond III) swells slightly to fill gaps and flexes with seasonal movement. The U.S. Forest Products Laboratory confirms wood glue provides up to 40% greater shear strength in particleboard repairs than CA adhesives (2021).
Why does only the top hinge loosen while the bottom stays tight?
The top hinge bears disproportionate torque—every time you open the door, leverage multiplies force at the upper mounting point. Over time, this causes gradual pull-out, especially in medium-density fiberboard (MDF) or low-grade particleboard used in budget cabinets.
Will tightening the hinge screws fix a door that rubs on the frame?
Sometimes—but not always. A loose hinge changes door geometry. After tightening, check alignment with a 6" level across the door edge. If the gap varies more than 1/16" top-to-bottom, adjust hinge position using the micro-adjustment screws built into most European hinges.
How long does wood glue take to cure before I can use the door normally?
Clamp or tape the door shut for 60 minutes for initial set, but wait 24 hours before subjecting the hinge to full load. Titebond’s technical data sheet specifies full bond strength develops after 24 hours at 70°F and 50% humidity.
Can I replace just one hinge, or do I need to match all three?
You can replace one—but mismatched hinges (e.g., different brands, generations, or tension ratings) cause binding or inconsistent swing. For consistent operation and warranty compliance, replace all hinges on the same door with identical models. Check your hinge’s stamp: Blum, Grass, or Sugatsune part numbers are usually etched on the arm.
Is it safe to drill new holes next to stripped ones in particleboard?
Risky—particleboard has minimal tolerance for secondary holes within 3/8" of original locations. The material crumbles easily, reducing holding power. Instead, use dowel reinforcement or switch to a hinge with an offset mounting plate, like the Salice Micro-Adjust Plus.
A loose kitchen hinge isn’t just about convenience—it’s a warning sign that mounting integrity is failing. Catch it early, reinforce properly, and you’ll extend cabinet life by years. And remember: if the door feels ‘off’ after repair—like it binds, clicks, or won’t self-close—recheck hinge alignment before assuming the problem is solved.