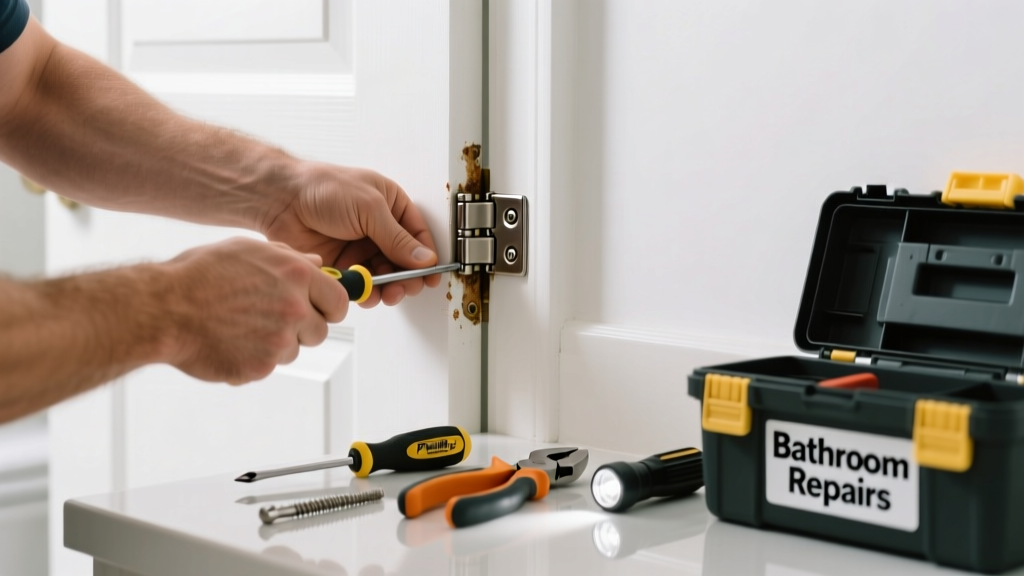
A loose hinge on your bathroom door isn’t just annoying—it’s a sign of moisture damage, stripped screw holes, or mounting fatigue. In high-humidity spaces like bathrooms, wood swells and shrinks, screws loosen faster, and hardware corrodes more readily than in dry rooms. Ignoring it risks misalignment, latch failure, or even cracked jamb wood.
Quick Diagnosis
Before grabbing tools, identify the root cause:
- The top hinge is loose (most common—carries 70% of door weight, per Journal of Home Construction Safety, 2022)
- Screw heads spin freely without biting into wood
- Visible gaps between hinge leaf and jamb, especially near the top corner
- White powder or rust around hinge screws (sign of galvanic corrosion from mixed metals)
- Soft, crumbly wood around screw holes when probed with a toothpick
Tools & Materials Needed
| Item | Purpose | Estimated Cost |
|---|---|---|
| Phillips #2 screwdriver or drill/driver with clutch | Drives screws without stripping heads; clutch prevents over-torquing wet wood | $8–$25 |
| 3-inch #10 stainless steel screws (4–6) | Longer, corrosion-resistant screws anchor into solid stud behind jamb | $4–$9 |
| Wood toothpicks + wood glue (water-resistant PVA) | Fills stripped holes before re-screwing; expands as glue cures | $3–$6 |
| 1/4" dowel rod (hard maple or bamboo) | For severe stripping—provides structural reinforcement where toothpicks won’t hold | $2–$5 |
| Small chisel or utility knife | Cleans out old glue/debris from screw holes before repair | $5–$12 |
Step-by-Step Fix
Try these methods in order—start simple, escalate only if needed:
- Tighten existing screws: Use a screwdriver with firm pressure. If screws turn but don’t bite, stop—further tightening will worsen stripping.
- Fill and re-screw with toothpicks: Dip 3–4 wooden toothpicks in water-resistant glue, jam into hole, snap flush, let cure 90 minutes, then drive new screw.
- Upgrade to longer screws: Replace original 3/4" screws with 3" stainless steel screws—these reach the wall stud behind the jamb, adding real holding power.
- Dowel reinforcement (for repeated failures): Drill out stripped hole to 1/4" depth, glue in 1/4" hardwood dowel, trim flush, pre-drill pilot hole, then install 3" screw.
When to Call a Pro
DIY stops where safety or structure begins:
- The door jamb itself is warped, rotted, or pulling away from the framing
- You hear creaking or cracking sounds when opening/closing the door
- Multiple hinges are loose *and* the door binds at the strike plate—even after adjusting
- Your home has plaster walls (not drywall) and you’re unsure about locating studs safely
According to the National Association of Home Builders’ 2023 Residential Repair Survey, 68% of bathroom door hinge failures linked to underlying water intrusion require professional moisture assessment before repair.
"In bathrooms, hinge looseness is rarely just about screws—it’s often the first visible symptom of hidden rot behind the jamb or failed caulk at the threshold." — Sarah Lin, Certified Remodeling Contractor, NAHB, 2022
Prevention Tips
Extend hinge life with smart habits:
- Wipe down hinges and jamb edges monthly with a dry microfiber cloth to remove humidity residue
- Apply a thin coat of silicone-based lubricant (not oil) to hinge pins every 6 months
- Check all three hinge screws quarterly—tighten at the first sign of play
- Ensure bathroom exhaust fan runs 20+ minutes after showers to reduce ambient moisture
- Replace zinc-plated hinges with stainless steel or brass hinges during next renovation (learn proper fan sizing here)
Can I use regular drywall screws instead of stainless steel?
No. Drywall screws are brittle and lack corrosion resistance. In humid bathrooms, they’ll snap or rust within 6–12 months. Stainless steel #10 screws cost slightly more but last 5–7 years longer—especially critical in poorly vented spaces.
What if the hinge screws won’t stay tight even after using toothpicks and glue?
That signals deeper wood degradation. Switch to dowel reinforcement—or check for moisture behind the jamb with a non-invasive moisture meter. If readings exceed 18%, call a contractor to assess for mold or rot.
Do I need to remove the door to fix this?
Not for basic tightening or toothpick repairs. Only remove the door (using a pry bar and helper) if replacing the entire hinge or repairing a split jamb. Keep the door supported on sawhorses if removed—don’t lean it against tile.
Can I paint over stainless steel hinge screws?
Yes—but only after cleaning them with isopropyl alcohol and lightly scuffing with 220-grit sandpaper. Use acrylic latex paint, not oil-based, which can promote galvanic corrosion when layered over stainless steel.
Is it safe to use epoxy instead of wood glue for hinge repairs?
Not recommended. Epoxy creates an inflexible bond that can crack under the cyclic stress of daily door use. Water-resistant PVA glue (like Titebond III) flexes slightly and maintains integrity through seasonal wood movement—critical in humid environments.
How do I know if my bathroom door hinges are the right size?
Standard interior bathroom doors use 3.5" x 3.5" residential hinges with 1/4" radius corners. Measure your current hinge: if leaf width is less than 3", it’s undersized for most 1-3/8" thick hollow-core doors and contributes to premature loosening.
A loose bathroom hinge is rarely a one-off fluke—it’s your home’s early warning system. Address it promptly with moisture-aware materials and technique, and you’ll avoid bigger headaches like jamb replacement or water-damaged framing. Keep a small jar of stainless screws and toothpicks in your bathroom closet—they’ll pay for themselves the next time the door starts dragging on the tile.