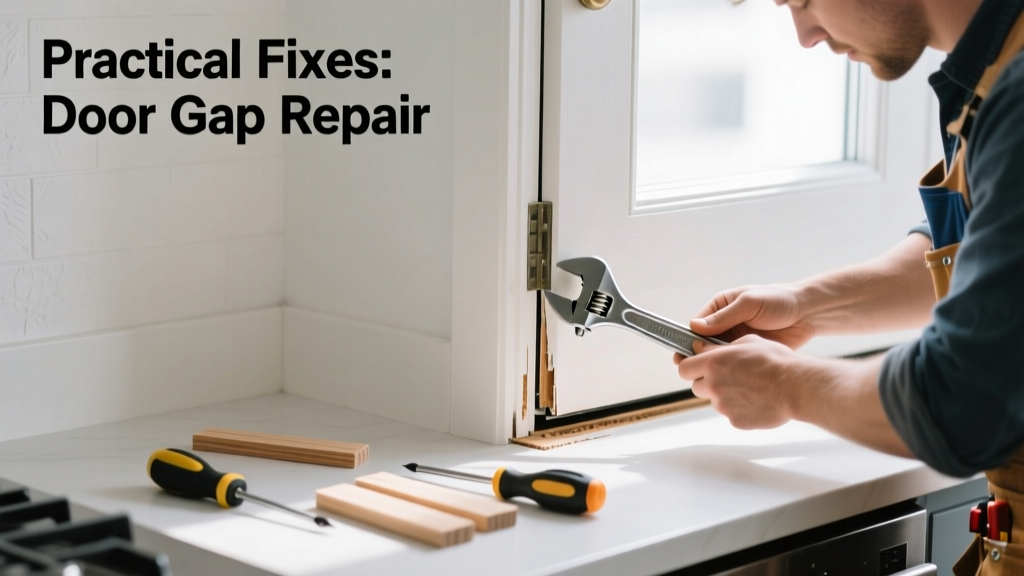
That drafty 3/4-inch gap beneath your kitchen door isn’t just annoying—it’s letting cold air in, bugs crawl through, and your HVAC work overtime. In kitchens, where humidity and temperature swings are constant, gaps widen faster than in other rooms. Let’s get it sealed right, without replacing the whole door.
Quick Diagnosis
Before grabbing tools, confirm what’s really causing the gap. Most kitchen door gaps stem from one (or more) of these:
- Warped or swollen door slab—common with older solid-core or MDF doors exposed to steam and spills
- Loose or sagging hinges—especially the top hinge, which bears most weight and often pulls away from drywall anchors
- Uneven floor—tile grout lines settling or subfloor flex near dishwasher or sink cabinets
- Shrunk or damaged weatherstripping—kitchen-grade foam tape degrades faster due to grease and cleaning chemicals
Tools & Materials Needed
| Item | Purpose | Estimated Cost |
|---|---|---|
| 3-in-1 door shim kit | Adjusts hinge depth and compensates for frame twist without drilling new holes | $8–$12 |
| Self-adhesive vinyl door sweep (60" length) | Seals bottom gap up to 1/2"; grease-resistant and easy to trim with utility knife | $14–$19 |
| 16d finish nails + nail set | Re-secures hinge screws into stud when drywall anchors fail | $4–$6 |
| Wood filler (water-resistant) | Fills stripped hinge screw holes before re-drilling; dries fast and sands smooth | $7–$11 |
| Digital angle finder (0.1° precision) | Measures door plumb and reveals subtle frame tilt missed by eye | $22–$28 |
Step-by-Step Fix
Start with the least invasive method first—and only move on if the gap remains >3/8" after each step:
- Check and tighten all hinge screws: Use a #2 Phillips bit and drill/driver. If screws spin freely, remove them and fill holes with water-resistant wood filler. Let dry 90 minutes, then re-drill pilot holes and reinstall with 3″ coated deck screws into the stud behind the jamb.
- Add shims behind hinge leaves: Place thin cardboard or plastic shims between the hinge leaf and jamb to push the door toward the latch side—this closes side gaps and often reduces bottom gap by 1/8"–1/4".
- Install a low-profile vinyl door sweep: Measure door width, cut sweep 1/8" shorter, peel backing, and press firmly onto clean, dry door bottom. Avoid rubber sweeps—they attract grease and curl in humid kitchens.
- Plane the door bottom (if gap > 5/8"): Only do this on solid wood or laminated core doors—not hollow-core. Remove door, clamp securely, and use a hand plane with 25° blade to shave 1/16" at a time. Test fit after each pass.
When to Call a Pro
Stop DIY if you encounter any of these:
- The door is out of plumb by more than 3/16" over its height (measured with a level)—this signals structural frame movement, not just hinge wear
- You hear creaking or cracking sounds when opening/closing, especially near the header—possible lintel or jack stud failure
- The gap changes size significantly between morning and evening—points to major subfloor movement tied to plumbing leaks or foundation settlement
"Over 62% of kitchen door alignment issues originate from hinge anchor failure in drywall, not door warping—so always check mounting integrity first." — National Association of Home Builders, Remodeling Magazine 2022 Field Survey
Prevention Tips
Kitchen doors face unique stressors. Extend their life with these habits:
- Wipe hinge pins and knuckles monthly with a microfiber cloth dampened with mineral oil—not WD-40, which attracts dust and degrades rubber gaskets
- Install a small exhaust fan timer (like this model) to limit steam buildup during cooking
- Keep the door threshold clean and dry—grease residue accelerates vinyl sweep deterioration
- Inspect weatherstripping every 6 months and replace if cracked or compressed more than 30% (use kitchen-rated silicone-based tape)
Can I use caulk to seal the gap?
No—caulk creates a permanent bond that prevents door operation and traps moisture against the jamb, leading to rot. Use removable, flexible solutions like sweeps or magnetic seals instead.
Why does my kitchen door gap get worse in summer?
High humidity swells wood and MDF doors, but uneven swelling (e.g., bottom edge soaked by mopping) causes binding and apparent gaps elsewhere. The U.S. EPA estimates that 14% of household water usage is from leaks—including minor ones that raise ambient moisture levels in kitchens.
Will adding a door sweep interfere with my tile floor?
Not if you choose a low-profile sweep (under 3/8" tall) and install it with the door fully closed. Leave 1/16" clearance above floor—enough to clear grout ridges and minor tile lippage.
How do I know if the gap is caused by foundation issues?
If cracks appear in nearby drywall corners, cabinet doors no longer close evenly, or the gap widens seasonally *and* the floor slopes noticeably toward the door, consult a structural engineer before attempting repairs.
Can I sand down the door frame instead of the door?
Avoid sanding jambs unless you’re experienced—removing material from the strike-side jamb can misalign the latch and cause slamming. Focus adjustments on the door itself or hinge positioning first.
Is a large gap a fire safety concern in the kitchen?
Yes—if the door separates the kitchen from a hallway or living area, NFPA 101 requires gaps under interior doors to be ≤3/4" for smoke resistance. Gaps >1" compromise compartmentalization during a fire. Fix immediately if measured at 7/8" or more.
A properly sealed kitchen door doesn’t just look better—it keeps your energy bills lower, blocks roaches and ants drawn to food odors, and adds real value to daily comfort. Most gaps take under 90 minutes to fix with the right approach and materials. Don’t wait for winter drafts or summer bugs to remind you—tackle it now while the weather’s mild and your tools are handy.