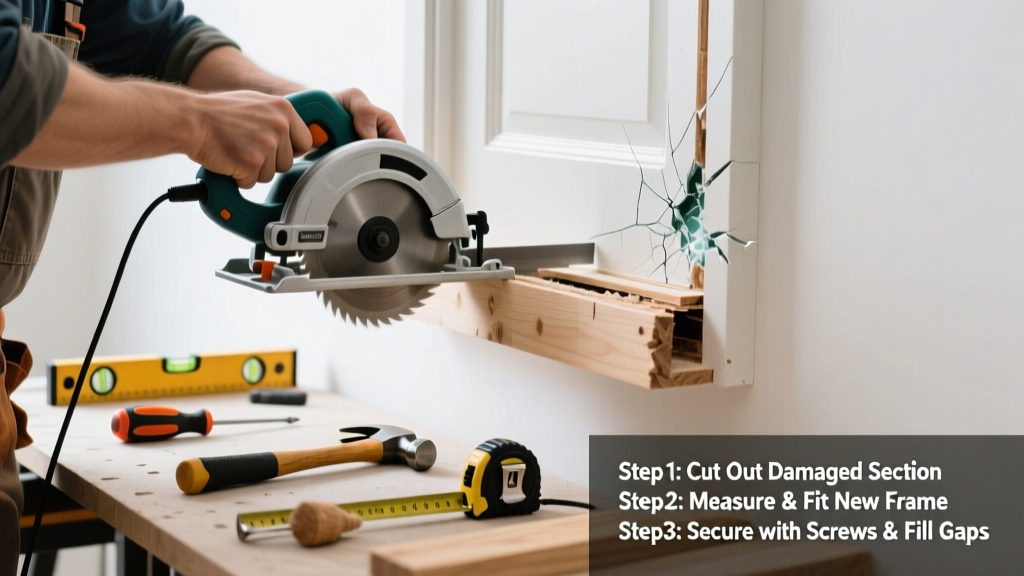
A cracked door frame isn’t always a full-replacement job—especially if only the jamb, header, or sill is damaged. Many homeowners panic and rip out the entire frame, but targeted replacement preserves your trim, drywall, and structural integrity. This guide walks you through swapping just the faulty section, whether it’s rotted, impact-damaged, or split from seasonal shrinkage.
Quick Diagnosis
Before grabbing tools, confirm the crack isn’t masking deeper issues. Common root causes include:
- Moisture infiltration behind the sill (especially in exterior doors without proper flashing)
- Repeated slamming or latch misalignment stressing the strike-side jamb
- Foundation settling shifting the rough opening over time
- Improper nail spacing during original installation—leaving sections unsupported
- Use of non-pressure-treated wood in damp basements or crawlspaces
Tools & Materials Needed
| Item | Purpose | Estimated Cost |
|---|---|---|
| Sharp chisel (3/4" and 1") | Cleans old glue and removes tenon remnants without gouging adjacent wood | $12–$28 |
| Clamp-on door hinge jig | Ensures new jamb aligns perfectly with existing hinge mortises | $24–$45 |
| Shim pack (wedge-style, not cardboard) | Compensates for minor framing irregularities without compressing over time | $6–$14 |
| Construction adhesive (polyurethane-based) | Bonds new wood to framing where nails alone won’t hold long-term | $9–$17 |
| Pre-primed pine or finger-jointed poplar jamb stock (1-1/4" x 4-9/16") | Matches standard interior door jamb dimensions; resists checking better than solid pine | $8–$15 per 8-ft board |
Step-by-Step Fix
Replace only the cracked component—jamb, header, or sill—with precision. Follow these three methods based on location:
- Jamb replacement: Score along both edges of the cracked jamb with a utility knife. Use a pry bar behind the casing (not the jamb) to avoid splintering. Cut remaining nails with a reciprocating saw fitted with a metal-cutting blade. Dry-fit the new jamb, apply construction adhesive to back, then secure with 8d finish nails every 12"—driving first into stud, then into jamb.
- Header replacement: Support the door with a temporary 2x4 brace across the opening. Remove casing and shims. Saw through nails connecting header to jack studs using a flush-cut saw. Slide out old header, clean bearing surfaces, and install new header with adhesive and 3" structural screws into each jack stud.
- Sill replacement (exterior doors): Cut away rotted section with a jigsaw 1/4" beyond visible damage. Drill pilot holes through new sill into subfloor, apply roofing cement beneath, then fasten with stainless steel deck screws. Seal end grain with Thompson’s WaterSeal before installation.
When to Call a Pro
Don’t risk safety or code compliance in these scenarios:
- The crack extends into load-bearing header above the door—this affects roof support
- More than 30% of the rough opening framing shows signs of rot or termite damage (check with an awl probe)
- Your home was built before 1978 and lead paint is present on the frame—abatement requires certified contractors
- The door swings poorly and the floor slopes more than 1/4" across the threshold—indicating foundation movement
"Over 68% of door-related insurance claims stem from improper jamb repairs that worsened water intrusion or compromised fire-rated assemblies." — National Association of Home Builders, 2022 Residential Construction Report
Prevention Tips
Extend the life of your next repair with proactive habits:
- Apply silicone caulk (not acrylic) to the top and side edges of exterior sills annually
- Install adjustable door sweeps with aluminum blades—they reduce drag on warped sills
- Check hinge screws every 6 months; tighten or replace stripped ones with 3" screws driven into the stud
- Run a dehumidifier in basements where interior doors open to damp spaces
Can I glue a cracked door jamb instead of replacing it?
Surface cracks under 1/16" wide and less than 2" long can be stabilized with epoxy resin injected via syringe and clamped for 24 hours—but only if the jamb isn’t load-bearing or part of a fire-rated assembly. Structural cracks compromise hinge support and often worsen within months. According to the International Residential Code (IRC R612.3), any jamb supporting a fire door must maintain continuous integrity—glue doesn’t qualify.
What size replacement jamb should I buy for a standard 30-inch interior door?
Standard interior pre-hung doors use 4-9/16" wide jambs (measured face-to-face). Confirm by measuring your existing jamb’s width—not the door slab. If your door has rabbeted hinges or non-standard bevels, order custom-milled stock from a millwork supplier like Door Jamb Sizing Guide.
Do I need to remove the door slab to replace the jamb?
No—you can leave the door hanging. Remove only the hinge pins, then lift the door slightly off the hinges and set it aside on sawhorses. Keep the strike plate installed on the jamb until after the new jamb is secured, so you can verify alignment before rehanging.
How long does construction adhesive take to cure before I can reinstall trim?
Polyurethane adhesives like PL Premium require 24 hours for initial grab and 7 days for full bond strength. You can nail casing and apply caulk after 24 hours, but avoid slamming the door or applying lateral pressure until day 7. For faster turnaround, use Titebond Ultimate III—cures in 6 hours but costs 30% more.
Is it okay to use MDF for a replacement door jamb?
MDF is acceptable for interior, non-load-bearing jambs in climate-controlled rooms—but avoid it near bathrooms, laundry rooms, or exterior doors. The U.S. Department of Housing and Urban Development’s 2021 Moisture Management Handbook warns that MDF swells irreversibly at just 75% relative humidity, making it unsuitable for areas with fluctuating moisture.
Can I reuse the old shims when installing the new jamb?
Only if they’re hardwood wedges (not cardboard or plastic) and show zero compression or crumbling. Tap each shim with a screwdriver handle—if it sounds hollow or crumbles, replace it. Reusing compromised shims leads to sagging doors within 6–12 months. For best results, use shim materials comparison to select cedar or composite alternatives.
A precise, partial frame replacement keeps your door functioning smoothly without tearing up walls or hiring help unnecessarily. It’s one of those repairs that looks intimidating until you realize most of the work is careful measuring and patient gluing—not brute force. Take your time on alignment and adhesive application, and you’ll likely never revisit this jamb again.