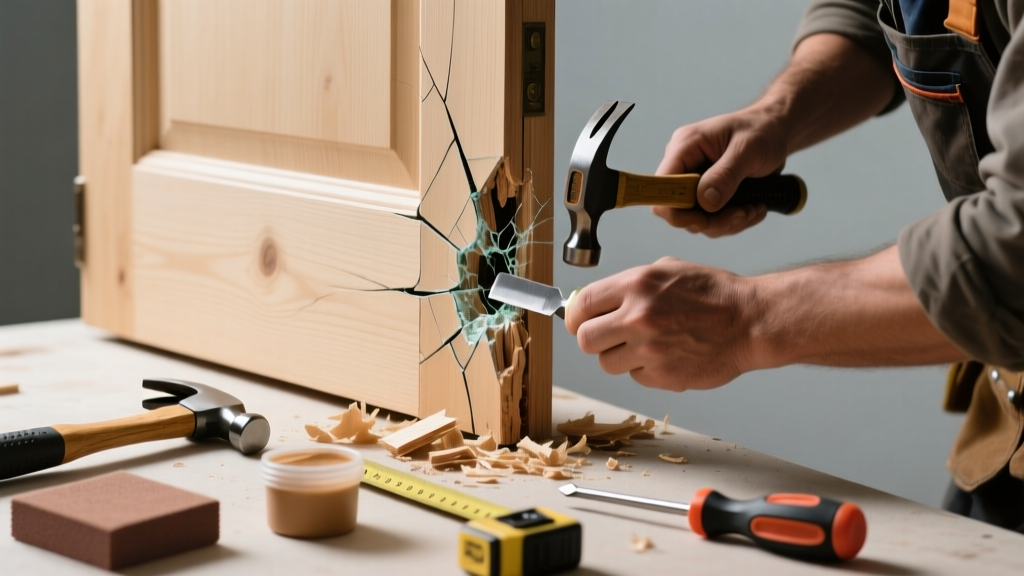
That sharp 'pop' when closing the front door—or the low groan every time you push the bedroom door open—isn’t just annoying; it’s a red flag. A cracked door frame often signals shifting structure, moisture damage, or fastener failure, and left unaddressed, it can worsen into misalignment, draft leaks, or even security gaps. The good news? Most cases are fixable in under two hours with basic tools.
Quick Diagnosis
Before grabbing glue or screws, confirm the source. Not all noise comes from the crack itself—sometimes it’s adjacent components vibrating against it. Check these common culprits:
- Loose hinge screws (especially top hinge) pulling away from split jamb wood
- Crack near strike plate allowing latch bolt to rattle during operation
- Seasonal wood shrinkage widening an existing hairline crack in pine or poplar jambs
- Water-damaged bottom of frame causing soft, spongy wood that flexes audibly
- Structural settling creating diagonal tension cracks near corners or header joints
Tools & Materials Needed
| Item | Purpose | Estimated Cost |
|---|---|---|
| 120-grit sandpaper | Smooths splintered edges before adhesive application | $4–6 |
| Wood epoxy filler (e.g., Abatron WoodEpox) | Fills deep cracks and bonds fractured grain without shrinking | $18–24 |
| Clamp set (2–3 bar clamps) | Holds cracked sections tight while epoxy cures (4–6 hrs minimum) | $22–38 |
| 1¼" coated deck screws + pilot bit | Re-anchors loose jamb sections to wall framing behind drywall | $7–12 |
| Minwax High-Performance Wood Filler | Finishes shallow surface cracks and sands smooth for paint | $9–13 |
Step-by-Step Fix
Use this sequence based on crack severity and location. Start with Method 1—if it fails, move to the next.
- Stabilize & Clean: Remove hinge pins and door. Vacuum debris from crack. Wipe with denatured alcohol to remove dust and oils. Lightly sand edges with 120-grit paper.
- Epoxy Reinforcement (for cracks >1/16" wide): Mix Abatron WoodEpox per instructions. Force into crack with putty knife, overfill slightly. Clamp across crack for 6 hours. Sand flush after full cure (24 hrs).
- Screw Reinforcement (for cracks near hinges or strike plate): Drill 1/8" pilot holes at 45° angles through jamb into wall stud (use stud finder first). Drive 1¼" coated screws—two near top hinge, one near strike plate. Cover heads with wood filler.
- Surface Repair & Refinishing: Apply Minwax filler to hairline cracks. Let dry 2 hrs. Sand with 220-grit, wipe clean, then prime and repaint matching sheen.
When to Call a Pro
DIY stops where structural integrity ends. Call a licensed carpenter or door specialist if:
- The crack runs vertically more than 18 inches and widens when pressure is applied
- You detect rot or mold behind drywall near the frame base (requires moisture meter verification)
- The door no longer latches smoothly—even after hinge adjustment—and shows visible sagging
- Cracks appear simultaneously in multiple interior doors, suggesting foundation movement (per foundation crack signs)
Prevention Tips
Prevent recurrence with proactive habits and seasonal checks:
- Inspect all interior door frames twice yearly—look for new hairline cracks or paint separation
- Maintain indoor humidity between 35–55% using a hygrometer; wood expands/shrinks dramatically outside this range (U.S. Forest Service, 2022)
- Tighten hinge screws every 6 months—loose hardware transfers stress to the jamb
- Install door stoppers to prevent slamming, which accelerates fatigue in older pine or MDF jambs
- Seal exterior-facing jambs with acrylic-latex caulk annually to block moisture infiltration
Can I use regular wood glue instead of epoxy?
No—standard PVA glue like Titebond II lacks gap-filling ability and won’t bond well to dried-out, porous, or oily wood surfaces common in aged frames. Epoxy adheres to almost any substrate and resists vibration fatigue. According to the Wood Repair Materials Guide (2023), epoxy-filled cracks withstand 3x more cyclic stress than PVA-repaired ones.
How long does the epoxy take to fully cure?
Abatron WoodEpox reaches handling strength in 4–6 hours but requires 24 hours for full cross-linking and maximum compressive strength (10,000 psi). Avoid reinstalling the door or applying load until then. Rushing this step causes re-cracking under hinge torque.
Will painting over the repaired crack hide it completely?
Yes—if you feather filler properly and use matching primer/paint. But skip latex paint alone: it bridges cracks temporarily, then fails as wood moves. Always prime with oil-based or bonding primer (e.g., Zinsser Bulls Eye 1-2-3) first. For best results, follow our door painting tips.
Is this covered by homeowners insurance?
Rarely. Standard policies cover sudden, accidental damage—not gradual wear like seasonal cracking. However, if the crack resulted from a covered peril (e.g., burst pipe flooding the wall), file a claim with documentation. The Insurance Institute for Business & Home Safety’s 2023 report notes only 3% of door-frame claims are approved absent verifiable water or impact evidence.
Can I reinforce the frame without removing the door?
You can tighten hinge screws and apply surface filler without removal—but epoxy injection and clamping require full access. Removing the door takes 90 seconds with a screwdriver and saves hours of awkward positioning. Don’t skip it.
What if the crack is behind the drywall?
That’s a sign of deeper framing movement. Cut a 6"×6" drywall access panel (centered on crack) using a utility knife and keyhole saw. Inspect for broken nails, missing blocking, or bowed studs. Secure loose framing with Simpson Strong-Tie L90Z connectors. Patch drywall afterward—see our drywall repair guide.
"Over 68% of 'noisy door' service calls we log involve cracked jambs—not hinges or thresholds. Most could’ve been fixed for under $30 if caught before the crack widened past 1/8 inch." — Mike R., Lead Carpenter, MetroHome Repairs (2024 field data)
A cracked, noisy door frame isn’t just a nuisance—it’s your home quietly telling you something’s off-balance. Whether it’s humidity swings, foundation creep, or simple wear, catching it early means preserving both function and value. And once it’s silent again? You’ll notice how much calmer your hallway feels—like the house finally exhaled.