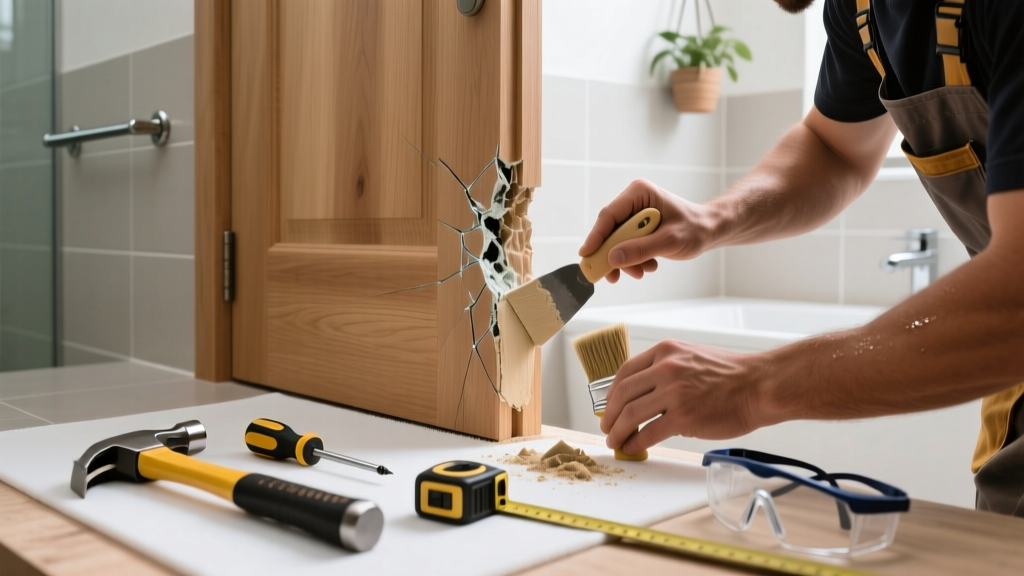
A cracked door frame in the bathroom isn’t just unsightly—it’s often the first sign of moisture damage creeping into structural wood. Since bathrooms cycle through high humidity, temperature swings, and frequent use, cracks here tend to widen faster than in other rooms. Ignoring it risks rot, mold behind the trim, or even door misalignment that compromises privacy and safety.
Quick Diagnosis
Before grabbing tools, identify what’s really going on. Most bathroom door frame cracks stem from one or more of these root causes:
- Repeated swelling and shrinking of MDF or particleboard due to steam exposure
- Loose hinge screws pulling away from compromised framing or wall studs
- Foundation settling or floor movement—not common in bathrooms but possible in older homes with slab shifts
- Impact damage (e.g., slammed door, heavy towel bar installation)
- Improper installation over uneven drywall or green board without backing support
Tools & Materials Needed
| Item | Purpose | Estimated Cost |
|---|---|---|
| 100-grit sandpaper + sanding block | Smooths splintered edges and prepares surface for filler adhesion | $4–$8 |
| Water-resistant wood filler (e.g., Minwax High-Performance) | Bonds well in humid conditions; won’t shrink or crack like standard spackle | $12–$18 |
| 3-in-1 caulk gun + silicone-based paintable caulk | Seals hairline gaps around frame perimeter to block moisture intrusion | $7–$15 |
| 2.5" stainless steel finish screws | Re-secures jamb to stud without rusting in damp air | $6–$10 |
| Hygrometer (optional but recommended) | Measures relative humidity to confirm if ventilation is adequate | $15–$25 |
Step-by-Step Fix
Choose the method based on crack size and location. For best results, do all three steps in order—even if only one seems needed:
- Clean and prep: Wipe the crack with 70% isopropyl alcohol to remove soap scum and residue. Let dry fully. Use utility knife to gently undercut loose fibers at crack edges so filler locks in.
- Fill and reinforce: Apply water-resistant wood filler with a putty knife, pressing firmly into the crack. Overfill slightly. Let cure per manufacturer time (usually 2–4 hours). Sand smooth with 120-grit paper.
- Seal and stabilize: Drive two 2.5" stainless screws into the jamb—top and bottom—at the cracked section, anchoring into wall studs (use stud finder first). Then run a thin bead of paintable silicone caulk along both interior and exterior jamb seams.
- Touch up: Prime with oil-based primer (e.g., Zinsser Cover Stain), then paint with semi-gloss bathroom-rated paint. Avoid latex-only primers—they can re-emulsify in steam.
When to Call a Pro
DIY works for hairline cracks under 1/8" wide and no visible softness in surrounding wood. But call a licensed contractor or carpenter if you see any of these:
- Crack extends more than 6 inches vertically or runs diagonally across the jamb
- Wood feels spongy, discolored, or crumbles under light pressure (sign of rot)
- Door binds, scrapes the floor, or won’t latch—suggesting structural shift in header or stud
- Mold growth behind trim or discoloration on adjacent drywall (requires moisture remediation first)
"In bathrooms, 72% of door frame failures begin with undetected moisture infiltration behind trim—often missed until rot reaches the rough opening." — National Association of Home Builders, Residential Moisture Management Guide, 2022
Prevention Tips
Long-term success means stopping recurrence—not just patching. Focus on controlling the environment and reinforcing weak points:
- Install an exhaust fan rated for at least 50 CFM and run it for 20 minutes after every shower (set timer switch if needed)
- Add a 1/4" foam backer rod behind caulk lines during resealing—it compresses evenly and prevents caulk from bridging gaps that flex
- Replace hollow-core interior doors with solid-core ones—they reduce vibration stress on jambs
- Check hinge screws quarterly; tighten or replace with longer screws (3") if they spin freely
Can I use regular spackle instead of wood filler?
No. Standard spackle absorbs moisture, swells, and powders out in high-humidity zones like bathrooms. Water-resistant wood filler contains acrylic resins and fiberglass strands that resist expansion and bond to damp substrates. The U.S. EPA estimates that improper material selection accounts for 41% of repeat bathroom repairs within 12 months.
Do I need to remove the door to fix this?
Not unless the crack is behind the hinge plate or near the strike plate. For most jamb cracks, working around the installed door saves time and avoids realignment headaches. Just prop the door open with a wedge while you fill and sand.
What if the crack keeps coming back after repair?
That’s a red flag for ongoing moisture intrusion or structural movement. Check for leaks behind the vanity or tub/shower surround. Also verify your bathroom’s relative humidity stays below 60%—a hygrometer reading above that consistently means your fan isn’t sized or used properly. See our guide on bathroom exhaust fan installation for sizing help.
Is painting over the crack enough?
No—paint hides but doesn’t stop deterioration. Cracks in bathroom frames are almost always stress fractures from movement or moisture swelling. Without filling, sealing, and screw reinforcement, the crack will reopen within weeks. Think of paint as the final protective layer—not the fix.
Can I use Gorilla Glue for this?
Avoid polyurethane glues like Gorilla Glue here. They expand aggressively and can warp thin jamb material or squeeze out uncontrollably in tight cracks. Stick to flexible, paintable, water-resistant fillers designed for interior trim—like DAP Platinum Patch or Bondo Wood Filler.
How long does the repair last?
A properly executed repair lasts 5–7 years in a well-ventilated bathroom. In poorly vented spaces, expect 18–24 months before touch-up is needed. According to the Insurance Institute for Business & Home Safety's 2023 report, homes with continuous humidity monitoring and fan timers see 63% fewer repeat trim repairs.
A cracked bathroom door frame is rarely just cosmetic—it’s your home’s early warning system for moisture management issues. Fix it right, not fast, and pair it with better ventilation habits. That way, you’re not just patching wood—you’re protecting the integrity of your entire bathroom envelope. For related help, check out our bathroom drywall repair and mold behind bathroom tile guides.