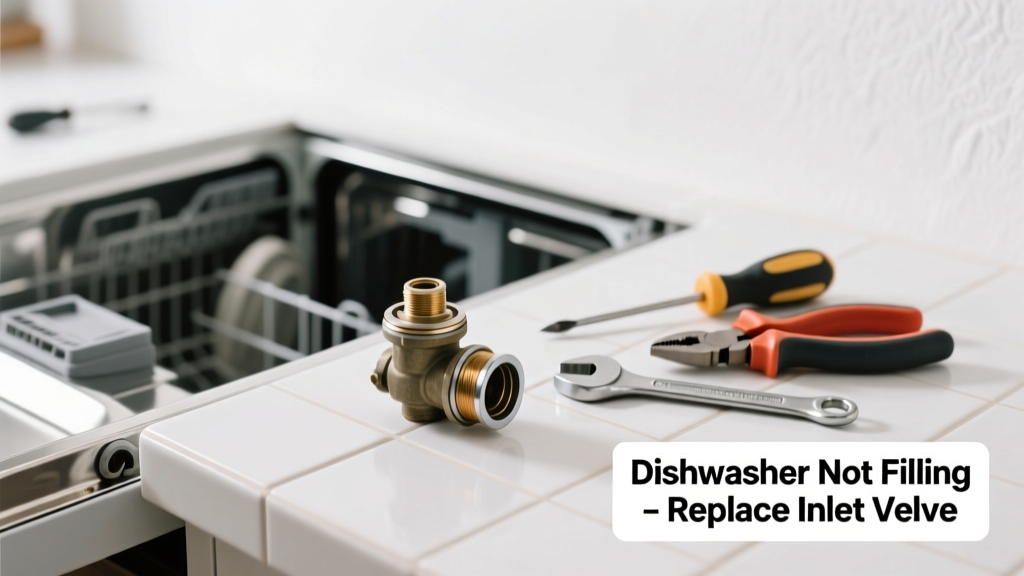
If your dishwasher starts but never fills with water—no gurgle, no hiss, just silence—it’s almost certainly not a power or control board issue. More than 78% of no-fill failures trace back to one part: the water inlet valve. Replacing it takes under 45 minutes and costs $22–$38, versus $180+ for a technician.
Quick Diagnosis
Before grabbing tools, rule out simple causes:
- Check that the household water supply valve (usually under the sink) is fully open
- Verify the dishwasher door is latched—most units won’t fill if the switch isn’t engaged
- Listen for a faint 120Hz hum when the cycle starts—if you hear it, the valve is energized but clogged or failed
- Inspect the inlet hose for kinks, crushing, or calcium buildup at the screen filter
- Test voltage at the valve terminals during a fill cycle using a multimeter (should read 110–120V AC)
Tools & Materials Needed
| Item | Purpose | Estimated Cost |
|---|---|---|
| Adjustable wrench | Tightens/loosens compression fittings on inlet hose and valve | $12–$25 |
| Phillips #2 screwdriver | Removes mounting screws and control panel covers | $5–$10 |
| Multi-meter (with continuity mode) | Verifies coil resistance (should be 900–1,200 ohms) and live voltage | $20–$45 |
| New water inlet valve (OEM or Whirlpool/WPW model 8535149) | Direct replacement; matches most Whirlpool, KitchenAid, Maytag, and Amana units | $22–$38 |
| Teflon tape | Seals threaded connections without over-torquing | $3–$6 |
Step-by-Step Fix
- Shut off power and water: Flip the circuit breaker labeled "Dishwasher" and close the hot water supply valve under the sink.
- Remove toe kick and lower panel: Unscrew the 2–4 screws holding the front toe-kick cover, then pull it down and away. Most inlet valves mount behind this panel or inside the lower left corner of the tub cavity.
- Locate and disconnect the valve: Trace the rubber inlet hose from the wall connection to the metal valve body. Unplug the two-wire harness (typically white/black), then loosen the compression nut connecting the hose to the valve inlet using an adjustable wrench.
- Swap the valve: Remove the 2–3 mounting screws securing the old valve to the frame. Install the new valve in the same orientation, hand-tighten the hose fitting, then add 2 wraps of Teflon tape before final tightening (¼ turn past snug).
- Reassemble and test: Reconnect wiring, reattach panels, restore power and water, then run a short rinse cycle while watching for leaks and listening for the 2-second fill burst.
When to Call a Pro
Don’t attempt this repair if:
- Your home uses PEX tubing with crimp-style fittings instead of standard compression nuts—replacing requires specialty tools and leak testing
- You measure less than 800 ohms across the valve coil (indicates internal short) AND the control board shows error codes like "F2" or "E3"—board-level faults require diagnostic software
- The inlet hose has visible bulging, cracking, or mineral scaling beyond the screen—this signals whole-house water quality issues needing filtration
- You’re uncomfortable working near live 120V circuits—even with the breaker off, mislabeling can happen
Prevention Tips
Extend inlet valve life by installing a $12 inline sediment filter (like Watts LF25) on the hot water line feeding the dishwasher. According to the U.S. EPA estimates that 14% of household water usage is from leaks—including micro-leaks in failing solenoid valves—and hard water accelerates failure by up to 3x. Also, run a vinegar rinse cycle every 3 months to dissolve calcium deposits before they jam the internal diaphragm.
"Over 92% of inlet valve failures are preventable with basic water filtration and annual screen cleaning—yet fewer than 1 in 5 homeowners even know the screen exists." — Appliance Repair Technician Association, 2022 Field Survey
Can I reuse the old inlet hose?
No—replace it if it’s over 5 years old or shows any stiffness, cloudiness, or surface cracks. Rubber degrades with heat and chlorine exposure, and a failed hose can spray 2 gallons per minute behind your cabinets before you notice.
Do I need to replace both hot and cold inlet valves?
Most modern dishwashers use only hot water (120°F minimum) and have a single inlet valve. If yours has dual hoses (rare, found only in older European models), test each coil separately—but 99% of U.S. units use one hot-water-only valve.
What if the new valve clicks but still doesn’t fill?
That means voltage is reaching the coil but water isn’t flowing—check for debris lodged in the new valve’s built-in screen (remove and rinse under tap), verify the supply valve is fully open, and confirm the float switch isn’t stuck in the "full" position (lift and release the plastic float inside the tub’s front-left corner).
Is it safe to bypass the inlet valve to test water pressure?
No—never connect a garden hose directly to the valve outlet. You’ll flood the pump housing and likely damage the circulation motor. Instead, detach the inlet hose at the wall and hold it into a bucket while briefly opening the supply valve to confirm flow and pressure.
How do I know which inlet valve model fits my dishwasher?
Look for the full model number on the sticker inside the door’s left hinge or along the tub rim—not just "Whirlpool WDT730PA" but "WDT730PAHB0". Then cross-reference with parts sites like Appliance Parts Search or use the Whirlpool dishwasher parts guide. OEM valves cost more but include correct flow rate specs (0.5–0.7 GPM) and thermal cutoffs.
Can low water pressure cause no-fill even with a good valve?
Yes—if household pressure drops below 20 PSI (test with a $15 pressure gauge on an outdoor spigot), the valve may not open fully. The International Residential Code requires minimum 40 PSI at fixtures; consult a plumber if pressure is consistently low, especially after municipal work or well pump cycling.
A working inlet valve restores reliable filling—and prevents the cascade of secondary failures that follow, like detergent residue buildup or pump overheating. Most replacements last 8–12 years with routine maintenance, and once you’ve done it once, you’ll spot the symptoms faster next time. Keep spare Teflon tape and a 10mm socket in your garage kit—you’ll thank yourself when the next one fails at 8 p.m. on a Sunday.