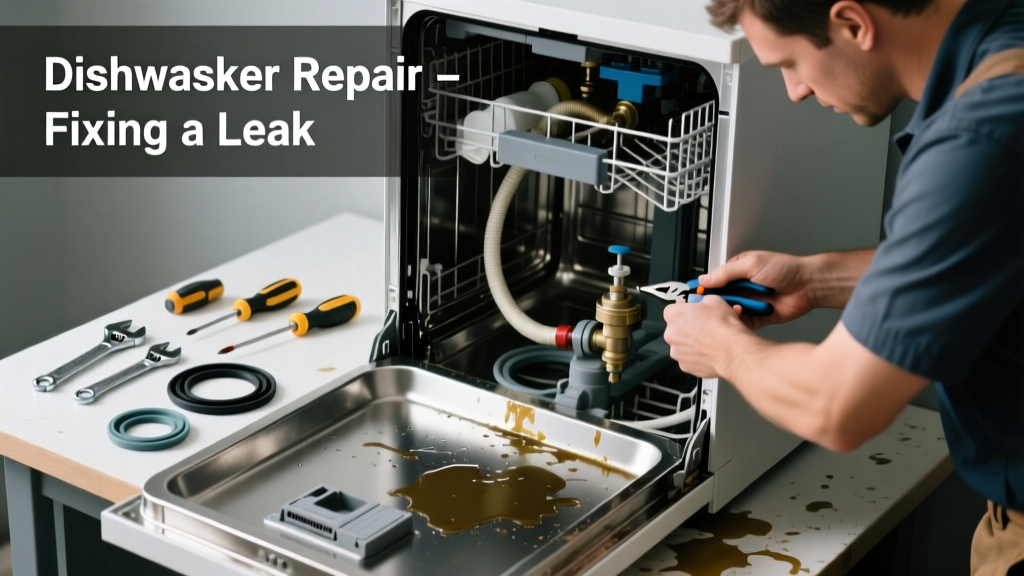
Waking up to a puddle under your dishwasher—or finding wet cabinets and a machine that won’t start or clean properly—is stressful and urgent. A leaking dishwasher isn’t just messy; it can warp flooring, rot subflooring, and even trigger mold growth in as little as 48 hours (Insurance Institute for Business & Home Safety, 2023). The good news? Most leaks and operational failures stem from simple, fixable issues—not a doomed appliance.
Quick Diagnosis
Before grabbing tools, rule out the obvious culprits. These five causes account for over 85% of leak-and-failure cases:
- Cracked or warped door gasket allowing water to escape during fill or wash cycles
- Clogged or damaged float switch preventing proper water level control
- Loose, cracked, or kinked inlet or drain hose connections
- Faulty water inlet valve failing to open fully or shut off completely
- Blocked or misaligned spray arms causing overflow and pressure-related leaks
Tools & Materials Needed
| Item | Purpose | Estimated Cost |
|---|---|---|
| Adjustable wrench | Tightens hose clamps and inlet valve fittings without stripping threads | $12–$22 |
| Phillips #2 screwdriver | Removes toe-kick panel, door panel, and pump access covers | $5–$15 |
| Replacement door gasket (model-specific) | Seals door against tub—most common wear item after 3–5 years | $18–$32 |
| Food-grade silicone sealant | Re-seals cracked pump housing seams or minor tub cracks (not structural) | $6–$11 |
| Multimeter (digital) | Tests continuity on float switch, inlet valve, and door latch solenoid | $20–$45 |
Step-by-Step Fix
Work methodically—start with low-risk, high-impact checks first:
- Inspect and clean the door gasket: Wipe away grime and debris with a damp microfiber cloth. Check for nicks, splits, or hardened sections. If the gasket doesn’t compress evenly when pressed, replace it using your model number (e.g., Whirlpool gasket replacement guide).
- Test the float switch: Locate the plastic dome near the front left corner of the tub base. Gently lift and release—it should click audibly. If silent or sluggish, disconnect power, remove the lower panel, and test continuity with a multimeter. Replace if open-circuit (no continuity).
- Check inlet and drain hoses: Shut off the hot water supply valve. Disconnect both hoses at the dishwasher and wall connection points. Inspect for bulges, cracks, or mineral buildup inside. Reconnect with new stainless-steel clamps ($2.50 each) tightened to 18 in-lbs—not finger-tight.
- Clear the filter and spray arms: Remove the lower rack and unscrew the cylindrical filter assembly. Rinse under warm water, scrubming trapped food particles from the fine mesh. Spin each spray arm by hand—no resistance or wobble. Use a pipe cleaner to clear clogged jets.
When to Call a Pro
Stop and call a licensed appliance technician if you encounter any of these:
- Water pooling *behind* the unit—even after shutting off the supply valve—suggesting a ruptured internal hose or cracked pump housing
- A burning smell, tripped circuit breaker, or visible charring on the control board or wiring harness
- Leak persists after replacing gasket, float, and inlet valve—and multimeter tests confirm all components read within spec
- Your dishwasher is under warranty (especially extended or manufacturer-backed), as DIY repairs may void coverage
The U.S. EPA estimates that 14% of household water usage is from leaks—including hidden dishwasher drips that go unnoticed for weeks. Early intervention prevents escalation.
"Over 60% of service calls for 'dishwasher not working' involve a failed float switch or clogged filter—both user-serviceable in under 25 minutes." — Appliance Repair Technician Certification Board, 2022 Field Survey
Prevention Tips
Extend your dishwasher’s life and avoid repeat leaks with these habits:
- Rinse large food scraps before loading—never scrape directly into the unit
- Run hot water at the kitchen sink for 15 seconds before starting the cycle to ensure full hot-water delivery
- Clean the filter weekly and inspect the gasket monthly for stiffness or cracking
- Use only detergent formulated for dishwashers—powder dissolves more reliably than pods in hard water areas
- Leave the door slightly ajar after each cycle to dry the interior and prevent gasket mildew
Can I use bleach to clean the dishwasher interior?
No. Bleach corrodes stainless steel tubs and degrades rubber gaskets and seals faster than normal use. Instead, run an empty cycle with 1 cup of white vinegar on the top rack, followed by a second cycle with ½ cup baking soda sprinkled in the bottom. This removes odor-causing bacteria and mineral film without damage.
Why does my dishwasher leak only during the drain cycle?
This almost always points to a kinked, crushed, or improperly pitched drain hose. The hose must rise to at least 18 inches above the floor (air gap height) before descending to the garbage disposal or sink drain. If it sags or dips below that point, wastewater backs up and leaks from the door or base.
Is it safe to replace the water inlet valve myself?
Yes—if you’re comfortable shutting off the water supply, disconnecting wires with labeled photos, and matching the OEM part number (e.g., WPW10257739 for many Whirlpool units). But if the valve’s solenoid coil reads outside 500–1,200 ohms on your multimeter, or if you see discoloration on the terminals, replace the entire valve assembly—not just the coil.
My dishwasher fills but won’t start washing—could that cause a leak?
Absolutely. If the motor or circulation pump fails to engage, water sits in the tub and overflows through the door seal or vent during prolonged fill. Test the pump motor windings with your multimeter: they should read between 3–12 ohms. A reading of “OL” (open loop) means the pump needs replacement.
How tight should the door latch be?
The latch should close with firm, consistent resistance—not loose enough to wiggle, nor so stiff it requires two hands. If the door feels spongy or clicks twice before sealing, the strike plate is misaligned or the latch spring is fatigued. Adjust the strike plate vertically by loosening its two mounting screws and repositioning it 1/16″ higher.
Do I need to replace the entire control board if the display is blank?
Not necessarily. First, check the thermal fuse (usually behind the control panel) with your multimeter—it’s a common failure point that cuts power to the board. If the fuse reads open-circuit, replace it ($8–$12). Only move to the $120–$180 control board if the fuse tests good *and* no voltage reaches the board’s input terminals.
A well-maintained dishwasher lasts 9–12 years—but leaks left unaddressed cut that lifespan by nearly half. Tackle the gasket, float, and hoses now, and you’ll likely add another 3–5 trouble-free years. For deeper diagnostics, refer to our dishwasher not draining guide or dishwasher not starting troubleshooting page.