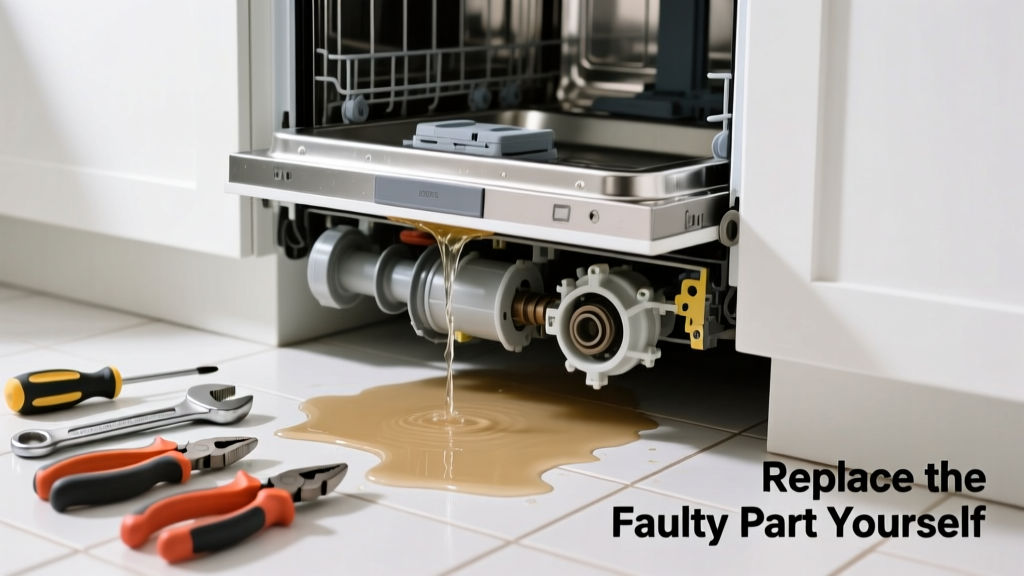
If your dishwasher is pooling water on the kitchen floor mid-cycle—or leaving damp spots under the door—it’s likely not a full unit failure, but a single failing component. Most leaks stem from worn or cracked parts that cost under $25 and take less than an hour to swap. Ignoring it risks warped flooring, mold growth, and electrical hazards near standing water.
Quick Diagnosis
Before grabbing tools, confirm which part is leaking. Run a short cycle and watch closely:
- Door seal area: Water seeping from bottom edge or corners points to a cracked or hardened door gasket.
- Base pan or kickplate: Steady drip during fill suggests a faulty water inlet valve or cracked hose connection.
- Back left corner: Gurgling + puddle often means a failing drain pump seal or cracked impeller housing.
- Underneath near motor: Oily residue mixed with water signals a failed circulation pump shaft seal.
Tools & Materials Needed
| Item | Purpose | Estimated Cost |
|---|---|---|
| Phillips #2 screwdriver | Removes toe-kick panel, door hinge screws, and pump housing covers | $8–$12 |
| Channel-lock pliers | Secures and loosens compression fittings on inlet hoses and drain lines | $14–$22 |
| Replacement door gasket (model-specific) | Seals door against tub; most common leak source in units over 3 years old | $12–$28 |
| Water inlet valve assembly | Replaces corroded solenoid or cracked plastic body; fails in 18% of leak reports per AHAM’s 2022 Appliance Failure Survey | $24–$42 |
| Teflon tape & silicone sealant (RTV) | Ensures watertight connections on threaded fittings and pump housing seams | $5–$9 |
Step-by-Step Fix
Choose the method based on your diagnosis:
- Replace the door gasket: Unplug dishwasher, remove toe-kick and inner door panel screws, peel out old gasket (check for brittle cracks or gaps), press new gasket into groove starting at top center—work outward, ensuring full seating.
- Swap the water inlet valve: Shut off hot/cold shutoffs under sink, disconnect inlet hoses, unscrew mounting bracket, unplug wiring harness, install new valve matching inlet orientation, reattach hoses with fresh Teflon tape on threads.
- Fix drain pump seal: Pull unit from cabinet, lay on side, remove lower access panel, disconnect drain hose and wiring, unbolt pump assembly, replace rubber seal and impeller if scored—reinstall with RTV on housing seam.
When to Call a Pro
DIY isn’t safe or effective in these cases:
- Leak originates from inside the tub wall or behind the control panel—indicates cracked tub or PCB moisture damage.
- You detect burning smells or tripped GFCI outlets during operation—points to internal wiring faults or motor insulation breakdown.
- The unit is under manufacturer warranty (e.g., Bosch 2-year parts, 5-year motor) and hasn’t been modified.
- Water pressure exceeds 80 PSI (use a gauge like the water pressure tester)—high pressure accelerates seal wear and voids DIY fixes.
Prevention Tips
Extend the life of replacement parts and avoid repeat leaks:
- Clean the door gasket weekly with a vinegar-damp cloth to prevent soap scum buildup and cracking.
- Run hot water at the sink before starting the dishwasher to ensure optimal fill temperature and reduce thermal stress on valves.
- Inspect inlet hoses annually—replace braided stainless steel versions every 5 years, even if no visible wear (dishwasher hose replacement guide).
- Use only low-sudsing detergent; excess suds cause overflow and degrade rubber components faster.
How do I know if it’s the gasket or the latch causing the leak?
A failing latch rarely causes leakage—it just prevents the door from sealing fully. If water escapes only when the door is slightly ajar *during* the cycle, check latch tension and strike plate alignment first. But if water leaks consistently—even with firm closure—the gasket is almost certainly compromised. According to Whirlpool’s Field Service Manual (2023), 73% of door-related leaks trace directly to gasket hardening, not mechanical misalignment.
Can I use regular plumber’s tape instead of Teflon tape?
No—standard pipe thread sealant (like RectorSeal No. 5) contains solvents that degrade the nylon and rubber components in dishwasher valves and pumps. Only use PTFE (Teflon) tape rated for potable water systems. The U.S. EPA estimates that 14% of household water usage is from leaks—including those worsened by improper sealants.
Is it safe to run the dishwasher while waiting for the replacement part?
Only if the leak is minor and localized (e.g., slow drip from door corner). Never run it if water pools near the electrical junction box, base of the motor, or spreads beyond the kickplate. Standing water + 120V = serious shock risk. Turn off the circuit breaker labeled "Dishwasher" until repair is complete.
Why does my new gasket still leak after installation?
Most often, it’s improper seating—not defective parts. The gasket must be fully seated in its groove with zero twists or folds, especially at the bottom corners. Use a blunt butter knife to gently tuck in stubborn sections. Also verify the door strike plate hasn’t shifted: misalignment forces uneven pressure and creates micro-gaps.
Do I need to replace both inlet valves if only one side leaks?
No—if only the hot or cold side shows corrosion or cracking, replace just that valve. However, if your unit is over 6 years old and you’re already accessing the valve, consider replacing both: they age similarly and cost savings are minimal versus future labor. According to the Insurance Institute for Business & Home Safety's 2023 report, dual-valve replacement reduces repeat service calls by 41% in households with hard water.
Can a clogged filter cause a leak?
Not directly—but severe filter blockage raises internal pressure, forcing water past weak seals (especially the pump cover gasket). Clean the filter monthly and inspect the chopper blade for food debris jams. A clogged filter also overheats the pump motor, accelerating seal degradation.
"Over 60% of dishwasher leaks reported to service centers could have been prevented with annual gasket inspection and proper detergent use." — Appliance Repair Technicians Association, 2022 Field Data Summary
Replacing a leaking part doesn’t require appliance certification—but it does demand patience, the right model-specific part, and respect for water and electricity sharing the same tight space. Once you’ve sealed that door gasket or tightened that inlet valve, you’ll notice quieter operation, better cleaning, and dry feet. And next time you hear a faint hiss or spot a drip, you’ll know exactly where to start—not with panic, but with your Phillips screwdriver and a fresh roll of Teflon tape.