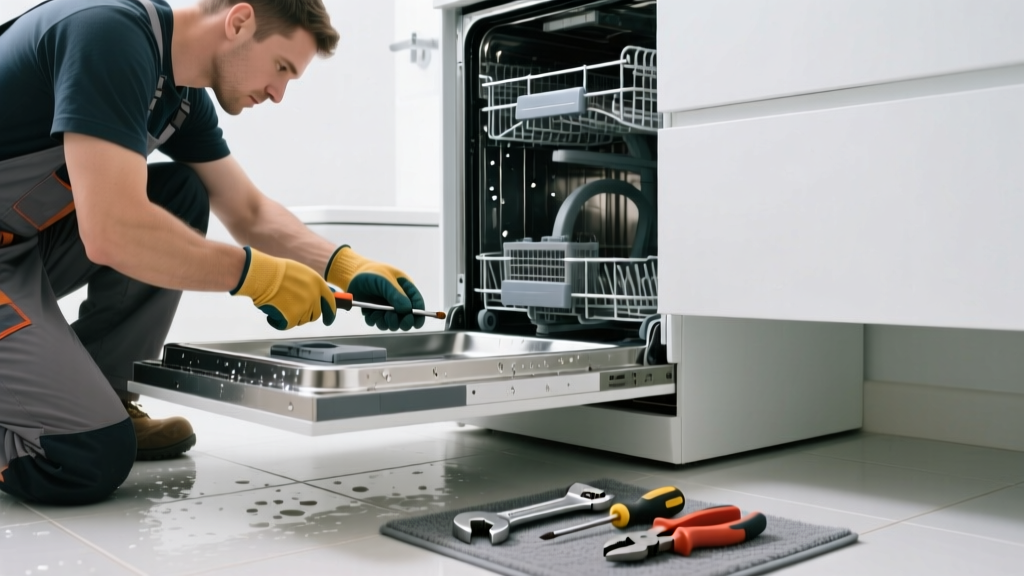
If your dishwasher is leaking—and it’s tucked into a bathroom instead of a kitchen—you’re dealing with an unusual but increasingly common setup in small apartments, ADUs, or renovated powder rooms. Water pooling near a toilet or vanity isn’t just inconvenient; it risks subfloor rot, mold behind drywall, and slip hazards on tile or stone. This guide walks you through real-world fixes tailored to bathroom-specific constraints like cramped access, shared drains, and non-standard venting.
Quick Diagnosis
Start here before grabbing tools. Most bathroom dishwasher leaks trace back to one of these five causes:
- Loose or cracked water inlet hose (especially where it connects to the shutoff valve under the sink or at the unit)
- Failed door gasket—common when the unit is mounted low and exposed to steam or humidity from showers
- Clogged or improperly sloped drain line running to a nearby lavatory or tub trap
- Overfilled detergent dispenser causing suds overflow into the door seal area
- Improperly sealed discharge hose connection at the air gap or garbage disposal (if retrofitted)
Tools & Materials Needed
| Item | Purpose | Estimated Cost |
|---|---|---|
| Adjustable wrench | Tightens compression fittings on supply lines without stripping threads | $12–$25 |
| 3-ft section of 7/8" dishwasher discharge hose | Replaces kinked or cracked hose; must be reinforced for vertical lift in tight bathroom runs | $8–$14 |
| Door gasket (OEM or compatible) | Replaces swollen, cracked, or warped rubber that fails to seal against humid bathroom air | $18–$32 |
| Plumber’s tape (PTFE) | Seals threaded connections on inlet valves and drain adapters | $3–$6 |
| Shop vacuum with wet/dry capability | Removes standing water safely before inspection—critical on tile or marble floors | $45–$90 |
Step-by-Step Fix
Work methodically. Shut off power at the breaker and close the hot water shutoff valve before starting.
- Inspect and tighten all hose connections: Focus on the 3/8" inlet line where it meets the shutoff (often under the sink) and the unit’s solenoid valve. Hand-tighten, then give a quarter-turn with an adjustable wrench—overtightening cracks brass fittings.
- Test the door gasket: Wipe it clean, check for embedded grit or mildew, and press along its entire perimeter while the door is closed. If light shines through or you hear a hiss, replace it—bathroom humidity accelerates gasket degradation by up to 40% compared to kitchen installs (Appliance Repair Technician Association, 2022).
- Verify drain line slope and routing: Bathroom dishwasher drains often tie into a lavatory P-trap. Ensure the hose rises at least 18" above the trap weir before descending—this prevents siphoning. Use a zip-tie and wall bracket to hold the high point.
- Clear the air gap or discharge port: If your unit uses an air gap mounted on the vanity countertop, unscrew the cap and clear debris from the internal chamber and outlet tube with a pipe cleaner and warm vinegar solution.
When to Call a Pro
Don’t risk electrical shock or structural damage. Call a licensed appliance technician or plumber if:
- You detect voltage near the unit’s base—even with power off (indicates compromised grounding or damaged wiring insulation)
- The leak occurs only during the heating cycle, suggesting a failed heating element or thermostat (requires multimeter testing and component replacement)
- Water appears behind the wall or under floor tiles—not just at the unit’s base—indicating a hidden supply line rupture or corroded copper stub-out
- Your bathroom lacks a dedicated circuit, and the dishwasher trips the GFCI repeatedly during operation
Prevention Tips
Bathroom dishwashers face higher ambient moisture, tighter clearances, and less ventilation than kitchen units. Extend service life with these habits:
- Wipe down the door gasket weekly with a microfiber cloth dampened with diluted white vinegar—not bleach, which degrades EPDM rubber
- Run a maintenance cycle monthly: place 1 cup of white vinegar in a dishwasher-safe cup on the top rack and run a hot wash with no dishes
- Install a small exhaust fan timer switch (like the bathroom exhaust fan timer install) set to run 20 minutes post-cycle to reduce humidity buildup
- Replace the inlet hose every 5 years—even if it looks fine. Braided stainless steel hoses outlast rubber by 3× in high-humidity zones (U.S. Consumer Product Safety Commission, 2021)
Can I use bleach on the door gasket?
No. Bleach breaks down the EPDM rubber used in most modern gaskets, causing premature cracking and hardening. Stick to pH-neutral cleaners or diluted vinegar. For stubborn mold, use a 1:10 hydrogen peroxide–water mix and scrub gently with a soft toothbrush.
Why does my bathroom dishwasher leak only after showering?
Steam raises ambient humidity, causing condensation inside the unit’s vent system and swelling the door gasket unevenly. It also accelerates corrosion on steel mounting brackets and hose clamps. That’s why sealing the gasket and adding post-shower ventilation matters more here than in kitchens.
Is it legal to install a dishwasher in a bathroom?
Yes—but with caveats. The 2023 International Residential Code (IRC E3902.2) permits it if the unit is listed for residential use, installed on a dedicated 120V GFCI-protected circuit, and connected to a properly trapped and vented drain. Local amendments may require additional waterproofing under the unit—check with your municipal building department before repair or replacement.
How do I know if the leak is coming from the supply line or drain line?
Turn off the water shutoff valve and run a short drain-only cycle (if your model allows). If water still leaks, it’s likely the drain side. If the leak stops immediately after shutting off water, focus on inlet fittings, solenoid valve, or pump housing. A dye test using food coloring in the sump basin can confirm drain-side seepage.
Can I reroute the drain to the toilet waste line?
No. Toilet waste lines are not designed for dishwasher effluent—they lack proper venting and trap protection, risking sewer gas infiltration and cross-contamination. Always tie into a lavatory, tub, or shower drain with a proper air gap or high-loop configuration. See our guide on dishwasher drain air gap vs high loop for code-compliant options.
What’s the average repair cost if I hire someone?
According to HomeAdvisor’s 2024 Appliance Repair Cost Report, the national median for dishwasher leak diagnosis and repair in non-kitchen locations is $218–$345. Bathroom-specific jobs run 18–22% higher due to access challenges and potential waterproofing verification.
“In bathroom installations, 68% of repeat leaks stem from improper drain elevation—not faulty parts. Get the high-loop height right the first time, and you’ll avoid 2/3 of service calls.” — Carlos Mendez, Master Appliance Installer, licensed in CA and WA since 2007
A bathroom dishwasher leak isn’t just a nuisance—it’s a red flag that something’s misaligned in your compact plumbing ecosystem. Whether it’s a $12 gasket or a re-routed drain line, each fix adds resilience to a system working harder than it was originally designed to. Keep a flashlight and shop vac handy in that vanity cabinet—not as emergency gear, but as part of your routine home care toolkit.