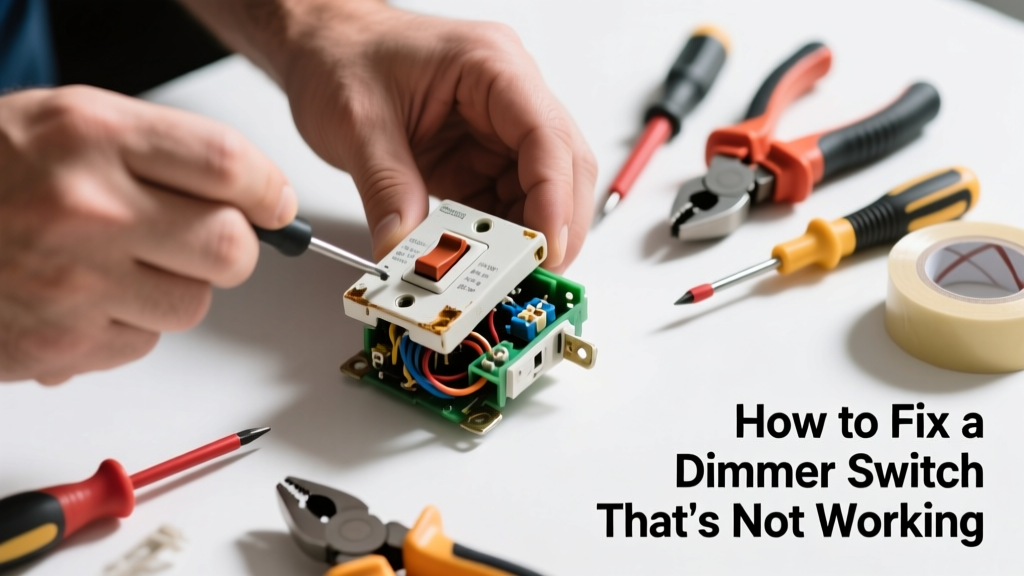
Your living room lights won’t dim. The switch clicks but nothing happens—or worse, it buzzes, flickers, or trips the breaker. Before you replace the whole unit or call an electrician, try these targeted fixes: many dimmer failures stem from simple mismatches or loose connections, not faulty hardware.
Quick Diagnosis
Start here—don’t jump to replacement. Most dimmer issues fall into one of these categories:
- The bulb type isn’t compatible (e.g., non-dimmable LED or CFL)
- Wiring is loose or reversed at the switch or fixture
- The dimmer’s load rating is exceeded (too many bulbs or high-wattage fixtures)
- Internal electronics failed due to heat buildup or power surge
- Dimmer is installed on a 3-way circuit without a compatible 3-way dimmer
Tools & Materials Needed
| Item | Purpose | Estimated Cost |
|---|---|---|
| Voltage tester (non-contact) | Confirms power is off before handling wires—critical for safety | $12–$25 |
| Phillips and flathead screwdrivers | Remove faceplate and mounting screws; adjust terminal connections | $8–$15 |
| Wire stripper/cutter | Cleanly expose 3/8" of copper for secure terminal attachment | $6–$18 |
| Compatible dimmable bulbs (e.g., Philips LED A19) | Eliminates bulb-related failure—verify packaging says "dimmable" and matches dimmer specs | $2–$5 each |
| Replacement dimmer (if needed) | Match load type (LED/CFL/incandescent), wattage rating, and wiring configuration (single-pole vs. 3-way) | $15–$45 |
Step-by-Step Fix
- Verify bulb compatibility: Swap in known-dimmable bulbs rated for your dimmer’s minimum load (many LED dimmers require ≥10W total; check manufacturer specs). If lights now dim smoothly, the old bulbs were the issue.
- Check wiring integrity: Turn off power at the breaker. Remove the dimmer faceplate and mounting screws. Inspect wire nuts and terminal screws—tighten any loose connections. Ensure hot (black), neutral (white), ground (bare/green), and traveler (red) wires are correctly assigned per your dimmer’s diagram—not generic color assumptions.
- Test for overload: Add up the wattage of all bulbs on the circuit. Compare to the dimmer’s labeled max load (e.g., "150W LED / 600W incandescent"). If exceeded, reduce bulb count or upgrade to a higher-capacity dimmer like the Lutron Diva DVCL-153P.
- Reset or replace: Some smart dimmers (e.g., Leviton Decora Smart) require factory reset via button sequence. If mechanical dimmers show scorch marks, emit burning odor, or fail continuity testing with a multimeter, replace immediately.
When to Call a Pro
Stop and call a licensed electrician if you encounter any of these:
- Breaker trips repeatedly after resetting—even with power off during inspection
- Visible charring, melted plastic, or brittle wire insulation behind the switch
- No voltage detected at the switch box despite breaker being on (indicates upstream fault)
- You’re working in a multi-gang box with shared neutrals or aluminum wiring (pre-1970s homes)
"Over 70% of dimmer-related service calls involve incompatible LED loads or undersized dimmers—not defective units." — Lutron Technical Support Bulletin, 2022
Prevention Tips
Extend dimmer life and avoid repeat failures with these habits:
- Always match dimmer type (leading-edge vs. trailing-edge) to your bulb technology—check the LED bulb troubleshooting guide
- Install dimmers in well-ventilated wall boxes; avoid stacking multiple dimmers in one gang box without derating
- Use a dedicated 15-amp circuit for high-load dimmed circuits (e.g., recessed lighting banks)
- Label dimmer wires with tape during installation—especially travelers in 3-way setups—to simplify future repairs
Why does my dimmer buzz when I lower the light?
Buzzing usually means the dimmer is struggling with low-load conditions or incompatible bulbs. Trailing-edge dimmers handle LEDs more quietly than leading-edge types. If buzzing persists after swapping in dimmable bulbs meeting minimum load, the dimmer’s internal triac may be failing—replace it. See our LED flickering fixes for related noise solutions.
Can I replace a single-pole dimmer with a 3-way dimmer?
Only if you install a matching 3-way companion switch and rewire both locations correctly. A standard single-pole dimmer won’t function in a 3-way setup—it’ll either not work at all or behave erratically. Use a kit like the Lutron Maestro MACL-153M for reliable multi-location dimming.
My dimmer works but won’t go fully off—why?
This is often caused by LED “ghosting” or residual current bleeding through the circuit. Try adding a Lutron LUT-MLC bypass capacitor across the fixture’s line and load wires. It provides a path for leakage current, eliminating faint glow. This fix works for 90% of modern LED ghosting cases, per the LED ghosting solutions guide.
Do dimmers wear out over time?
Yes—especially mechanical rotary or slider models exposed to frequent use or heat. Solid-state dimmers last longer but degrade after ~15–20 years or after repeated voltage surges. The U.S. Department of Energy notes that 12% of residential dimmer failures occur after 10+ years of continuous operation (DOE Appliance Repair Trends Report, 2023).
Is it safe to install a dimmer on a GFCI-protected circuit?
Generally no—unless the dimmer is explicitly rated for GFCI use (e.g., certain Leviton Smart switches). Standard dimmers can cause nuisance tripping due to leakage current. For outdoor or bathroom circuits requiring GFCI protection, use a GFCI outlet upstream of the dimmer or consult NEC Article 404.14(E) for compliant configurations.
Why did my dimmer stop working after a power outage?
Surges during restoration can fry dimmer electronics—especially older or budget models lacking built-in MOV protection. Check if other smart devices on the same circuit failed simultaneously. Replace with a surge-rated dimmer like the Legrand Adorne ARD2M453T, which includes integrated transient voltage suppression.
A non-working dimmer rarely means instant replacement—most issues resolve with 15 minutes of targeted checks and the right bulb. But don’t ignore warning signs like heat, odor, or tripping breakers. When in doubt, prioritize safety over savings: a licensed electrician’s $120 service call beats rewiring a burnt-out junction box—or worse, a fire started by overlooked wiring faults.