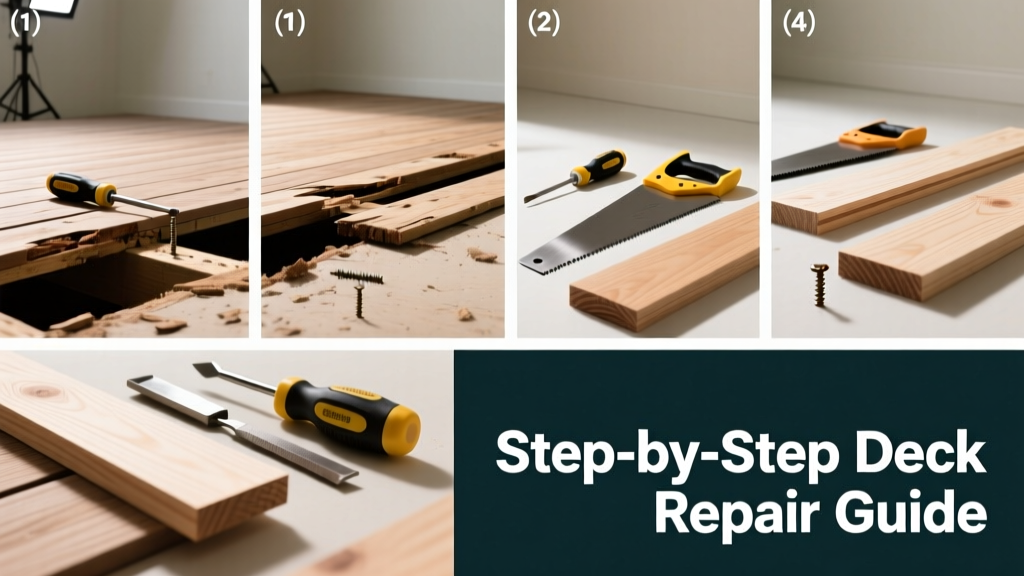
If you press down on a deck board and it feels spongy—or worse, your screwdriver sinks in like butter—you’ve got active rot. Left untreated, one soft board can compromise load-bearing joists and lead to costly structural repairs. Catching it early saves time, money, and safety risks.
Quick Diagnosis
Rotten deck boards rarely appear out of nowhere. Here are the most common root causes:
- Poor drainage—standing water from improper pitch or clogged gaps
- Lack of annual cleaning—mold, mildew, and organic debris trap moisture
- Direct soil contact—posts or ledger boards buried without proper flashing or gravel
- Old or damaged fasteners—rusty screws or nails that wick moisture into wood
- Unsealed end grain—cut ends left bare absorb rain like a sponge
Tools & Materials Needed
| Item | Purpose | Estimated Cost |
|---|---|---|
| Cordless impact driver | Removes corroded screws without stripping heads | $120–$180 |
| Deck board removal pry bar (e.g., Wonder Bar) | Lifts boards without splintering adjacent planks | $18–$25 |
| Pressure-treated or composite replacement board | Must match existing thickness (5/4" or 2×6) and species | $3–$12 per linear foot |
| Galvanized or stainless steel deck screws (3") | Corrosion-resistant fasteners rated for exterior use | $8–$15 per box |
| Moisture meter (e.g., General Tools MMD4E) | Confirms rot depth—readings >20% indicate advanced decay | $45–$70 |
Step-by-Step Fix
- Isolate and inspect: Tap each board with a hammer handle; hollow or dull thuds signal internal rot. Use a moisture meter to confirm readings above 20%—if so, mark for removal.
- Remove damaged boards: Drive an old screw into the center of the rotten board, then use locking pliers to grip and twist upward. Pry gently at seams using a flat bar—don’t force it sideways and damage neighboring boards.
- Check underlying structure: Inspect joists beneath the removed board. If joist edges crumble under light pressure or show black streaks, treat with borate solution (deck joist rot repair) or replace entirely.
- Install replacement: Pre-drill pilot holes to prevent splitting. Set screws 1" from board edges and 16" on-center. Leave 1/8" gaps between boards for expansion and drainage.
- Seal and protect: Apply a penetrating water repellent (e.g., Thompson’s WaterSeal Advanced) to all cut ends and top surfaces—not paint or film-forming sealers, which trap moisture.
When to Call a Pro
DIY works for isolated, surface-level rot—but stop and call a licensed contractor if you encounter any of these:
- More than three consecutive boards showing rot (>10% of total deck surface)
- Rot extending into joists, beams, or the ledger board attached to your house
- Visible sagging, bouncing, or movement when walking near affected areas
- No visible fasteners—boards secured with hidden clips or proprietary systems requiring specialty tools
- Your deck is older than 20 years and hasn’t had a structural inspection since installation
According to the Insurance Institute for Business & Home Safety's 2023 report, 68% of deck collapses involved undetected rot in load-bearing components—most missed during routine visual checks.
"If you see white fungal strands (hyphae) or hear a crunch underfoot, assume structural integrity is compromised. Don’t test it—call a pro." — John R. Lippincott, Certified Deck Inspector, NAHB, 2022
Prevention Tips
Rot isn’t inevitable—it’s preventable with consistent care:
- Clean your deck twice yearly with a sodium percarbonate-based cleaner (not chlorine bleach, which degrades wood fibers)
- Inspect all fasteners annually—replace rusted screws with stainless steel Type 316
- Ensure deck slope is at least 1/8" per foot away from the house to shed water
- Trim shrubs and vines within 12" of decking—they hold humidity and block airflow
- Apply a breathable, water-repellent finish every 2–3 years—see our top-rated deck sealers
Can I use bleach on this?
No. Chlorine bleach kills surface mold but damages lignin—the natural glue holding wood fibers together—making boards more porous and prone to future rot. Use oxygen bleach (sodium percarbonate) instead—it cleans without weakening wood.
How long do replacement boards last?
Properly installed and maintained pressure-treated pine lasts 15–20 years; cedar or redwood, 20–25 years; capped composite, 25–30+ years. Lifespan drops by 40% if end grain isn’t sealed after cutting.
Do I need to replace the entire deck?
Not unless rot has spread to >25% of joists or the ledger attachment fails a torque test. Most cases involve localized board replacement—use our free deck inspection checklist to assess scope before buying materials.
What’s the best screw length for 5/4" decking?
Use 3" corrosion-resistant screws. They penetrate at least 1.5" into the joist—meeting IRC code requirements for lateral load resistance. Shorter screws risk pull-out; longer ones risk splitting joists.
Can I sister a rotted joist instead of replacing it?
Yes—if rot is limited to the top 1/3 and depth is under 1.5". Attach a new pressure-treated 2×6 alongside with staggered 3" structural screws every 6". But if rot exceeds 25% of joist depth, full replacement is required per ICC-IRC R507.6.
Should I use construction adhesive under new boards?
Avoid it. Adhesive traps moisture between board and joist, accelerating hidden rot. Screws alone provide adequate hold—and allow for future removal if needed. If extra stiffness is desired, use joist tape (e.g., Fortiflex) as a moisture barrier instead.
A well-maintained deck shouldn’t feel like a gamble every time you host friends outside. Fixing rot early isn’t just about preserving wood—it’s about keeping your family safe, your home value intact, and your summer gatherings worry-free. Replacing a few boards now takes half a Saturday; rebuilding a collapsed section takes weeks and thousands of dollars.