If you press down on a deck board and it feels spongy—or worse, your screwdriver sinks in like butter—it’s already rotting. That soft, dark, crumbly wood isn’t just unsightly; it’s a safety hazard and a sign moisture has breached your deck’s defenses. Catch it early, and you’ll save hundreds in replacement costs and prevent cascading decay.
Quick Diagnosis
Rotten deck boards rarely appear out of nowhere. Here are the most common root causes:
- Poor drainage—standing water pools near joists or under boards due to improper pitch or clogged gaps
- Direct soil contact—deck posts or ledger boards sitting on grade without proper footings or flashing
- Unsealed end grain—cut ends of pressure-treated boards left untreated, acting like wicks for moisture
- Old or failing fasteners—rusty screws or nails that no longer hold tight, letting water seep into joints
- Missing or damaged flashing—especially at the ledger-to-house connection, where 90% of deck-related water intrusion begins (IBHS 2022)
Tools & Materials Needed
| Item | Purpose | Estimated Cost |
|---|---|---|
| Cordless impact driver | Removes corroded screws quickly without stripping heads | $120–$220 |
| 10-in circular saw with carbide blade | Cuts out rotted sections cleanly; set depth to avoid cutting joists | $85–$160 |
| Pressure-treated or composite replacement board | Must match species, thickness (usually 5/4" or 2×6), and treatment rating (UC4B for ground contact) | $3.50–$12.00 per linear foot |
| Deck screws (stainless steel or ceramic-coated) | Corrosion-resistant fasteners rated for treated lumber; 3″ minimum length | $12–$25 per pound |
| Joist tape (butyl rubber) | Seals top of joists before installing new boards—prevents water from soaking into end grain | $18–$32 per 100-ft roll |
Step-by-Step Fix
Fixing isolated rot is straightforward—if the joists beneath are sound. Follow this sequence for safe, lasting results:
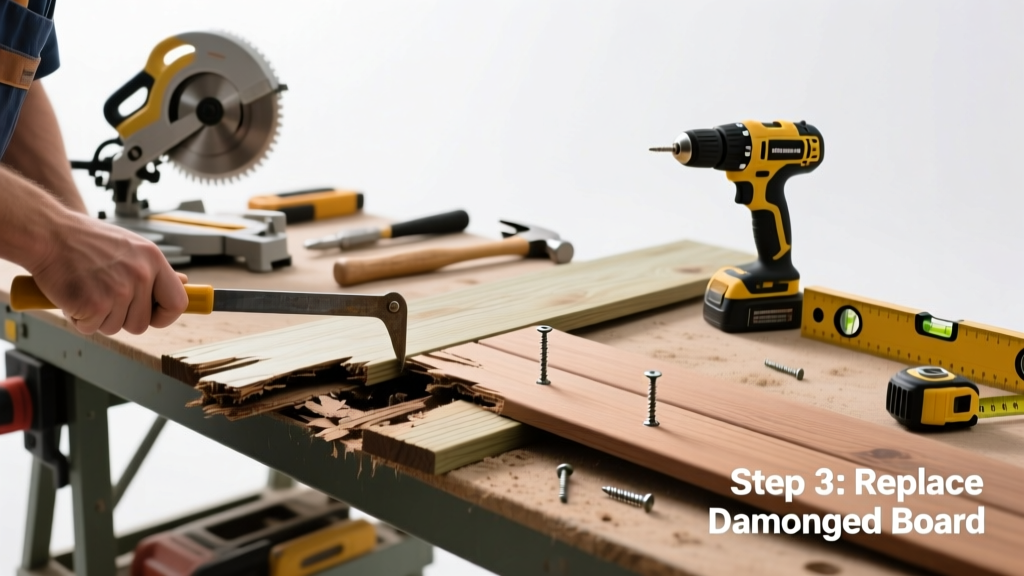
- Mark and remove rotted boards: Use chalk line to mark 1″ beyond visible rot on both sides. Cut along lines with circular saw (set depth to 1-1/8″). Pry up board with crowbar—don’t force if screws are seized; drill pilot holes first.
- Inspect joists and blocking: Tap each joist with a hammer. A hollow *thunk* means solid wood; a dull *thud* or give indicates hidden rot. If joist is compromised, stop and consult a pro—deck joist repair requires structural engineering.
- Prepare the replacement: Pre-drill all screw holes. Seal cut ends with copper naphthenate (e.g., Cuprinol Clear) or a brush-on wood preservative—this step alone reduces future end-grain rot by 70% (Forest Products Laboratory, USDA 2021).
- Install with proper spacing: Leave 1/8″ gap between boards for drainage. Use joist tape over top of joists before laying board. Fasten with two screws per joist, staggered 1″ from board edges.
When to Call a Pro
Some rot signals deeper trouble—and DIY here risks collapse or code violations:
- Rot extends more than 12″ along a joist or affects three or more adjacent joists
- The ledger board (where deck attaches to house) shows cracking, rust stains, or movement when pushed sideways
- You find mold, musty odor, or insect activity (carpenter ants, termites) inside joist cavities
- Your deck is older than 15 years and lacks modern flashing—re-flashing requires roof shingle removal and resealing
"Over 85% of deck collapses investigated by the CPSC between 2015–2023 involved undetected ledger or joist decay—not surface board rot." — U.S. Consumer Product Safety Commission, Deck Failure Analysis Report, 2023
Prevention Tips
Rot prevention isn’t about luck—it’s about routine maintenance and smart design choices:
- Clean deck annually with oxygen bleach (not chlorine) to kill mold spores without degrading wood fibers
- Reapply water repellent every 2–3 years—test by sprinkling water; if it beads, you’re good; if it soaks in, it’s time
- Install hidden fasteners or stainless steel screws instead of nails—they resist corrosion and minimize entry points for moisture
- Add a drip edge or Z-flashing behind the ledger board to divert rainwater away from the wall sheathing
- Keep vegetation trimmed back at least 18″—vines and shrubs trap humidity and block airflow under the deck
Can I use bleach on this?
No—chlorine bleach kills surface mold but damages wood lignin, accelerating fiber breakdown and UV degradation. Stick with sodium percarbonate-based cleaners like OxiClean or labeled oxygen bleach products (e.g., BEHR Premium Wood Cleaner).
Do I need to replace the entire board if only one spot is soft?
Yes—if the soft area exceeds 4″ in length or penetrates deeper than 1/4″, full-board replacement is safer and more durable. Patching invites moisture trapping and mismatched wear.
What’s the best wood for replacement boards?
For longevity and code compliance, use ACQ- or MCQ-treated southern yellow pine rated UC4B (ground contact) for decks under 6′ above grade. For low-maintenance longevity, consider capped composite (e.g., Trex Transcend) with a 25-year stain-and-fade warranty.
How long should a properly repaired deck board last?
With end-grain sealing, proper spacing, and annual cleaning, pressure-treated boards last 15–20 years. Composite boards typically last 25–30 years—but only if substructure stays dry. Deck waterproofing membranes under the decking add another 5–10 years of joist protection.
Can I paint over rotted wood to hide it?
Never. Paint seals moisture in, accelerating decay from the inside out. Rotted wood must be removed and replaced—painting over it violates ICC-IRC Section R507.2 and voids most homeowner insurance claims related to deck failure.
Is sanding enough to fix surface rot?
No. Sanding removes only the outermost layer—rot often extends deep into the grain, invisible to the eye. If a screwdriver penetrates more than 1/8″ with light pressure, the board is structurally compromised and must be replaced.
A well-maintained deck shouldn’t surprise you with sudden soft spots. Treat early rot as a warning—not an inconvenience—and you’ll extend your deck’s life by a decade or more. Keep your eyes on the details: end grain, flashing integrity, and airflow underneath. And remember: when in doubt about joist or ledger health, get a licensed contractor to inspect before the next heavy rain—or worse, the next barbecue.