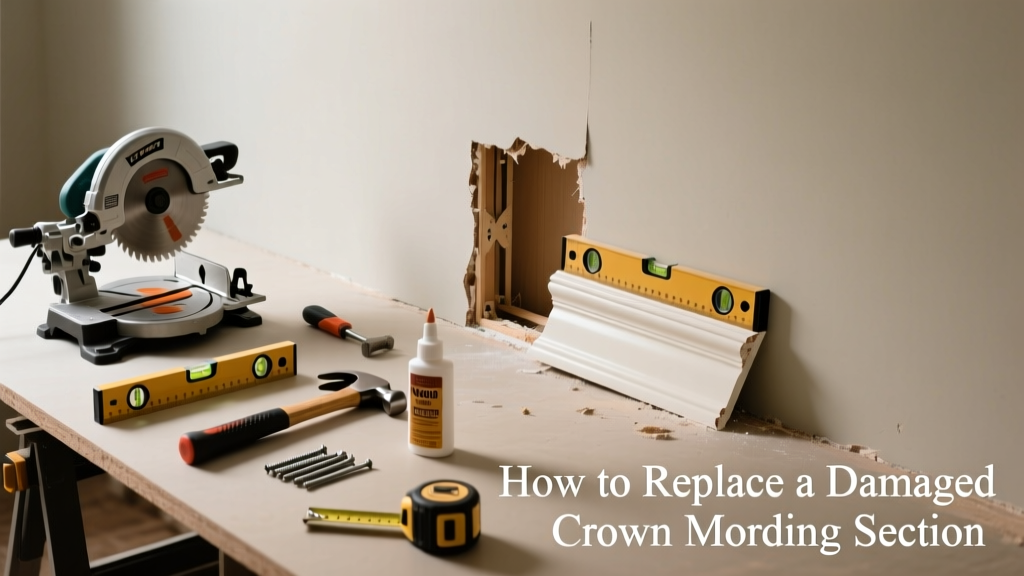
If you’ve spotted a gap where crown molding pulls away from the ceiling or wall—or worse, a section is cracked, split, or rotted—you likely need to replace just that part, not the whole run. This isn’t always about poor installation; seasonal wood movement, moisture exposure, or minor settling can isolate damage to one segment.
Quick Diagnosis
Before cutting anything, confirm the issue isn’t just loose nails or paint shrinkage. Check these common root causes:
- Moisture damage behind the molding (look for discoloration or softness)
- Wood warping due to attic temperature swings or humidity spikes
- Loose or missing fasteners at the gap location
- Structural settling causing misalignment between wall and ceiling planes
- Previous repair attempts using caulk instead of proper joinery
Tools & Materials Needed
| Item | Purpose | Estimated Cost |
|---|---|---|
| 10-inch miter saw with laser guide | Cuts clean, precise angles on replacement stock to match existing profile | $89–$149 |
| 3-in-1 pry bar (slim tip) | Removes old molding without gouging drywall or ceiling texture | $12–$22 |
| 16-gauge finish nails + nail set | Secures new piece flush without visible heads; prevents splitting | $8–$15 |
| Wood filler (water-based, stainable) | Fills small gaps or nail holes before painting—shrinks less than solvent-based | $6–$11 |
| Replacement pine or poplar crown molding (same profile) | Must match exact dimensions and profile—measure width, projection, and spring angle | $2.50–$6.00/ft |
Step-by-Step Fix
Work in this order—precision matters more than speed here:
- Mark and cut out the damaged section: Use a utility knife to score along both edges of the bad segment. Then carefully pry it loose with the slim pry bar, working from the center outward to avoid cracking adjacent pieces.
- Measure and replicate the profile: Take three measurements: total height, bottom leg length, and top leg length. Snap a photo of the cross-section and bring it to your lumber yard—many carry digital profile-matching tools.
- Cut replacement ends at correct spring angle: Most residential crown uses a 45° spring angle. Set your miter saw to 45° and cut both ends—test-fit before nailing. A 1/16" gap at either joint is acceptable; fill later with flexible caulk.
- Secure and conceal: Nail into wall studs and ceiling joists—not just drywall. Sink nails with a nail set, then fill holes with stainable wood filler. Sand lightly before priming.
When to Call a Pro
DIY makes sense for isolated, accessible gaps—but stop and call a licensed contractor if:
- The gap exceeds 3/8" and runs continuously across two corners or a full wall
- You detect mold, water stains, or musty odors behind the molding
- The ceiling shows sagging, cracks wider than 1/8", or bulging near the gap
- Your home has plaster walls (not drywall) and the lath feels loose behind the molding
According to the National Association of Home Builders’ 2022 Remodeling Impact Report, 68% of homeowners who attempted major trim repairs without structural assessment ended up paying 2.3× more for corrections.
Prevention Tips
Extend the life of your crown molding with these proactive habits:
- Maintain indoor humidity between 35–55% year-round using a hygrometer and dehumidifier/humidifier as needed
- Inspect crown joints every 6 months—re-nail any sections that sound hollow when tapped
- Use construction adhesive (like PL Premium) in addition to nails on long runs—especially over exterior walls
- Paint with high-quality acrylic latex primer first, then topcoat—never skip sealing end grain on cut pieces
Can I reuse the old nails when reinstalling?
No—old finish nails often bend or lose grip after removal. Always use fresh 16-gauge nails, pre-drilled if working with hardwoods like maple or oak. Reusing bent nails increases risk of splitting or popping later.
What if the replacement molding doesn’t match the color exactly?
That’s expected—even same-batch lumber varies. Prime and paint the new piece separately before installing, then feather the edge with a microfiber cloth dipped in your wall paint. For stained molding, use a gel stain blended to match with a fine-grit sponge applicator.
Do I need to remove baseboard to fix crown molding?
Not usually. Crown is installed last, above baseboard and casing. But if the gap originates from baseboard shifting (e.g., due to floor expansion), inspect the baseboard’s fastening and subfloor condition first—baseboard gap repair may be the real fix.
Is caulk enough to fix a small crown molding gap?
Caulk hides gaps temporarily but doesn’t solve movement or structural issues. Over-caulking leads to cracking, yellowing, and paint adhesion failure within 12–18 months. Reserve caulk only for final touch-ups after mechanical repair—never as primary repair.
How long does wood filler take to dry before sanding?
Most water-based wood fillers dry to the touch in 30–60 minutes, but require 2–4 hours before light sanding. DAP Plastic Wood dries faster (45 min), while Minwax High-Performance takes 2 hours minimum. Always check manufacturer specs—wood filler drying times vary by humidity and thickness.
Can I install crown molding over textured walls or ceilings?
Yes—but texture adds complexity. Use a flexible backer rod behind the crown’s top and bottom legs to bridge uneven surfaces, then secure with extra nails spaced every 8 inches. Skip rigid foam backer—it compresses unpredictably and creates new gaps.
A well-executed partial crown molding replacement looks seamless—not patched. It’s about matching geometry, securing to structure (not just drywall), and respecting wood’s natural movement. If your gap reappears within six months, revisit humidity control and fastener placement—not just the repair method.