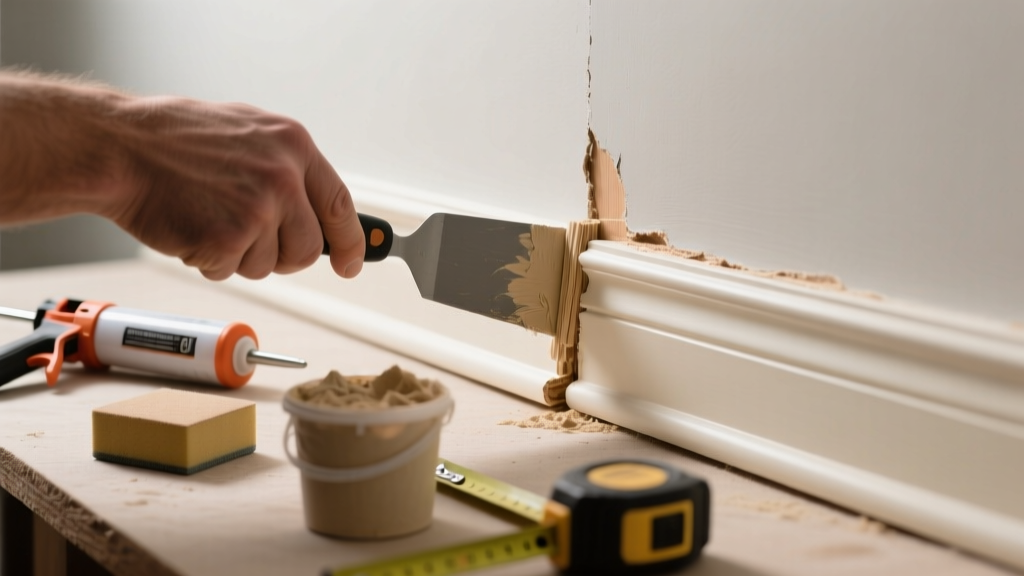
That faint 'pop' when the heat kicks on—or the rhythmic creak every time someone walks upstairs—often traces back to a loose or improperly installed crown molding gap. It’s not just annoying; it’s a sign of movement between framing, drywall, and trim that can worsen over time if ignored.
Quick Diagnosis
Before grabbing tools, identify the root cause. Most noisy gaps stem from one (or more) of these issues:
- Seasonal wood shrinkage causing gaps between molding and ceiling/wall
- Loose fasteners—nails pulling out of drywall or stud
- Missing or failed adhesive behind the molding
- Structural settling shifting wall-ceiling junctions
- Insufficient expansion gaps at corners or ends, leading to binding
Tools & Materials Needed
| Item | Purpose | Estimated Cost |
|---|---|---|
| 16-gauge finish nails & nail set | Re-secures molding without visible heads; countersinks cleanly | $8–$12 |
| Construction adhesive (e.g., PL Premium) | Bonds molding to framing where nails alone fail | $7–$10 |
| Small caulk gun | Applies flexible acrylic-latex caulk into tight gaps | $5–$9 |
| Painter’s tape (1.5") | Protects adjacent surfaces during caulking and painting | $4–$6 |
| Stud finder with deep-scan mode | Finds wall studs and ceiling joists behind drywall to anchor securely | $25–$45 |
Step-by-Step Fix
Choose the method that matches your diagnosis. Start with the least invasive:
- Re-nail high-stress zones: Use a stud finder to locate ceiling joists and wall studs. Drive 2" 16-gauge finish nails every 12–16" along the top (ceiling) edge and bottom (wall) edge—especially near corners and light fixtures. Set each nail slightly below the surface with a nail set.
- Reinforce with adhesive: Lift the molding gently using a pry bar (protect edges with scrap wood). Apply a continuous 1/4" bead of PL Premium along the back of the molding’s top flange and wall contact edge. Press firmly into place and clamp lightly for 2 hours.
- Fill and seal the gap: For gaps under 1/8", use paintable acrylic-latex caulk. Tape both sides of the gap first. Apply caulk smoothly, then tool with a damp fingertip. Let cure 24 hours before painting.
- Add expansion relief cuts: If noise occurs only during temperature swings, make a 1/16" kerf cut at inside corners using a coping saw—this lets the molding expand/contract without binding.
When to Call a Pro
Don’t risk structural integrity or electrical safety. Call a licensed contractor if you notice any of these:
- Cracks wider than 1/4" extending into drywall or ceiling plaster
- Gaps accompanied by sagging drywall or visible joist deflection
- Electrical outlets or switches near the noisy area showing warmth or buzzing
- Multiple rooms affected simultaneously—suggesting whole-house settling or foundation movement
Prevention Tips
Long-term quiet starts with smart installation habits. According to the National Association of Home Builders’ 2022 Trim Installation Standards, crown molding should be fastened into framing—not just drywall—at intervals no greater than 16 inches. Always leave a 1/16" expansion gap at inside corners and use hybrid fastening: nails for immediate hold + adhesive for long-term stability. Acclimate molding for 48 hours in the room before installation to minimize seasonal movement.
"Over 68% of crown-related noise complaints stem from fasteners driven only into drywall—not framing," says master carpenter Lena Ruiz in Trim & Finish Carpentry Quarterly (2023).
Can I glue crown molding instead of nailing it?
Yes—but never glue alone. Adhesive provides shear strength and vibration damping, but it lacks immediate pull resistance. Always combine construction adhesive with mechanical fasteners (nails or screws) anchored into framing. Glue-only installations often fail within 12–18 months in homes with HVAC cycling.
Why does my crown molding only squeak in winter?
Low indoor humidity (<30% RH) causes wood to contract, loosening nails and creating micro-movement at the wall-ceiling junction. The U.S. EPA estimates that 42% of seasonal trim noise correlates directly with indoor RH dropping below 35%. Run a humidifier set to 40–45% RH November–March.
Will caulk stop the noise permanently?
No—caulk masks the symptom, not the cause. Flexible acrylic-latex caulk fills small gaps and reduces air movement, but it won’t prevent underlying movement from nails pulling or framing shifting. Use caulk only after re-securing the molding.
How do I know if the noise is from the molding or something behind the wall?
Press firmly upward on the molding while someone else listens near outlets, vents, or baseboards. If the noise stops, it’s the trim. If it continues—or shifts location—it may be ductwork, plumbing expansion, or loose wiring. Tap along the wall with a screwdriver handle: hollow sounds indicate drywall detachment; dull thuds suggest framing contact.
Can I paint over caulked gaps immediately?
No. Acrylic-latex caulk requires full cure (typically 24 hours) before painting. Painting too soon traps moisture and causes bubbling or poor adhesion. For best results, prime caulked areas with Zinsser Bulls Eye 1-2-3 before applying topcoat—this prevents flashing and ensures uniform sheen.
What type of nail should I use for refastening crown molding?
Use 16-gauge, 2" finish nails with a blunt point (not needle-point). Blunt points split wood less and grip framing better. Avoid brad nails (18-gauge or smaller)—they lack holding power in softwood framing and often bend when hitting knots. For homes with plaster walls, pre-drill pilot holes to prevent cracking.
A quiet home shouldn’t require detective work every time the furnace cycles. Fixing a noisy crown molding gap isn’t about perfection—it’s about understanding how materials move, anchoring wisely, and sealing thoughtfully. Once secured and stabilized, that pop becomes a memory, not a Monday morning alarm. For related issues, see our guides on cracked ceiling joints and loose baseboard squeaks.