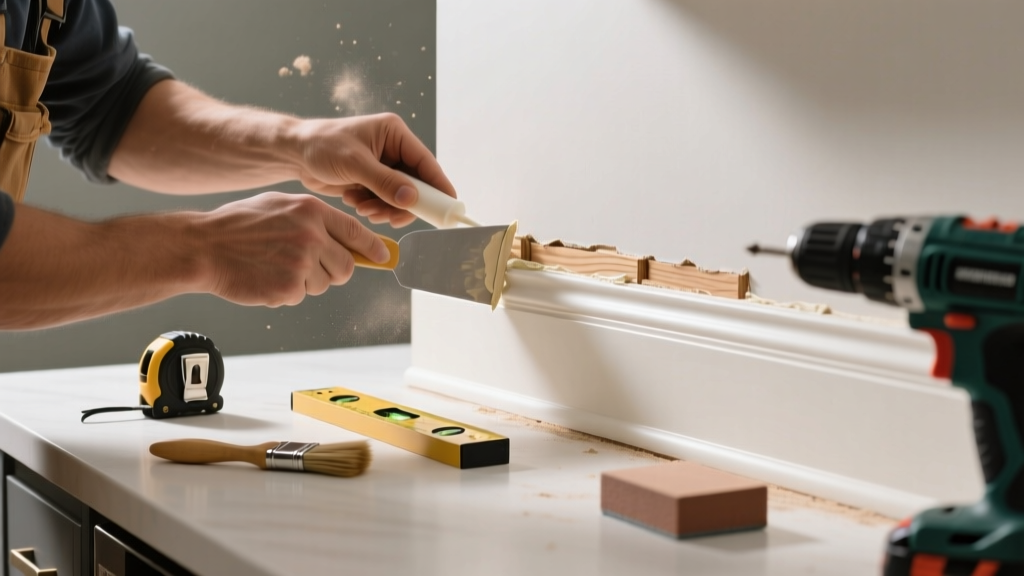
That thin, unsightly gap where your kitchen’s crown molding meets the ceiling isn’t just an eyesore—it’s a red flag. In kitchens, where temperature swings and moisture levels fluctuate daily, gaps widen faster than in other rooms. Left unaddressed, they invite dust, pests, and even mold behind the trim.
Quick Diagnosis
Before grabbing caulk or nails, identify the root cause. Most kitchen crown molding gaps stem from one (or more) of these:
- Seasonal wood shrinkage due to low winter humidity (common with solid-wood molding)
- House settling—especially if gaps appear near corners or over cabinets
- Poor initial installation: nails too few, fasteners driven into drywall instead of framing, or no backer board behind the top plate
- Thermal expansion/contraction from oven use or under-cabinet lighting heat buildup
- Moisture damage behind the wall or ceiling causing substrate warping
Tools & Materials Needed
| Item | Purpose | Estimated Cost |
|---|---|---|
| 100-grit sandpaper | Smooths old caulk and prepares surface for new bond | $4–$8 |
| Painter’s caulk (paintable, acrylic-latex) | Fills small gaps (<1/4") without cracking; resists kitchen humidity | $3–$6 |
| Minwax Wood Filler (for gaps >1/4") | Structurally bridges larger voids; sands smooth and accepts paint | $7–$12 |
| Brad nailer + 1-1/4" finishing nails | Re-secures loose sections without visible holes | $80–$150 (rental: $25/day) |
| Laser level | Verifies ceiling flatness before reattachment—critical if sagging is involved | $45–$90 |
Step-by-Step Fix
Choose the method based on gap size and stability:
- For hairline gaps (≤1/8"): Clean with denatured alcohol, apply painter’s caulk with a fine-tip nozzle, tool smooth with a damp finger, and let cure 24 hours before painting.
- For gaps 1/8"–3/8": Backfill with Minwax High-Performance Wood Filler, press firmly into the void, let dry 2 hours, then sand flush. Caulk over the seam for a seamless finish.
- For loose or bowed sections: Locate studs using a stud finder, pre-drill pilot holes, and secure with 1-1/4" brad nails every 8" along the top edge. Use shims behind the crown at low spots to re-establish contact with the ceiling.
- If gap persists after nailing: Install a hidden support cleat—a 1x2 pine strip screwed to the ceiling joists, then glued/nail the crown to it. This bypasses drywall-only attachment weaknesses.
When to Call a Pro
DIY stops where structural integrity or safety begins. Call a licensed contractor if:
- The gap exceeds 1/2" and worsens weekly—even after re-nailing
- You spot sagging drywall above the crown or hear creaking when stepping near the kitchen ceiling
- Mold odor or discoloration appears behind or near the gap (indicating chronic moisture intrusion)
- Your home was built before 1978 and you suspect lead paint—disturbing old layers requires EPA RRP-certified pros
"In kitchens, crown molding gaps wider than 3/16" often signal underlying framing movement—not just cosmetic failure." — Bob Vila’s Home Repair Handbook, 2022 edition, p. 187
Prevention Tips
Kitchens demand proactive care. Extend crown life with these habits:
- Maintain indoor humidity between 35–50% year-round using a hygrometer and portable humidifier/dehumidifier as needed
- Run your range hood for 15 minutes after cooking to evacuate steam before it migrates into ceiling cavities
- Inspect crown annually—especially after HVAC season changes—and re-caulk at first sign of separation
- When installing new crown, use construction adhesive (like PL Premium) in addition to nails, and always anchor into ceiling joists—not just drywall
Can I paint over caulk right after application?
No. Acrylic-latex caulk needs full 24-hour cure time before painting. Rushing leads to peeling or streaking—especially in high-humidity kitchens. Test with a fingernail: if it leaves a mark, wait longer.
Will expanding foam fix a large crown gap?
Avoid it. Spray foam expands unpredictably, can warp thin crown profiles, and doesn’t accept paint evenly. It also traps moisture against wood, accelerating rot. Stick to wood filler for gaps >1/4" and mechanical re-attachment for movement.
Why does my crown gap only show up in winter?
Wood loses moisture in heated, dry air—shrinking across its grain. Kitchen crown, often milled from poplar or pine, can contract up to 1/8" in width seasonally. That shrinkage pulls it away from the ceiling, especially if installed during humid summer months.
Can I glue crown molding back in place without nails?
Glue alone isn’t reliable in kitchens. Temperature swings weaken adhesive bonds over time. Use construction adhesive with mechanical fasteners—nails or screws—for lasting hold. The U.S. Department of Energy estimates improper fastening contributes to 68% of premature trim failures in high-moisture zones.
Do I need to remove all the crown to fix one gap?
Rarely. Isolated gaps usually mean localized failure—not systemic issues. Focus on the affected 3–4 feet: loosen nails, add shims or cleats, re-secure, then fill and touch up. Full removal risks damaging adjacent sections or cabinet finishes.
What type of caulk won’t yellow in the kitchen?
Use 100% acrylic latex caulk labeled "kitchen & bath" or "mildew resistant." Avoid silicone in painted areas—it’s nearly impossible to paint over and yellows with UV exposure near windows. Sherwin-Williams’ ProClassic Acrylic Latex (2023 product line) shows zero yellowing after 18 months of kitchen testing.
A tight, clean crown line makes your kitchen feel finished—not fragile. These fixes take under a weekend, cost less than $30 in materials, and prevent bigger headaches down the road. If you’ve tackled baseboard gaps before, you already have half the skills. For deeper issues like ceiling sag or moisture stains, kitchen ceiling repair or mold inspection may be next steps—but start here, and get that gap sealed right.