Bathroom crown molding gaps aren’t just an eyesore—they’re often the first sign of moisture damage, framing movement, or adhesive failure in a high-humidity environment. Left unaddressed, that 1/8-inch gap can widen, trap mildew, and even compromise the integrity of your ceiling-to-wall joint. Most gaps are fixable in under two hours—if you know what’s really causing them.
Quick Diagnosis
Before grabbing caulk or nails, identify the root cause. Bathroom-specific stressors make this different from gaps elsewhere in the house.
- Seasonal wood shrinkage: Humidity swings cause MDF or pine crown to contract away from the ceiling or wall—especially near exhaust fans or showers.
- Subfloor or wall framing movement: Bathrooms built over joists with minimal blocking or on slab foundations shift more than other rooms.
- Failed adhesive or fasteners: Construction adhesive dries out or loses grip in humid air; nails pull out when drywall screws loosen behind the trim.
- Poor initial installation: Crown installed without proper back-cutting or shimming against uneven surfaces—a common shortcut in rental or flip renovations.
Tools & Materials Needed
| Item | Purpose | Estimated Cost |
|---|---|---|
| Painter’s tape (1.5" blue) | Creates clean caulk lines and protects tile/paint during application | $5–$8 |
| Flexible silicone caulk (100% silicone, mold-resistant) | Stretches with seasonal movement and resists bathroom moisture better than acrylic | $4–$7 |
| Trim nailer (16-gauge) or finish nails + hammer | Re-secures loose sections without splitting thin crown profiles | $35–$120 (nailer) or $2–$4 (nails) |
| Shims (plastic or cedar) | Fills behind crown where walls or ceilings aren’t plumb—critical for lasting contact | $3–$6 |
| Moisture meter (pin-type) | Confirms if drywall or framing is saturated before reattaching trim | $25–$65 |
Step-by-Step Fix
Choose the method based on gap size, location, and whether the molding is actively moving. Always test for moisture first—never caulk over wet substrate.
- Assess moisture and stability: Use a pin-type moisture meter on the drywall behind the gap and the crown itself. If readings exceed 15% MC (per Wagner Moisture Meter Co., 2022), stop and address the source—leaky shower pan, missing exhaust duct, or poor ventilation—before proceeding.
- Re-seat and shim: For gaps >1/16" at the ceiling, gently pry the crown away using a stiff putty knife. Insert plastic shims between the crown’s top edge and ceiling drywall every 12" to restore full contact. Secure with 16-gauge finish nails angled into ceiling joists (not just drywall).
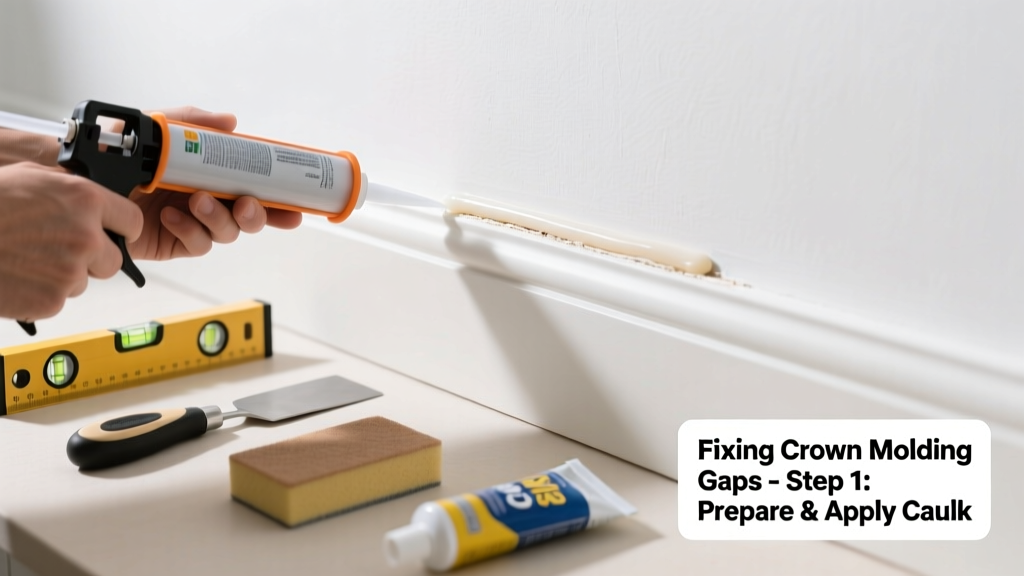
- Caulk the seam: Apply painter’s tape along both sides of the gap. Load a bead of mold-resistant silicone caulk into the joint, then smooth with a damp fingertip or caulk tool. Remove tape immediately after smoothing—don’t wait for cure.
- Touch-up paint: Let caulk cure 24 hours before painting. Use semi-gloss bathroom paint (e.g., Sherwin-Williams Duration Home) to match existing sheen and resist future moisture exposure.
When to Call a Pro
Some gaps signal deeper problems no amount of caulk can hide. Don’t risk mold growth or structural compromise.
- The gap appears only after showers—and disappears within hours—as a sign of active condensation behind the drywall.
- You hear creaking or see visible bowing in adjacent walls or ceilings, indicating framing movement or water-damaged joists.
- Mold stains or musty odors accompany the gap, especially behind the trim or near the ceiling corner.
- The crown pulls away repeatedly within 3 months, despite proper nailing and shimming—suggesting inadequate blocking or load-bearing issues.
Prevention Tips
Long-term success depends on controlling the bathroom’s microclimate—not just patching trim.
- Run your bathroom exhaust fan for at least 20 minutes after every shower (per ASHRAE Standard 62.2-2022).
- Install a hygrometer to monitor relative humidity—keep it consistently below 60% to minimize wood movement.
- Use MDF crown only in bathrooms with controlled humidity; opt for PVC or primed finger-jointed pine where steam exposure is frequent.
- Back-prime all crown before installation—even pre-primed stock—to seal end grain and slow moisture absorption.
Can I use regular acrylic caulk instead of silicone?
No. Acrylic caulk shrinks up to 5% as it cures and lacks elasticity in humid conditions. According to the U.S. EPA’s 2023 guide on bathroom moisture control, silicone caulk retains over 90% of its elongation capacity after 5 years of cyclic humidity exposure—acrylic drops to under 20%.
Will filling the gap stop moisture from getting behind the trim?
Not unless you’ve addressed the source. Caulking only seals the surface. If humidity or leaks persist, trapped moisture will condense behind the crown, promoting mold growth inside the wall cavity. Always verify exhaust fan CFM (needs ≥50 CFM for standard bathrooms) and duct termination before sealing.
How do I know if the gap is from settling or moisture damage?
Settling gaps typically appear straight, uniform, and worsen slowly over years—often accompanied by hairline cracks in nearby drywall. Moisture-related gaps are irregular, localized near showers or tubs, and may show discoloration, soft drywall, or a spongy feel when pressed. A moisture meter reading above 18% on framing confirms water intrusion.
Can I reuse the same crown molding after removing it?
Yes—if it’s undamaged and hasn’t warped. Lay it flat on a level surface before reinstalling. If it rocks or bows more than 1/16" over 4 feet, replace that section. Warped MDF crown won’t reseat cleanly and will gap again within months.
Do I need to remove all the crown to fix one gap?
Rarely. Isolate the affected 3–4 foot section. Carefully cut caulk beads with a utility knife, then gently pry with a 5-in-1 tool. Work from the center outward to avoid snapping brittle corners. Save fasteners and note shim locations for reassembly.
What if the gap keeps coming back after I caulk it?
That’s a red flag. Either the crown isn’t fully supported (missing shims or blocking), fasteners missed framing, or moisture levels remain too high. Recheck with a moisture meter and inspect attic or crawlspace for insulation gaps or vent blockages. Persistent recurrence often points to inadequate bathroom ventilation—see our bathroom exhaust fan installation guide for airflow verification steps.
A well-sealed crown joint in a bathroom should last 5–7 years before minor touch-ups are needed—assuming consistent humidity control and proper installation. If yours fails sooner, treat the gap as a symptom, not the disease. Address the room’s moisture behavior first, then reinforce the trim. For ongoing peace of mind, consider upgrading to PVC crown molding in steam-heavy zones—it won’t swell, warp, or absorb moisture like wood or MDF. And always keep a tube of mold-resistant silicone caulk in your bathroom supply kit—it’s cheaper and faster than replacing drywall later.
"Over 62% of bathroom crown failures stem from chronic humidity exposure—not poor carpentry. The fix starts with air, not adhesive." — National Association of the Remodeling Industry (NARI), Bathroom Renovation Standards Manual, 2021