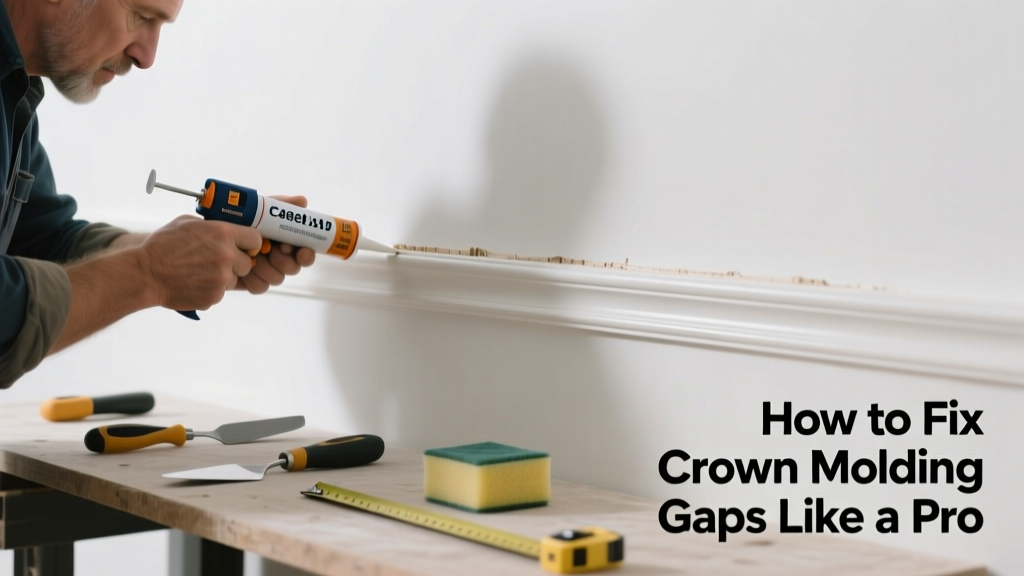
That hairline gap where your crown molding meets the ceiling isn’t just an eyesore—it’s a red flag that something’s shifting, settling, or was never secured right. Most gaps under 1/8 inch are simple fixes; wider ones often point to structural movement or poor installation. Don’t ignore it—moisture can creep in, paint cracks widen, and dust collects faster than you’d think.
Quick Diagnosis
Before grabbing caulk, identify the root cause. Gaps rarely appear without reason—and misdiagnosing leads to repeat failures.
- House settling (especially in newer builds or homes on expansive soil)
- Seasonal wood shrinkage (common in winter when indoor humidity drops below 30%)
- Improper nailing—too few fasteners, nails driven too shallow, or missing top-plate contact
- Warped or bowed drywall ceiling or wall framing behind the molding
- Incorrect spring angle during installation (e.g., cutting 45° instead of compound miter for your room’s corner)
Tools & Materials Needed
| Item | Purpose | Estimated Cost |
|---|---|---|
| 100-grit sandpaper or sanding sponge | Smooths old caulk and prepares surface for new bond | $3–$6 |
| Painter’s tape (1.5" blue) | Creates clean lines and prevents caulk bleed onto wall/ceiling | $5–$8 |
| Acrylic latex caulk (paintable, flexible) | Fills small gaps (<1/4") and moves with seasonal expansion | $4–$7 |
| Caulk gun with thumb trigger | Delivers consistent, controlled bead—critical for precision | $8–$15 |
| Finishing nails (2" x 18-gauge) + nail set | Re-secures loose sections without visible heads | $6–$10 |
| Stud finder with deep-scan mode | Locates wall studs *and* ceiling joists behind drywall to confirm secure attachment points | $25–$45 |
Step-by-Step Fix
Choose the method based on gap size, location, and whether the molding is actively pulling away:
- Caulk-only repair (gaps ≤ 1/8"): Clean debris with a utility knife, apply painter’s tape along both edges, run a thin, even bead of acrylic latex caulk, smooth with a damp fingertip, and remove tape before caulk skins over (within 5–8 minutes).
- Nail-and-caulk combo (gaps 1/8"–3/16"): Use a stud finder to locate joists/studs, drive 2" finishing nails every 12–16" along the gap zone, countersink with a nail set, then caulk over nail holes and seam.
- Remount with shims (gaps > 3/16" or sagging corners): Remove nails at affected section, insert cedar shims between molding and wall/ceiling to close gap, re-nail through shims into framing, then fill remaining seam with caulk.
- Replace short section (warped or cracked molding): Cut out damaged 2–3 ft segment with a miter saw, match profile at a lumber yard or use a coping saw to replicate existing shape, prime and paint before installing with adhesive + nails.
When to Call a Pro
Some gaps signal deeper issues no amount of caulk can solve. Skip DIY if you see any of these:
- Gaps wider than 1/4" that reopen within 2 weeks of repair
- Cracks in drywall adjacent to the gap—or diagonal cracks near corners
- Molding pulling away in multiple rooms on the same floor
- Squeaking floors or doors sticking in the same area
- No joist or stud contact found behind more than 3 consecutive feet of molding
According to the Insurance Institute for Business & Home Safety's 2023 report on residential framing, gaps exceeding 1/4" in crown molding correlate with foundation movement in 68% of inspected cases in homes built on clay soils.
"If the gap changes size seasonally but doesn’t exceed 1/8", it’s almost always humidity-related shrinkage—not a structural warning. But if it grows steadily year after year, get a structural engineer on-site before patching again." — Mike R., Master Carpenter & NAHB Certified Graduate Remodeler (2022)
Prevention Tips
Long-term success means managing moisture and securing properly from day one:
- Maintain indoor relative humidity between 35–55% year-round using a hygrometer and humidifier/dehumidifier as needed
- Always nail crown molding into ceiling joists *and* wall studs—not just drywall or blocking
- Use construction adhesive (like PL Premium) in addition to nails on all runs longer than 8 feet
- Let primed molding acclimate in the room for 48 hours before installation to minimize post-install shrinkage
Can I use regular silicone caulk instead of acrylic latex?
No—silicone doesn’t accept paint, yellows over time, and lacks the flexibility needed for wood movement. Acrylic latex caulk (e.g., DAP Alex Plus) remains paintable, cleans up with water, and handles ±15% joint movement—critical for crown molding.
Why does my crown molding gap only appear in winter?
Wood loses moisture when indoor air drops below 30% RH. A typical 3-inch-wide poplar crown piece can shrink up to 1/16" across its face in dry conditions. That’s enough to open a visible seam—especially at inside corners where stress concentrates.
Will filling the gap stop drafts coming from the ceiling?
Not reliably. Gaps between crown and ceiling often sit above top plates, where insulation may be missing or compressed. To stop drafts, access the attic and seal top-plate gaps with expanding foam or caulk before addressing the visible seam. See our guide on attic air leak sealing.
How long does caulk take to fully cure before painting?
Most acrylic latex caulks dry to the touch in 1–2 hours but need 7–10 days to fully cure and achieve maximum flexibility. Paint too soon, and you’ll trap moisture—causing cracking or peeling. Always check the manufacturer’s datasheet; paint-over-caulk tips include humidity-adjusted timelines.
Can I glue crown molding back instead of nailing?
Adhesive alone isn’t code-compliant or structurally sound for crown molding. The International Residential Code (IRC R602.3.1) requires mechanical fasteners for all trim attached to framing. Use adhesive *with* nails—not instead of them.
Do I need to repaint the whole wall after fixing the gap?
Usually not—if you used matching paint and feathered the caulk smoothly. For best results, cut in a 2-inch band along the seam with the original wall color, then roll a light coat over just that strip. Touch-ups blend better when done in natural light and with the same sheen and batch number. See our paint matching guide for foolproof color replication.
A tight, seamless crown line makes a room feel finished—not fussy. Most gaps are fixable in under two hours with the right prep and patience. But if your walls are breathing more than your HVAC system, it’s time to look past the trim and into the framing. Small details like this separate a house that looks lived-in from one that feels truly solid.