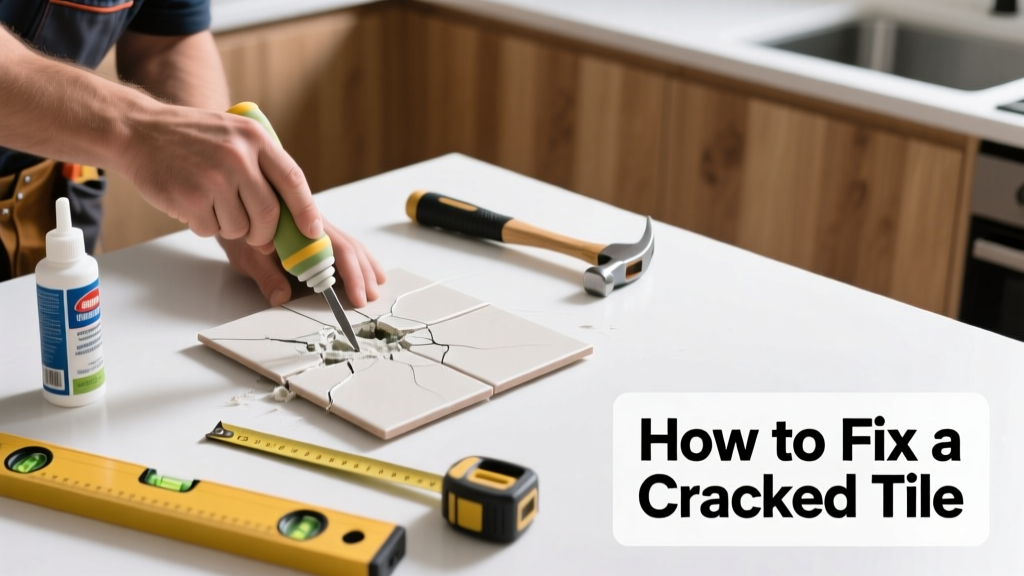
A cracked tile in your kitchen isn’t just an eyesore—it’s a potential tripping hazard and a gateway for moisture to seep into subflooring. Left unaddressed, even a hairline crack can widen, loosen adjacent tiles, or promote mold growth beneath the surface. The good news? Most small cracks are fixable in under two hours with basic tools and minimal mess.
Quick Diagnosis
Before grabbing tools, pinpoint why the tile cracked. Misdiagnosis leads to repeat failure.
- Impact damage: A dropped cast-iron skillet or heavy pot left a localized spiderweb crack
- Subfloor movement: Gaps or squeaks nearby suggest shifting plywood or uneven concrete slab
- Improper installation: Tiles laid without expansion joints or over uncured thinset often crack within 6–12 months
- Thermal stress: Repeated exposure to steam from dishwashers or stovetops causes ceramic tiles to expand/contract unevenly
- Moisture intrusion: Softening of underlying cement board or OSB from chronic leaks under the sink or dishwasher
Tools & Materials Needed
| Item | Purpose | Estimated Cost |
|---|---|---|
| Grout removal tool or oscillating multi-tool with carbide blade | Cuts away grout cleanly without damaging adjacent tiles | $18–$45 |
| Tile nippers or diamond-tipped wet saw | Removes broken tile without chipping neighbors; wet saw preferred for precision | $25–$120 (rental $15/day) |
| Notched trowel (1/4" x 1/4") | Ensures even thinset coverage for proper adhesion and leveling | $8–$14 |
| Unmodified thinset mortar (ANSI A118.1 compliant) | Bonding agent designed for ceramic/porcelain—avoids shrinkage cracks | $12–$22 per 50-lb bag |
| Matching grout (sanded, color-matched) | Fills joints with structural integrity and visual continuity | $8–$16 per pound |
Step-by-Step Fix
Choose the method based on crack severity and tile condition:
- For hairline cracks only (no lifting or chips): Clean with isopropyl alcohol, apply clear epoxy resin (e.g., PC-11) with a fine-tip syringe, then wipe excess with a damp microfiber cloth before curing. Let cure 24 hours before foot traffic.
- For cracked + lifted tile: Remove grout fully around tile using a grout saw, then gently tap center with rubber mallet and cold chisel to fracture and lift. Vacuum debris, scrape old thinset, apply fresh thinset, set replacement tile, and level with spacers.
- For multiple adjacent cracks or hollow-sounding tiles: Test surrounding tiles with a screwdriver handle tap—if more than three sound hollow, assume full section failure. Replace entire 2'x2' zone to prevent cascading failure.
- For porcelain tiles with deep fractures: Use a diamond drill bit to create relief holes along crack lines before breaking out—reduces shock to neighboring tiles.
When to Call a Pro
Some situations demand licensed expertise—not just skill, but liability awareness.
- The crack runs continuously across 3+ tiles and aligns with cabinet base or island edge (indicates structural floor movement)
- You detect musty odor or discoloration beneath the tile—possible long-term water damage requiring subfloor inspection
- Cracks appear within 90 days of new installation (warranty claim territory—don’t void it with DIY)
- Your kitchen has radiant floor heating wires visible beneath the tile or embedded in the slab
"Over 62% of premature tile failures in kitchens stem from inadequate substrate preparation—not poor tile quality," states the Tile Council of North America's 2022 Installation Handbook.
Prevention Tips
Extend the life of your kitchen floor by addressing root causes—not just symptoms.
- Install anti-fatigue mats near high-impact zones (sink, stove) to absorb impact energy
- Use felt pads on all cabinet toe-kick doors and appliance feet to reduce vibration transfer
- Re-caulk perimeter joints (where floor meets wall/base cabinets) every 18 months with 100% silicone
- Run exhaust fans during and 15 minutes after cooking to lower ambient humidity below 55% RH
Can I use bleach on this?
No—bleach degrades grout sealers and oxidizes metal lath in cement board, accelerating future cracking. Use pH-neutral cleaners like SafeClean Grout Remover instead.
Will super glue hold the crack together?
Temporarily, yes—but cyanoacrylate lacks flexibility and UV resistance. It yellows, becomes brittle, and fails within 3–6 months. Epoxy resin is the only adhesive rated for ceramic tile repair per ASTM C627.
How do I match grout color exactly?
Take a 1" chip of existing grout to a local tile shop for spectrophotometer scanning. Avoid online color charts—they’re inaccurate under LED kitchen lighting. If unavailable, mix small batches of two similar shades until you hit the right tone against dry tile.
Can I tile over cracked tile?
Only if the crack is hairline, stable, and the tile is fully bonded. But adding weight increases stress on compromised substrate. The U.S. Department of Housing and Urban Development advises against overlaying damaged tile in wet areas due to trapped moisture risk.
Do I need to turn off water before starting?
Yes—if the crack is near the sink, dishwasher, or refrigerator water line. Shut off both hot and cold supply valves under the sink and open faucet to relieve pressure. Also check for leak history using this dye-test method.
What’s the fastest way to hide a crack temporarily?
A grout pen with epoxy-based pigment (like Aqua Mix Grout Touch-Up) lasts 6–12 months and resists scrubbing—but it’s cosmetic only. Never use paint markers; they peel and stain porous grout.
A cracked tile doesn’t mean your whole kitchen floor is doomed—it means you caught it early enough to act decisively. Whether you patch, replace, or pause to consult a pro, each choice shapes how long your floor stays safe, sealed, and seamless. And remember: that one tile you fixed today might save you $2,800 in subfloor remediation next year—according to the Insurance Institute for Business & Home Safety's 2023 report on residential water damage claims.