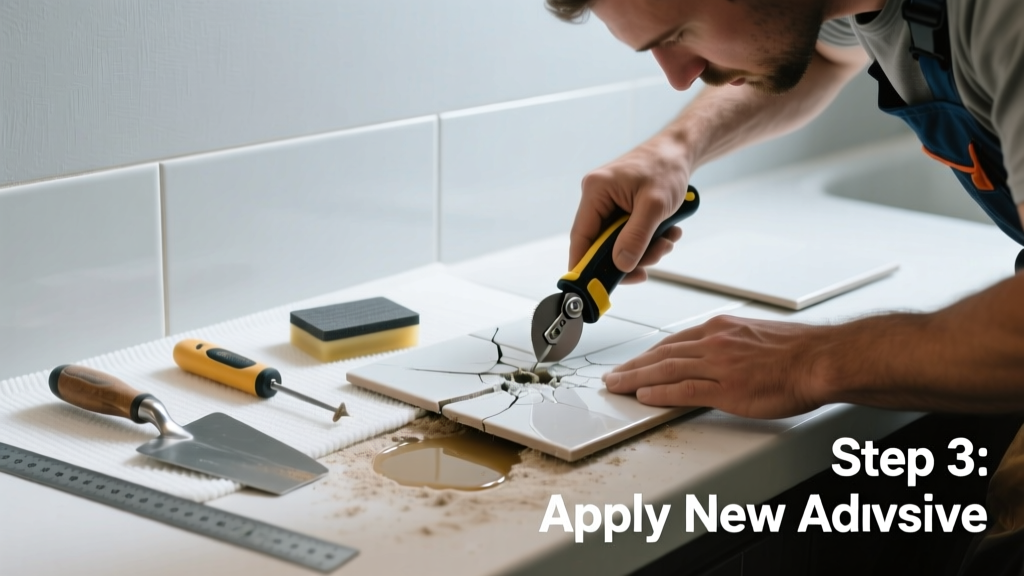
That hairline crack in your bathroom floor tile isn’t just an eyesore—it’s a potential entry point for moisture, mold, and structural decay. In high-humidity zones like bathrooms, even small cracks can escalate fast if left untreated. Most cracked tiles are fixable in under two hours with basic tools and careful prep.
Quick Diagnosis
Before grabbing tools, identify the root cause—this determines whether you’re patching or replacing:
- Impact damage (dropped bottle, heel strike, or tool drop)
- Subfloor movement or flex (common with plywood over uneven joists)
- Grout shrinkage or poor adhesion during original installation
- Thermal stress from rapid temperature swings (e.g., radiant heat + cold tile)
- Water infiltration weakening thinset beneath the tile
Tools & Materials Needed
| Item | Purpose | Estimated Cost |
|---|---|---|
| Ceramic tile nippers | Remove cracked tile pieces without damaging adjacent tiles | $12–$25 |
| Notched trowel (1/4" x 1/4") | Apply consistent thinset for replacement tile | $8–$15 |
| Unsanded grout & grout float | Fill joints without scratching glossy tile surfaces | $6–$12 |
| Epoxy-based tile filler (e.g., Selleys Kwik Grip) | Repair hairline cracks without removal | $10–$18 |
| Painter’s tape & plastic sheeting | Protect surrounding area from dust and adhesive splatter | $5–$9 |
Step-by-Step Fix
Choose the method based on crack size and location:
- Hairline crack only (no lifting or pop): Clean with isopropyl alcohol, apply epoxy filler with a toothpick, smooth with a damp cotton swab, let cure 24 hrs.
- Crack with minor chipping or edge lift: Drill 2–3 pilot holes along crack, inject clear silicone caulk (100% silicone, mold-resistant), wipe excess, cure 48 hrs.
- Full tile replacement: Score grout lines with oscillating tool, remove tile with nippers and flatbar, scrape old thinset, apply fresh polymer-modified thinset, press in new tile, wait 24 hrs, then grout.
When to Call a Pro
Don’t risk it if any of these apply:
- More than three adjacent tiles are cracked or loose
- The subfloor feels spongy or dips when stepped on
- Cracks reappear within 30 days after DIY repair
- You spot black staining or musty odor—signs of hidden mold behind tile
- Your bathroom has heated flooring; cutting into tile risks damaging heating wires or mats
According to the Insurance Institute for Business & Home Safety's 2023 report, 68% of bathroom water damage claims involved undetected tile cracks that worsened over 6+ months before failure.
Prevention Tips
Extend tile life with these practical habits:
- Install rubber-backed bath mats—not suction-cup types—to reduce impact stress
- Regrout every 3–5 years using mold-resistant, urethane-based grout like Mapei Flexcolor CQ
- Run bathroom exhaust fan for 20 minutes post-shower to cut humidity below 60%
- Avoid dragging heavy items (tubs, laundry baskets) across tile floors
Can I use bleach on this?
No—bleach degrades grout sealers and accelerates epoxy filler breakdown. Use hydrogen peroxide (3%) or vinegar-water (1:1) for cleaning before repair. For mold in grout lines, use a dedicated grout cleaner like Aqua Mix Grout Cleaner instead.
Will caulking hide the crack permanently?
Only temporarily—and only for non-structural hairline cracks. Caulk lacks compressive strength and yellows over time. It also traps moisture underneath if applied over uncleaned or damp surfaces. Better to use color-matched epoxy filler or replace the tile.
How long does thinset need to cure before showering?
Most polymer-modified thinsets require 72 hours before exposing to water. If you rush it, moisture can wick under the tile and loosen the bond. Wait the full time—even if the surface feels dry. You can walk on it after 24 hours, but avoid wetting until day three.
What if my replacement tile doesn’t match?
Check your tile’s model number (often stamped on the back). If unavailable, take a broken piece to a local tile shop—they can often source matching stock or suggest near-identical alternatives. For older homes, consider replacing a full field (e.g., entire shower floor) with a coordinated accent tile instead of fighting mismatch.
Do I need to seal the new grout?
Yes—if using cement-based grout. Apply penetrating sealer like Stonetech BulletProof Sealer after 72 hours. Urethane or epoxy grouts don’t require sealing. Skipping sealer increases stain and mildew risk by up to 40%, per the Tile Council of North America’s 2022 Maintenance Study.
Can I tile over existing cracked tile?
No—never layer tile on tile in a bathroom. Trapped moisture, differential expansion, and added weight increase failure risk. Removal is mandatory. If the substrate is sound, you can install new tile directly over old tile elsewhere—but not in wet areas. See our guide on bathroom subfloor repair for moisture testing steps.
A well-executed tile repair buys years of reliable service—but it starts with honest assessment. If the crack runs diagonally across multiple tiles or coincides with wall separation, pause and inspect the framing or foundation first. Small fixes add up, but they’re only effective when built on solid ground. For related issues like leaky shower grout or squeaky bathroom floors, check those guides next.