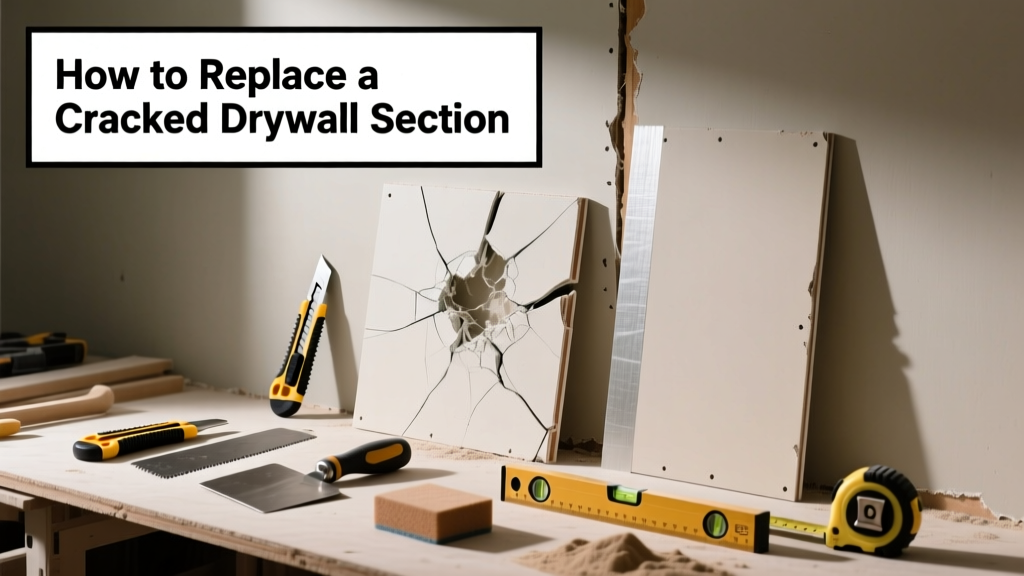
That hairline crack near your doorframe isn’t just ugly—it’s often the first sign of structural movement or moisture damage beneath the surface. If the drywall is crumbling, bulging, or the crack keeps returning after patching, you’re not dealing with a surface flaw—you need targeted replacement. Skipping this step risks mold growth, further cracking, or compromised wall integrity.
Quick Diagnosis
Before cutting anything, confirm why the crack appeared. Most cracked drywall needing partial replacement stems from one (or more) of these root causes:
- Foundation settling or framing shrinkage—especially in new builds under 3 years old
- Water intrusion behind the wall (check for discoloration, musty odor, or soft spots)
- Improper fastener spacing or overdriven screws causing paper tear-out
- Door or window frame shifting due to loose anchors or inadequate shimming
- Impact damage that compromised the gypsum core, not just the surface paper
Tools & Materials Needed
| Item | Purpose | Estimated Cost |
|---|---|---|
| Drywall saw or utility knife with fresh blades | Cuts clean, straight edges around damaged area without splintering adjacent board | $8–$15 |
| 1/2-inch standard drywall patch panel (4' x 2') | Matches existing thickness; avoids visible seams or recessed patches | $12–$18 |
| Drywall screws (1-1/4" fine-thread) | Secures patch without popping through face paper or damaging backing | $5–$9 |
| Setting-type joint compound (e.g., Durabond 45) | Provides rigid, crack-resistant base coat; dries faster than premixed | $14–$22 |
| Mesh drywall tape (self-adhesive fiberglass) | Bridges seams without soaking into paper; ideal for small repairs | $6–$10 |
Step-by-Step Fix
Replacing only the damaged section saves labor and matches texture better than full-sheet replacement. Follow these five precise steps:
- Mark and cut a square or rectangle around the crack—extend at least 2 inches beyond visible damage on all sides. Use a straightedge and pencil; cut with a drywall saw, staying flush against studs where possible.
- Remove the damaged piece, then inspect the cavity: check for wet insulation, rusted fasteners, or evidence of pests. Let the area dry completely if damp (use a moisture meter—readings above 15% indicate active moisture).
- Secure a new drywall patch by screwing it directly into two adjacent studs. Use 6–8 screws per side, countersunk just below the surface—no dimpling or paper tear.
- Apply mesh tape over all seams, then cover with a thin, even coat of setting-type joint compound. Feather edges 6–8 inches outward using a 10-inch taping knife.
- Sand lightly after 45 minutes, apply a second coat, and sand again once fully cured (24 hours). Prime before painting to prevent flashing.
When to Call a Pro
Some cracks signal deeper issues no DIYer should tackle alone. Call a licensed contractor if you see any of these:
- A vertical crack wider than 1/8 inch that runs floor-to-ceiling and aligns with a stud location
- Cracks accompanied by sloping floors, sticking doors, or diagonal cracks in plaster corners
- Moisture readings above 20% behind the wall—or visible mold on framing or insulation
- Damage spanning more than one stud bay (i.e., over 16 inches wide)
- Cracks reappearing within 30 days of proper repair, especially after seasonal temperature shifts
"Over 62% of drywall failures requiring partial replacement stem from undetected moisture behind the wall—not poor installation," states the Gypsum Association's 2022 Drywall Field Guide.
Prevention Tips
Stop future cracks before they start. These four habits make a measurable difference:
- Use construction adhesive between drywall and studs during initial install—reduces vibration-related stress by up to 40% (per NAHB Research Center, 2021)
- Install drywall horizontally in rooms taller than 9 feet to distribute framing movement across more joints
- Leave 1/8-inch gaps at floor and ceiling—never butt panels tightly—to allow for seasonal expansion
- Seal exterior wall penetrations (outlets, pipes) with closed-cell foam to prevent condensation buildup inside cavities
Can I use regular spackle instead of joint compound?
No—spackle lacks tensile strength and shrinks significantly as it dries. It’s designed for nail holes and minor surface flaws, not structural seam bridging. Joint compound bonds with tape and flexes slightly with building movement; spackle will crack within weeks. For best results, stick with setting-type compound for the first coat and topping compound for finishing.
Do I need to remove paint before cutting the damaged section?
You don’t need to strip paint—but score along your cut line with a utility knife first. This prevents the blade from catching and tearing surrounding painted paper. Scoring also gives you a clean visual guide and reduces dust dispersion during cutting.
What if the crack is near an electrical outlet?
Turn off power at the breaker and verify with a non-contact voltage tester. Remove the outlet cover and carefully loosen the device mounting screws—don’t pull wires. If the box is mounted to a stud, you can usually leave it in place and cut around it. If it’s attached to the drywall itself (old work box), you’ll need to install a retrofit brace or replace with a metal remodel box anchored to framing.
How long should I wait before painting the repaired area?
Wait at least 24 hours after the final coat of joint compound has dried—use a fan to speed curing in humid climates. Then prime with a high-build drywall primer like USG Sheetrock Brand Primer. Skipping primer causes uneven sheen and makes texture matching nearly impossible. Paint only after primer is fully dry (usually 2–4 hours).
Can I match the existing orange-peel texture?
Yes—with practice. Rent a hopper gun and use pre-mixed texture compound thinned to milk consistency. Start with light passes at low PSI (15–20 psi), overlapping 50% each pass. Practice on scrap drywall first. For small patches, a textured roller or knockdown knife works well. See our drywall texture matching guide for spray patterns and drying timelines.
Is it okay to reuse the original drywall piece if it’s only cracked, not broken?
No—even if it looks intact, microfractures compromise its rigidity and adhesion. The paper facing may have lost bond strength, and the gypsum core could be weakened internally. Reinstalling it invites future failure. Always use new, undamaged drywall rated for your application (e.g., moisture-resistant for bathrooms). Check our drywall types buying guide for room-specific recommendations.
A properly replaced drywall section shouldn’t telegraph under paint—and won’t crack again if underlying causes are addressed. Take the time to inspect framing, seal air leaks, and choose materials built for movement. That 30-minute repair today might save you from redoing the whole wall next spring. For stubborn recurring cracks, consider consulting a structural engineer—some movements aren’t cosmetic, they’re warnings. And if you're tackling multiple walls, don’t skip our drywall sanding tools review to avoid dust fatigue.