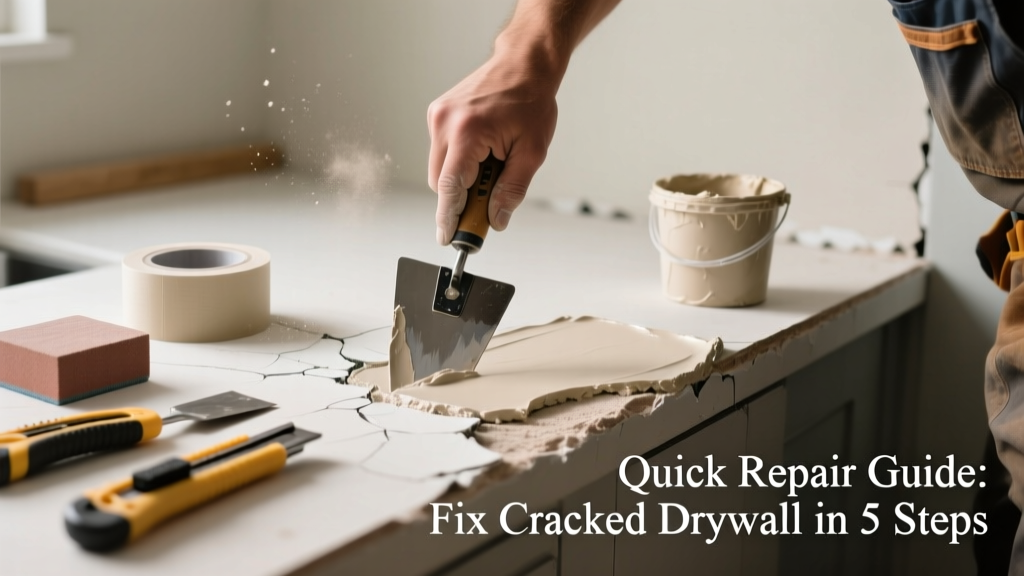
Kitchen drywall cracks aren’t just ugly—they’re often early warnings of moisture issues, structural movement, or installation flaws. Unlike cracks in low-traffic rooms, kitchen cracks face constant steam, temperature swings, and vibration from appliances, making them more likely to reappear if patched incorrectly. Fixing them right means addressing both surface damage and root cause.
Quick Diagnosis
Before grabbing spackle, rule out what’s really going on. Most kitchen drywall cracks fall into one of these categories:
- Hairline cracks along seams (often due to poor initial taping or drying shrinkage)
- Vertical cracks near door frames or corners (common with seasonal wood-frame expansion)
- Cracks radiating from ceiling corners or above cabinets (frequently tied to roof truss uplift or cabinet weight)
- Widening, jagged cracks near sinks or dishwashers (a red flag for chronic moisture intrusion behind walls)
Tools & Materials Needed
| Item | Purpose | Estimated Cost |
|---|---|---|
| 120-grit sandpaper (sandpaper block preferred) | Smooths old compound and feather-edges repairs without gouging adjacent paint | $4–$8 |
| Setting-type joint compound (e.g., Durabond 45) | Shrinks less than premixed mud; critical for humid kitchens where drying time matters | $12–$18 |
| Fiberglass mesh tape (not paper) | Bridges gaps without absorbing moisture—avoids bubbling or delamination near steam sources | $3–$6 |
| 4-in. flexible putty knife | Applies thin, controlled layers over narrow cracks without overloading joints | $7–$12 |
| Dehumidifier (optional but recommended) | Lowers ambient humidity during cure time—reduces risk of mold under patch | $80–$220 |
Step-by-Step Fix
Choose the method based on crack width and location:
- Hairline crack (<1/16"): Clean with damp cloth, apply thin coat of setting-type compound over crack with 4" knife, embed fiberglass mesh tape, let cure 45 minutes, then apply second skim coat. Sand lightly after 24 hours.
- Widened seam crack (1/16"–1/8"): Use utility knife to V-groove the crack, vacuum debris, fill with Durabond 45, press tape into wet compound, smooth flush. Let fully cure before sanding.
- Crack near sink or dishwasher: First check for water damage behind base cabinets. If drywall feels soft or discolored, cut out and replace 12"x12" section using moisture-resistant green board. Seal edges with silicone caulk before taping.
When to Call a Pro
Don’t risk it if you see any of these signs:
- Crack is >1/4" wide and growing more than 1/16" per month
- Adjacent tiles are loose, grout is crumbling, or cabinets pull away from wall
- Musty odor or visible mold behind baseboards or inside cabinets
- Crack runs continuously through multiple walls or across ceiling/wall junctions
According to the Insurance Institute for Business & Home Safety's 2023 report, 68% of kitchen wall failures linked to unaddressed cracks involved underlying framing movement or plumbing leaks—not surface-level drywall issues.
Prevention Tips
Long-term success hinges on controlling the kitchen’s unique stressors:
- Install an exhaust fan rated for at least 100 CFM and run it for 20 minutes after cooking or dishwashing
- Seal all cabinet-to-wall gaps with mildew-resistant acrylic caulk—not standard silicone
- Avoid mounting heavy appliances (like microwaves or range hoods) directly to drywall; always anchor into studs
- Keep indoor humidity between 30–50% year-round—use a hygrometer near the sink to monitor
Can I use regular joint compound instead of setting-type?
No—standard premixed 'all-purpose' compound shrinks up to 3% as it dries, which guarantees hairline cracks will reappear in high-humidity zones. Setting-type compounds like Durabond 45 or Easy Sand 90 chemically cure and shrink less than 0.1%, per USG’s 2022 Technical Bulletin.
Do I need to prime before painting the patch?
Yes—always. Unprimed drywall compound absorbs paint unevenly, causing 'flashing' (visible patches). Use a PVA primer like Zinsser Gardz, especially over repairs near steam sources. Skip this step and you’ll repaint within six months.
Will spackling paste work for this?
Spackle is fine only for nail holes or chips—not cracks. Its fast dry time and brittle composition make it prone to popping loose when kitchen walls expand and contract. For cracks, stick with setting-type joint compound.
How long should I wait before wiping down the repaired area?
Wait at least 72 hours after final coat before cleaning—even gentle wiping can disturb the compound’s micro-bond in humid air. After that, use a microfiber cloth dampened with distilled water only.
Can I paint over the patch immediately after sanding?
No. Sanding creates fine dust that clogs pores and blocks adhesion. Wipe with tack cloth, then prime. Skipping priming leads to peeling in high-moisture zones—choose a scrubbable, mold-resistant paint like Benjamin Moore Aura Bath & Spa for best results.
What if the crack comes back in two weeks?
That’s not a failed patch—it’s a symptom. Reappearing cracks almost always mean either ongoing moisture infiltration (check under-sink pipes and dishwasher discharge hose) or structural movement (see our guide on foundation warning signs). Don’t re-tape again until you’ve ruled those out.
A well-repaired kitchen drywall crack shouldn’t be a recurring chore—it should be invisible and durable. The key isn’t speed or simplicity, but matching your repair method to the kitchen’s real-world conditions: steam, vibration, and daily wear. Treat the wall like part of your plumbing or electrical system—inspect it twice a year, not just when something breaks.