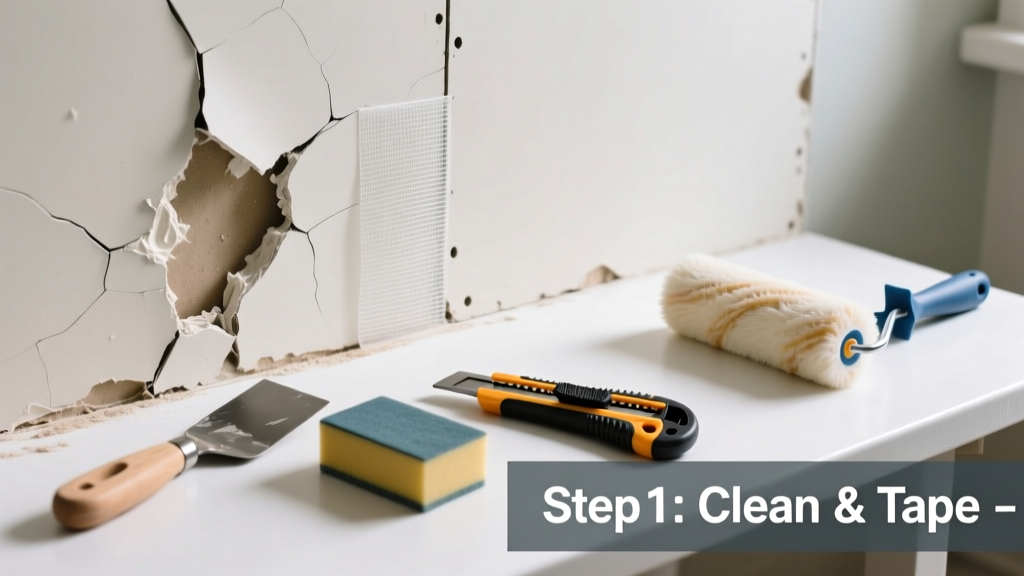
Bathroom drywall cracks aren’t just ugly—they’re often early warnings of moisture trouble or structural stress. Unlike living room cracks, these appear where humidity cycles daily, adhesive fails faster, and tile backsplashes hide underlying issues. Ignoring them invites mold, further cracking, or even compromised wall integrity.
Quick Diagnosis
Before grabbing tools, identify the root cause. Most bathroom cracks fall into one of these categories:
- Moisture infiltration behind tile or around tub/shower (most common)
- House settling near door frames or corners
- Poor drywall installation—missing screws, gaps at seams, or no backer board behind tile
- Thermal expansion/contraction from steamy showers followed by cool air
- Over-tightened fasteners pulling through soft gypsum core
Tools & Materials Needed
| Item | Purpose | Estimated Cost |
|---|---|---|
| Utility knife with fresh blades | Cuts away damaged paper and crumbled gypsum cleanly | $3–$8 |
| Flexible mesh drywall tape (alkali-resistant) | Stabilizes joints in high-humidity areas; prevents re-cracking | $6–$12 |
| Setting-type joint compound (e.g., Durabond 45) | Shrinks less than premixed mud; resists moisture better long-term | $10–$18 |
| 120-grit sanding sponge (water-resistant) | Sands without loading up in damp conditions | $4–$7 |
| Hygrometer (optional but recommended) | Verifies ambient humidity stays below 60% during and after repair | $12–$25 |
Step-by-Step Fix
Choose the method based on crack width, location, and whether moisture is present:
- Surface hairline crack (≤1/16"): Clean with vinegar-water mix, apply alkali-resistant mesh tape over crack, cover with two thin coats of setting-type compound, sand lightly, prime with mold-resistant primer like Zinsser Perma-White.
- Widened crack with loose paper or crumbling edges: Cut out damaged area to sound drywall using utility knife, install backing wood strips if needed, apply fiberglass mesh tape, then three coats of Durabond 45 (let each cure fully per manufacturer specs—minimum 90 minutes between coats).
- Crack near shower/tub tile line: First, inspect grout and caulk. If silicone is failed, replace it first. Then remove any wet drywall behind tile (often requires cutting access panel). Install cement board behind new drywall patch, seal seams with RedGard before taping.
When to Call a Pro
DIY crosses into unsafe or code-violating territory in these cases:
- The crack runs vertically through multiple studs and widens more than 1/8" over 2 weeks
- You detect musty odor, black specks, or spongy drywall behind the crack—signs of active mold or rot
- Cracks coincide with water stains on ceiling below or warped flooring—indicating chronic leak upstream
- Electrical boxes or plumbing lines are exposed or compromised during prep
According to the Insurance Institute for Business & Home Safety's 2023 report, 68% of bathroom drywall failures linked to undetected leaks required licensed remediation due to hidden substrate damage.
Prevention Tips
Long-term success means managing the environment—not just the surface:
- Run your bathroom exhaust fan for at least 20 minutes after every shower (use a timer switch if yours lacks one)
- Keep indoor humidity between 30–50% year-round—use a hygrometer to verify, not guess
- Re-caulk tub/shower joints annually with 100% silicone rated for mold resistance (e.g., GE Advanced Silicone II)
- Never hang heavy towel bars or mirrors directly into drywall—always hit studs or use toggle bolts rated for tile/drywall combos
Can I use regular joint compound instead of setting-type?
No. Premixed all-purpose compound shrinks up to 5% as it dries and lacks moisture resistance. In bathrooms, that shrinkage pulls tape loose and invites re-cracking within months. Setting-type compounds (like Durabond or Sheetrock Brand Easy Sand) chemically set and shrink under 0.1%, per USG’s 2022 Technical Bulletin #T-117.
How long does the repair need to dry before painting?
Setting-type compound is ready for light sanding in 45–90 minutes (depending on temperature/humidity), but wait at least 24 hours before priming—and use only mold-inhibiting primer like Kilz Mold & Mildew Resistant. Paint too soon, and trapped moisture causes bubbling or peeling.
Will spackle work for this kind of crack?
Spackle is designed for small nail holes—not movement-related cracks. It’s rigid and brittle, so it fractures when drywall flexes from humidity changes. Save it for bedroom walls, not bathrooms.
Do I need to replace the entire sheet if there’s one crack?
Not unless you find widespread softness, discoloration, or evidence of prolonged water exposure. A localized crack repaired properly—with moisture control—can last 10+ years. But if you spot matching cracks on adjacent walls or ceilings, that signals structural movement best assessed by a home inspector.
Can I paint over the crack without fixing it?
Temporarily hiding it with paint or caulk fails within weeks. The crack will telegraph through, and trapped moisture accelerates decay. As contractor Mike Rinaldi notes in Remodeling Magazine (2021): “Painting over bathroom cracks is like putting duct tape on a leaky pipe—it looks fixed until the next steam session.”
What’s the best primer for patched bathroom drywall?
Use a 100% acrylic, mold-resistant primer with mildewcide—Zinsser Perma-White or Benjamin Moore Aura Bath & Spa. Avoid oil-based primers; they trap moisture and yellow over time. Apply two coats, letting each dry fully (per label instructions) before topcoating with semi-gloss or satin finish paint.
A well-repaired bathroom wall shouldn’t just look seamless—it should breathe, resist moisture, and move with the house without splitting again. That means choosing materials built for wet rooms, verifying environmental conditions before starting, and never skipping the moisture check step. For related guidance, see our guides on how to fix moldy drywall and bathroom exhaust fan installation.