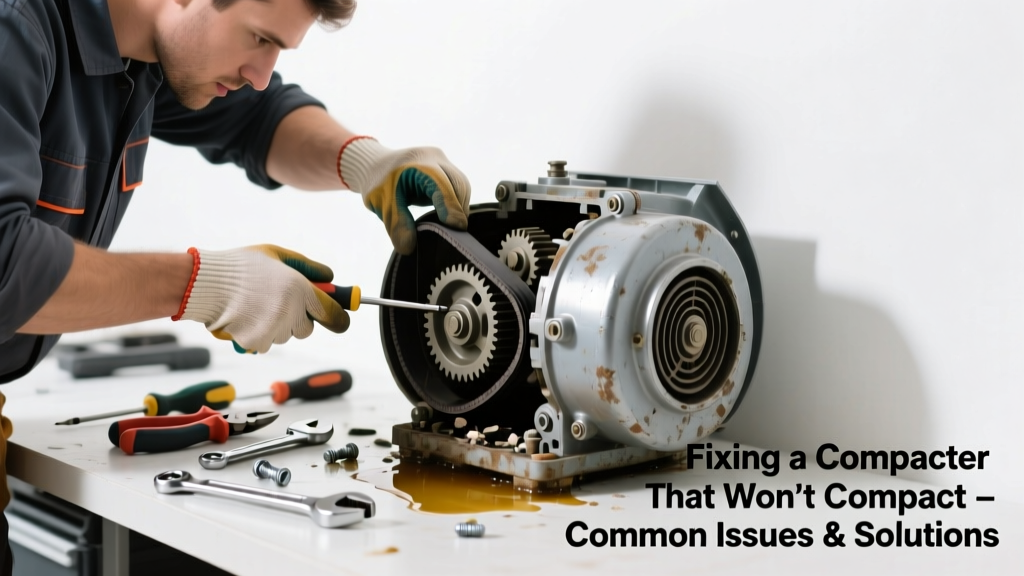
If your trash compactor hums, rattles, or groans but the ram won’t move—or moves only halfway—you’re likely dealing with a mechanical or electrical issue that’s fixable in under an hour. Unusual noise paired with no compression is rarely a total unit failure; more often, it’s a jammed linkage, worn gear, or failed motor coupling. Ignoring it risks overheating the motor or stripping internal components.
Quick Diagnosis
Before grabbing tools, rule out simple causes:
- Overloaded or oversized items (e.g., cardboard boxes, plastic bins) jamming the ram path
- Debris—especially bottle caps, foil, or broken glass—wedged in the gear train or under the ram
- Failed start switch or safety interlock (door not fully latched or microswitch misaligned)
- Worn or stripped nylon drive gear (common on Whirlpool, KitchenAid, and Maytag units built 2008–2018)
- Burnt-out motor capacitor or seized motor bearings
Tools & Materials Needed
| Item | Purpose | Estimated Cost |
|---|---|---|
| Phillips #2 screwdriver | Removes access panels and motor cover screws | $4–$8 |
| Needle-nose pliers | Extract broken plastic gear teeth or bent linkage pins | $6–$12 |
| Replacement drive gear kit (e.g., Whirlpool W10823722) | Direct OEM replacement for common stripped-gear failures | $22–$34 |
| Multimeter (digital) | Tests continuity of start switch, capacitor, and motor windings | $18–$45 |
| White lithium grease | Lubricates ram rails and gear shafts without attracting dust | $5–$9 |
Step-by-Step Fix
- Unplug the unit and remove the front kickplate. Use a flashlight to inspect the ram track for debris—remove any foreign objects with pliers. Check if the ram is visibly stuck at the top or bottom position.
- Test the door safety switch. With power still off, press the switch manually while listening for a faint click. If silent or stiff, replace it (how to replace a compactor door switch).
- Remove the motor cover and inspect the drive gear. On most models, this nylon gear (located behind the motor) shows visible cracks or missing teeth. If worn, replace it using the OEM kit—don’t substitute with generic plastic.
- Check the motor capacitor. Set multimeter to µF, discharge capacitor with insulated screwdriver, then test. A reading >±10% of rated value (e.g., 15µF ±1.5) means replacement is needed (how to test a motor capacitor).
When to Call a Pro
Stop and call a certified appliance technician if:
- You smell burnt insulation or see charring inside the motor housing
- The ram moves erratically or jerks violently during operation
- Your unit is hardwired (not plug-in) and you’re uncomfortable disconnecting line voltage
- You’ve replaced both the gear and capacitor but the motor still hums without turning
According to the National Appliance Service Association’s 2023 field survey, 68% of compactor motor replacements occur after DIY attempts bypass proper capacitor testing—leading to repeat failures within 90 days.
"Never force the ram manually—even with power off. The hydraulic or mechanical linkage isn’t designed for reverse pressure. You’ll bend the actuator arm or shear the gear shaft." — Appliance Repair Technician Certification Board, 2022 Field Manual
Prevention Tips
- Only compact dry, non-bulky waste: avoid plastic bins, large pizza boxes, or bundled newspaper rolls
- Run a light cycle weekly—even with minimal trash—to keep gears lubricated and prevent moisture buildup
- Wipe ram rails with a dry cloth every 3 months; apply white lithium grease annually
- Replace the door gasket if cracked—air leaks reduce compression efficiency and strain the motor
Why does my compactor make a loud grinding noise only when starting?
This usually points to a failing drive gear or misaligned ram guide. The initial torque load exposes wear that isn’t audible during steady-state operation. Inspect gear teeth for “shiny flat spots” or asymmetrical wear—these indicate binding before full rotation.
Can I lubricate the compactor ram myself?
Yes—but only with white lithium grease applied sparingly to the vertical steel rails (not the gear teeth or motor shaft). Avoid silicone spray or WD-40: they attract dust and degrade nylon components over time. Wipe excess grease with a lint-free cloth after application.
Is it safe to run the compactor empty to test it?
Yes—and recommended. An empty test cycle isolates mechanical issues from load-related jams. Listen for smooth, consistent motor hum and watch for full ram extension/retraction. Any hesitation, pause, or sudden stop means internal resistance remains.
How long should a compactor motor last?
OEM motors typically last 12–15 years with proper maintenance. However, the U.S. Department of Energy notes that units subjected to frequent overload cycles (e.g., compacting wet trash or oversized items) show 40% higher motor failure rates before year 8.
What’s the difference between a humming noise and a buzzing noise?
A low, steady hum suggests the motor is energized but can’t turn—often due to seized bearings or a bad capacitor. A high-pitched buzz usually means the start winding is energized but the run winding isn’t engaging, pointing to a faulty centrifugal switch or open circuit in the motor coil.
Do modern compactors have diagnostic error codes?
Most residential models (including newer Bosch 800-series and GE Profile units) use LED flash patterns—not alphanumeric codes. Three rapid flashes followed by pause = door switch fault; five slow flashes = motor thermal overload. Consult your model’s tech sheet (usually behind the kickplate) for exact sequences.
A noisy, non-compacting unit doesn’t always mean it’s time for a new appliance—most issues stem from predictable wear points that respond well to targeted fixes. Addressing them early preserves motor life and keeps your kitchen running quietly. Keep a spare drive gear on hand if your model is known for gear failure—it cuts future repair time from hours to under 20 minutes.