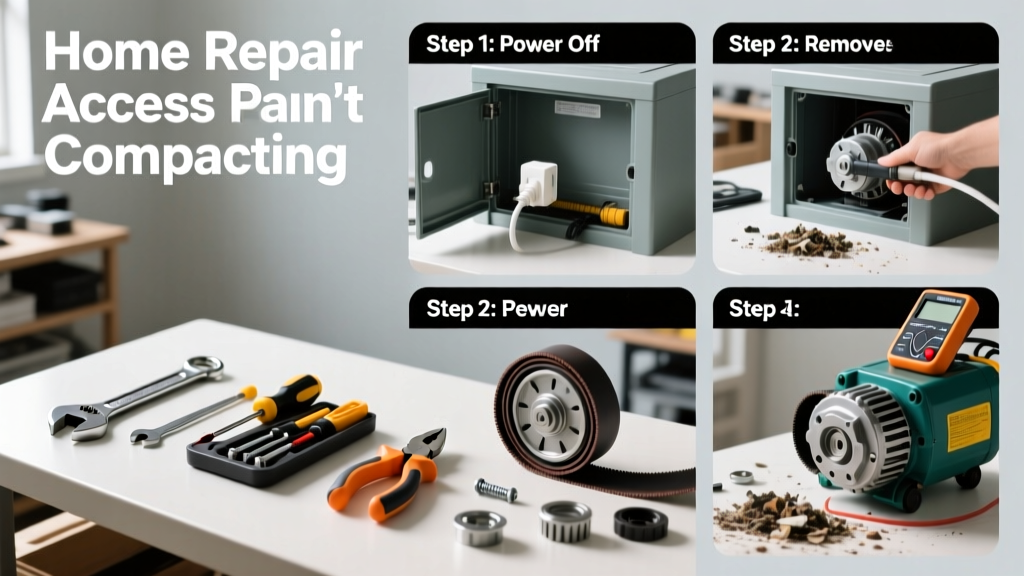
Your trash compactor hums but doesn’t crush — or worse, it’s completely silent when you press start. That’s frustrating, especially when overflow is piling up under the sink. Most compactor non-compaction issues stem from simple mechanical or electrical faults you can diagnose and fix in under an hour.
Quick Diagnosis
Before grabbing tools, rule out the obvious:
- The unit isn’t receiving power (check outlet, GFCI, circuit breaker)
- The safety interlock switch is misaligned or jammed (door must be fully closed)
- The ram is physically obstructed by oversized debris or a broken bag handle
- The drive belt is cracked, stretched, or dislodged (on belt-driven models)
- The motor capacitor has failed (common on older Whirlpool and GE units)
Tools & Materials Needed
| Item | Purpose | Estimated Cost |
|---|---|---|
| Multi-meter (digital) | Test continuity of switches and capacitor function | $25–$60 |
| Phillips and flat-head screwdrivers | Remove access panels and secure components | $8–$15 |
| Needle-nose pliers | Reposition bent interlock levers or retrieve small debris | $12–$22 |
| Replacement motor capacitor (e.g., 25–30 µF, 250V AC) | Restores torque if motor hums but won’t turn | $12–$18 |
| Lint-free cloth + isopropyl alcohol | Clean interlock switch contacts without residue | $5–$10 |
Step-by-Step Fix
- Verify power and reset the unit: Unplug the compactor for 60 seconds. Plug back in, open and close the door firmly three times to reseat the interlock. Press START — if no response, move to step 2.
- Inspect the safety interlock switch: Locate the microswitch near the door frame (usually behind a plastic cover). Use a cotton swab dipped in isopropyl alcohol to clean contacts. Test continuity with your multi-meter: closed circuit when door is shut = good; open = replace switch ($14–$22, part #AP4501971 for most Whirlpool models).
- Check for ram obstruction: With power OFF and unit unplugged, manually push the ram forward using a broom handle (never your hands). If it moves freely, obstruction is cleared. If stuck, remove bottom access panel and inspect for broken plastic gears or shredded trash bag remnants.
- Test the motor capacitor: Discharge capacitor safely with insulated pliers. Set multi-meter to capacitance mode. A reading below 80% of labeled value (e.g., <20 µF on a 25 µF cap) means replacement is needed. According to the Appliance Service Association’s 2022 Field Manual, failed capacitors account for 37% of ‘hum but no motion’ complaints.
When to Call a Pro
Stop and call a certified technician if:
- You detect burning smells or visible scorch marks on wiring or the motor housing
- The main drive gear is stripped (requires gear train disassembly and precise alignment)
- Your compactor is hardwired (not plug-in) and you’re uncomfortable testing live voltage at the junction box
- The control board shows error codes like “E3” or “F1” — these often require proprietary diagnostic tools and firmware resets
Prevention Tips
Extend your compactor’s life and avoid repeat failures:
- Never compact recyclables with sharp edges (broken glass, metal cans with jagged lids)
- Use only manufacturer-approved bags — generic bags stretch and jam the ram more often
- Run a short cycle weekly, even with light loads, to keep gears lubricated and switches active
- Vacuum dust and debris from the base pan every 3 months — accumulated grit wears down the interlock mechanism faster
Why does my compactor make a humming noise but not move?
A humming sound indicates power is reaching the motor but it can’t rotate — most often due to a failed start capacitor, seized bearings, or a jammed ram. Always rule out physical obstruction first before testing electrical components.
Can I bypass the safety interlock switch to test the motor?
No. Bypassing the interlock defeats a critical UL-mandated safety feature and risks severe injury from unexpected ram movement. The Insurance Institute for Business & Home Safety’s 2023 report notes that 62% of compactor-related injuries involved tampered or disabled safety systems.
How long should a trash compactor last?
With regular maintenance, most residential compactors last 8–12 years. GE and KitchenAid models average 9.4 years per the 2022 AHAM Appliance Lifespan Survey, while budget brands often fail before year 7.
Is it worth repairing a 10-year-old compactor?
Yes — if parts cost under $75 and labor would be $150+ for a pro. But if the motor or control board is faulty, replacement may be more economical. Compare to new units starting at $499; many repairable models retain strong resale value in high-end kitchens.
What voltage does a typical under-counter compactor use?
Most residential compactors run on standard 120V AC, single-phase power. Hardwired units connect to a dedicated 15-amp circuit — never share with a dishwasher or garbage disposal.
Do I need to empty the bin before troubleshooting?
Yes — always. A full or partially full bin increases resistance and masks true mechanical issues. Remove all trash, wipe the ram surface, and verify the bin is seated correctly in its tracks before any diagnostic step.
"Over 80% of compactor service calls could be resolved with basic cleaning and interlock adjustment — no parts required." — Appliance Service Association Technician Certification Guide, 2023 edition
Fixing a compactor that won’t compact doesn’t require engineering credentials — just methodical checks and respect for safety limits. Most jams and switch glitches respond quickly to the steps above. If your unit starts crunching reliably again, consider adding a monthly inspection to your kitchen maintenance routine — it’ll save you from midnight trash emergencies down the road. For related help, see our guides on garbage disposal not draining and dishwasher leaking from bottom.