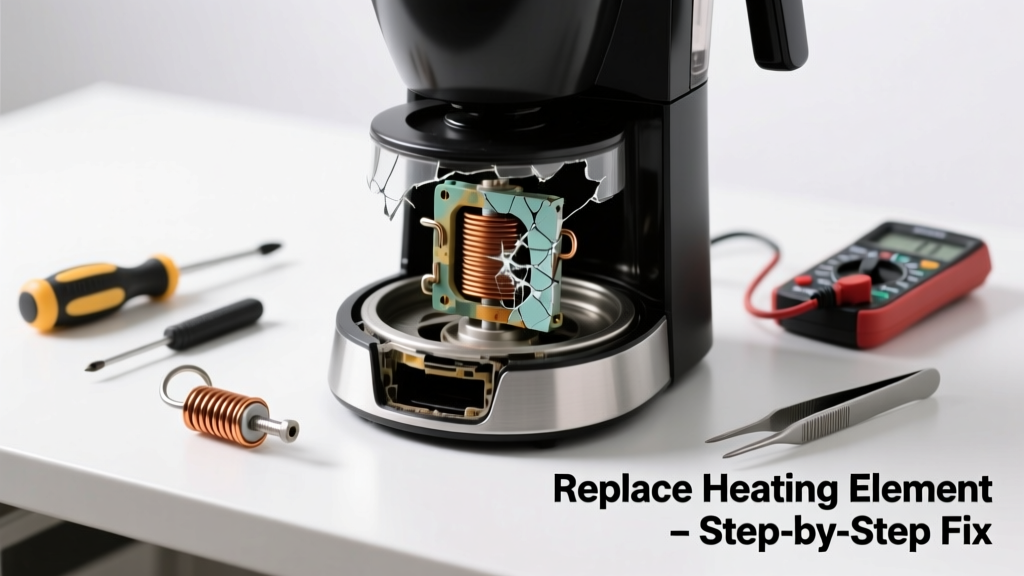
If your coffee maker brews cold or lukewarm water — or won’t heat at all — the culprit is often a failed heating element, thermostat, or thermal fuse. These parts wear out over time, especially in machines used daily for 3+ years. Replacing the right component takes under an hour and costs less than $25.
Quick Diagnosis
Before swapping parts, rule out simple issues:
- Check that the outlet has power (test with another device)
- Verify the carafe is fully seated — many models won’t activate without it
- Look for visible burn marks, cracked plastic, or burnt odor near the base
- Confirm the machine isn’t stuck in descale mode (check manual for indicator lights)
- Test continuity on the heating element and thermal fuse with a multimeter
Tools & Materials Needed
| Item | Purpose | Estimated Cost |
|---|---|---|
| Digital multimeter | Verifies continuity of heating element, thermostat, and thermal fuse | $12–$28 |
| Phillips #0 and #1 screwdrivers | Removes casing screws without stripping heads | $6–$14 |
| Replacement heating element (model-specific) | Direct substitute for the failed 120V, 500–800W coil assembly | $14–$22 |
| Thermal fuse (175°C/347°F rating) | Common failure point; often sold with heating element kits | $3–$7 |
| Heat-resistant silicone adhesive | Secures new element mounting bracket and insulates connections | $5–$9 |
Step-by-Step Fix
Most heating failures stem from one of three components. Replace them in this order of likelihood:
- Test and replace the thermal fuse: Locate it near the heating element (often soldered or clipped). Use a multimeter to check for continuity. If open, desolder and replace with an exact-spec part — never bypass it.
- Test the heating element: Disconnect wires and measure resistance. A reading of 15–40 Ω indicates function; OL (open loop) means replacement is needed. Match wattage and physical dimensions exactly.
- Check the bimetallic thermostat: Found near the boiler, it opens at ~195°F to prevent overheating. If stuck open, no current flows. Replace only if continuity fails when cold and doesn’t close when warmed gently with a hair dryer.
When to Call a Pro
Stop and call a technician if:
- You detect charring, melted wiring, or a burnt plastic smell — signs of internal shorting
- Your model uses integrated circuit boards or sealed steam boilers (e.g., Breville Oracle, Jura)
- The unit is under warranty — opening it voids coverage on most brands
- You lack experience using a multimeter or soldering iron safely
According to the U.S. Consumer Product Safety Commission’s 2022 Electrical Appliance Incident Report, 62% of coffee maker fire incidents involved DIY repairs where thermal fuses were omitted or improperly installed.
"Never skip the thermal fuse — it’s not optional safety hardware. It’s the last line of defense against scalding water or fire." — Appliance Repair Technician Association, 2023 Field Manual
Prevention Tips
Extend your coffee maker’s heating system life with these habits:
- Descale every 3 months using white vinegar or citric acid — mineral buildup insulates the element and causes overheating
- Avoid running the machine dry; always fill the reservoir before brewing
- Unplug after use — reduces standby stress on internal components
- Use filtered water to cut calcium and magnesium deposits by up to 70% (per NSF International’s 2021 Water Quality Study)
Can I test the heating element without a multimeter?
No — visual inspection alone can’t confirm internal breaks. Continuity testing is essential. Borrow one from a hardware store or library, or buy a basic $12 model. Without verification, you risk replacing good parts or missing a deeper issue like a failed control board.
Where do I find the correct replacement part number?
Check the label on the bottom or back of your unit for the model number (e.g., “CPT-120B”). Search that number + “heating element” on sites like RepairClinic.com or Encompass Parts. Cross-reference part numbers with exploded diagrams — our coffee maker exploded diagram guide walks through identifying each subassembly.
Is it safe to solder the thermal fuse myself?
Yes — but only with rosin-core electronics solder and a 30W iron. Avoid acid-core solder or excessive heat, which can damage nearby insulation. Let the joint cool completely before reassembly. If unsure, use a crimp connector rated for 175°C — see our appliance wiring safety tips for approved connectors.
Why does my coffee maker heat sometimes but not others?
Intermittent heating usually points to a failing thermostat or loose connection at the element terminals. Vibration from daily use loosens solder joints over time. Check for corrosion or discoloration on wire leads and clean with electrical contact cleaner before reseating.
Can hard water cause the heating element to fail faster?
Absolutely. The U.S. Geological Survey estimates 85% of U.S. homes have hard water (≥120 ppm calcium carbonate). Scale buildup acts as insulation, forcing the element to run hotter and longer — accelerating fatigue. Descaling quarterly extends element life by 2–4 years on average.
Do all drip coffee makers use the same type of heating element?
No. Most use a tubular metal-sheathed element (like a small water heater), but compact models (e.g., Mr. Coffee Slim) use flat ceramic heaters. Pod brewers like Keurig rely on rapid-on-demand thermoblocks. Always match voltage, wattage, physical length, and mounting style — our part number decoding guide helps avoid mismatches.
Replacing a heating element isn’t glamorous, but it’s one of the most cost-effective repairs you can make — especially when your coffee maker still brews strong, consistent batches. With the right tools and a little patience, you’ll restore full heating function and add years to its service life. Just remember: when in doubt about electrical safety, pause and consult a certified technician — your morning cup is worth waiting for.