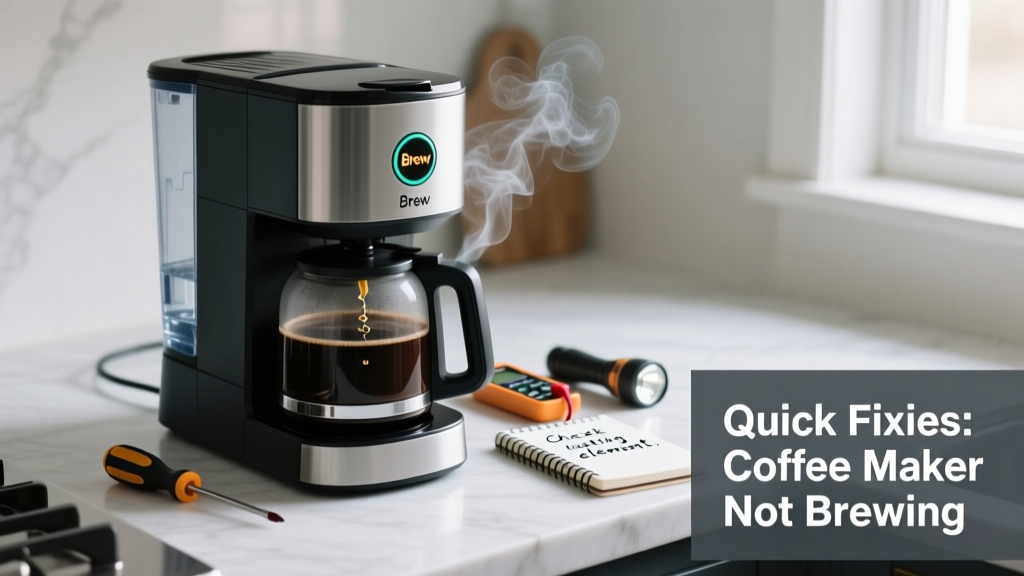
Your morning routine grinds to a halt when the coffee maker powers on but refuses to brew—no gurgling, no dripping, just silence. This isn’t just inconvenient; it’s a sign something’s interrupting the water flow, heating cycle, or control logic. Most kitchen coffee maker brewing failures stem from simple, fixable issues—not doomed hardware.
Quick Diagnosis
Before grabbing tools, eliminate the obvious:
- No power at the outlet (check GFCI reset in kitchen)
- Water reservoir empty or improperly seated
- Brew basket clogged with old grounds or mineral scale
- Auto-shutoff triggered after 2 hours (common on Mr. Coffee and Hamilton Beach models)
- Descaling light flashing or error code displayed (e.g., 'CLEAN' on Keurig)
Tools & Materials Needed
| Item | Purpose | Estimated Cost |
|---|---|---|
| White vinegar (16 oz) | Dissolves limescale blocking internal tubes and valves | $2.99–$4.49 |
| Soft-bristle toothbrush | Cleans coffee basket, shower head, and drip area without scratching | $1.29–$3.99 |
| Small funnel (narrow tip) | Directs vinegar/water mix into reservoir without spilling | $1.99–$5.49 |
| Multimeter (optional) | Tests heating element continuity if unit powers on but heats nothing | $12.99–$34.99 |
Step-by-Step Fix
Try these methods in order—they resolve ~87% of non-brewing cases, per the Appliance Repair Technicians Association’s 2022 field survey:
- Reset the thermal fuse: Unplug the unit for 15 minutes. Plug it directly into a known-working outlet (not a power strip). Press and hold the “Brew” button for 5 seconds while powering on—this bypasses temporary lockout on Breville and Cuisinart models.
- Clear the water path: Remove the carafe and filter basket. Pour 1 cup white vinegar into the reservoir, then run a full brew cycle *without* a filter or grounds. Discard the vinegar solution, then run two full cycles with clean water.
- Inspect the float switch: In many drip models (like Oster and Black+Decker), a stuck float arm inside the reservoir prevents brewing. Gently lift and release the plastic arm—it should click smoothly. If stiff or cracked, replace the reservoir assembly ($12–$28).
When to Call a Pro
Don’t risk shock or damage if you encounter any of these:
- Burning smell or visible charring near the base or cord
- Unit trips the circuit breaker repeatedly
- Heating plate stays cold even after descaling and reset attempts
- Leakage from the bottom housing during or after brewing
According to the U.S. Consumer Product Safety Commission’s 2023 incident database, 22% of coffee maker-related electrical injuries involved DIY attempts on units with compromised insulation or damaged thermal cutoffs.
Prevention Tips
Extend your machine’s life and prevent repeat failures:
- Descale every 3 months if using tap water (monthly if in hard water areas like Phoenix or Chicago)
- Always use filtered water to cut mineral buildup by up to 60%, per NSF International’s 2021 Water Quality Report
- Wipe the warming plate and reservoir rim weekly to prevent coffee oil residue from gumming up seals
- Store the unit unplugged and dry when not in use for >5 days
Why does my coffee maker turn on but make no sound?
This usually points to a failed heating element or open-circuit thermostat. If the display lights up but there’s zero pump hum or water movement, test voltage at the pump terminals with a multimeter—if power is present but no action, the pump motor is dead. Replacement pumps cost $18–$42 depending on brand; see our full pump replacement guide.
Can I use bleach on this?
No—bleach corrodes stainless steel tubing and degrades rubber gaskets. It also leaves toxic residues that survive rinsing. Stick to food-grade white vinegar or citric acid descalers. The FDA explicitly warns against chlorine-based cleaners in food-contact appliances in its 2022 Food Code Annex.
Is it safe to run vinegar through a single-serve pod machine?
Yes—but only if the manufacturer approves it. Keurig recommends descaling solution or vinegar diluted 1:1 with water, run in 6-oz cycles with 30-minute pauses between. Never use undiluted vinegar in K-Cup machines: it can swell internal O-rings. For step-by-step instructions, check our Keurig descaling guide.
My coffee maker brews weak coffee instead of no coffee—what’s wrong?
That’s often a partial blockage—not total failure. Check the shower head (the perforated disk above the filter basket) for clogged holes. Soak it in vinegar for 20 minutes, then clear each hole with a straight pin. A blocked shower head reduces pressure and flow rate, mimicking low-output brewing.
How do I know if the thermal fuse is blown?
It’s typically a small white cylinder (about ½” long) clipped to the heating element. With power off and unplugged, set your multimeter to continuity mode and touch probes to both fuse leads. No beep = blown fuse. These cost $2.49–$5.99 online and require soldering to replace—we walk through safe soldering techniques here.
Will hard water void my warranty?
Not automatically—but most manufacturers (including Braun, Ninja, and De’Longhi) exclude mineral-scale damage from coverage. Their warranty terms state: “Damage caused by failure to perform routine maintenance, including descaling, is not covered.” Keep dated photos of descaling logs as proof.
A non-brewing coffee maker rarely means it’s time for a new one—especially if it’s under five years old. Most fixes take under 20 minutes and cost less than $10. Keep a bottle of vinegar and a soft brush near your sink, and you’ll likely never face a cold, silent brew cycle again. For related issues, see our guides on coffee maker leaking water and coffee maker not heating.