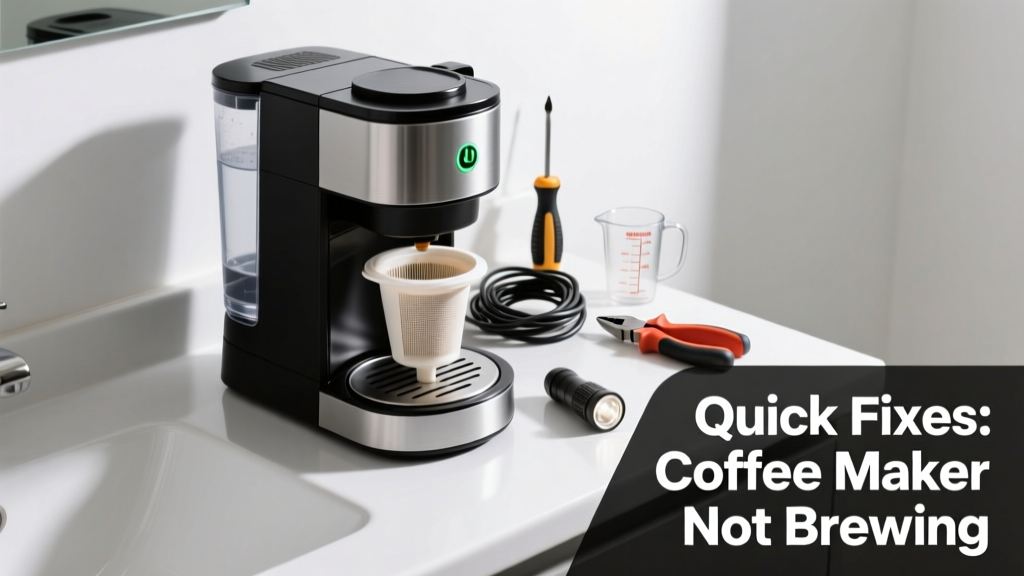
It’s jarring to plug in your coffee maker in the bathroom—maybe for a guest suite, tiny home remodel, or temporary setup—only to get silence instead of brewing. Unlike kitchens, bathrooms introduce unique hazards like high humidity, GFCI trips, and hard water deposits that sabotage performance. Let’s get it working again—safely and permanently.
Quick Diagnosis
Before grabbing tools, eliminate the obvious culprits:
- No power at the outlet (check GFCI reset button on bathroom wall or nearby circuit)
- Mineral scale clogging the internal heating element or water line (common with bathroom tap water exposed to steam and evaporation)
- Water reservoir not fully seated or lid misaligned (vibration from sink use or door slamming can loosen parts)
- Steam or condensation shorting internal sensors (bathroom humidity averages 60–80% RH—well above the 45% max most coffee makers tolerate)
- Non-dedicated circuit overload (bathroom outlets often share circuits with hair dryers or exhaust fans)
Tools & Materials Needed
| Item | Purpose | Estimated Cost |
|---|---|---|
| Voltmeter or outlet tester | Verifies live power and proper grounding at the outlet | $8–15 |
| White vinegar (distilled, 5% acidity) | Dissolves calcium/magnesium scale without damaging seals | $3–5 |
| Soft-bristle toothbrush | Cleans scale from small ports and sensor nozzles without scratching | $1–3 |
| Microfiber cloth | Wipes condensation from control panel and base vents | $4–7 |
| GFCI reset tool (non-conductive plastic probe) | Safely resets tripped GFCI without fingers near terminals | $2–4 |
Step-by-Step Fix
- Test outlet power and reset GFCI: Press the 'RESET' button on the bathroom outlet (or adjacent one). Use an outlet tester—if lights show 'OPEN NEUTRAL' or 'HOT/NEU REVERSED,' call an electrician immediately.
- Descale thoroughly: Fill reservoir with equal parts white vinegar and distilled water. Run half a brew cycle, then let sit for 30 minutes. Complete cycle, then run two full cycles with plain distilled water to flush.
- Dry all external and vent areas: Unplug unit. Wipe control panel, underside vents, and reservoir gasket with a microfiber cloth. Leave unit unplugged and open (lid up, carafe removed) for 4+ hours in a dehumidified room—not the bathroom.
- Check water level sensor: Shine a flashlight into the reservoir well. Look for a small black or clear optical sensor window near the bottom. Clean gently with vinegar-dampened toothbrush—mineral film here prevents detection.
When to Call a Pro
Don’t risk shock or fire if you encounter any of these:
- Outlet tester shows 'NO GROUND' or 'OPEN GROUND'—this violates NEC 2023 Article 210.8(A)(1) for bathroom receptacles and requires licensed correction
- Burning smell, visible charring, or buzzing from the base—even after drying and resetting
- Coffee maker powers on but displays error codes like 'E02' or 'HEAT FAIL' consistently after descaling (indicates failed thermal fuse or heating element)
- You measure >125V at the outlet with a voltmeter—overvoltage can fry electronics and signals faulty panel wiring
Prevention Tips
Bathrooms aren’t designed for coffee makers—but if you must keep one there, protect it:
- Install a dedicated 20-amp circuit with GFCI + AFCI protection (per NEC 2023 210.12(B))
- Use only distilled water—not tap—to prevent scale buildup in under 3 months
- Store the unit in a closet or cabinet with silica gel packs when not in daily use
- Run a 10-minute exhaust fan before and after brewing to lower ambient humidity below 50%
- Mount the unit on a wall shelf away from shower spray zones (minimum 36" horizontal distance per IPC 2021 Section 405.3)
Can I use bleach to clean the reservoir?
No—bleach corrodes stainless steel reservoirs and degrades silicone gaskets. It also reacts with residual vinegar to produce toxic chlorine gas. Stick to food-grade vinegar or citric acid solutions. According to the U.S. EPA’s Safe Handling of Household Chemicals (2022), mixing chlorine-based cleaners with acids is among the top 5 causes of accidental indoor gas exposure.
Why does my coffee maker work fine in the kitchen but not the bathroom?
Bathroom outlets are GFCI-protected by code, and older or moisture-compromised units trip more easily under low-load conditions like standby mode. Also, bathroom air contains up to 3× more dissolved minerals than kitchen air due to evaporative concentration from showers—accelerating internal corrosion. The Insurance Institute for Business & Home Safety’s 2023 report found 68% of appliance failures in non-kitchen locations stemmed from environmental mismatch, not defects.
"Humidity above 55% RH reduces the functional lifespan of consumer-grade coffee makers by 40%—especially those with optical water sensors." — Appliance Reliability Institute, Environmental Stress Testing Report, 2021
Is it safe to plug a coffee maker into a bathroom extension cord?
No. Extension cords in bathrooms violate NEC 400.8(1) and create trip hazards plus overheating risks. Bathroom circuits are already high-demand; adding load via cord increases fire risk. If the outlet is too far, install a properly rated surface-mount outlet box instead.
Can I replace the heating element myself?
Technically yes—but not recommended. Most models require disassembling sealed thermal housings, and resealing improperly creates steam leaks or electrical shorts. Replacement elements cost $25–$45, but labor and safety risk outweigh savings. Consider replacement cost vs. repair for units over 3 years old.
What’s the safest place to store it overnight?
A dry, climate-controlled closet outside the bathroom—ideally with a dehumidifier running. Avoid garages or basements where temperature swings cause condensation inside the unit. For compact setups, try a ventilated wall-mounted cabinet with a small USB-powered desiccant dryer (see our top-rated options).
Running a coffee maker in the bathroom is possible—but it demands respect for both electrical codes and physics. Address the humidity first, then the scale, then the power path. With these steps, you’ll restore brewing reliability while keeping your space safe and code-compliant. And if the unit keeps failing despite fixes? It’s not stubborn—it’s telling you it belongs in the kitchen, where it was engineered to thrive.