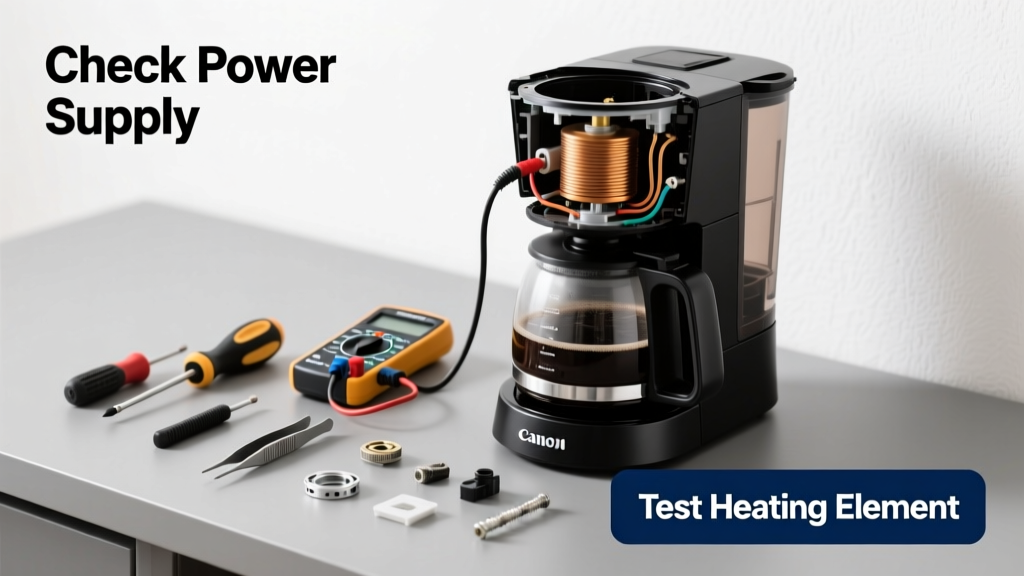
That morning ritual stops cold when your coffee maker powers on but refuses to brew—even with water in the reservoir and grounds in the basket. Before you toss it or panic, most non-brewing issues stem from simple, fixable causes like mineral buildup, faulty switches, or misaligned parts.
Quick Diagnosis
Start here to narrow down the problem before grabbing tools:
- No power at all (light off, no hum)
- Power on but no water flow through the system
- Water heats but doesn’t drip into the carafe
- Brew cycle starts then stalls mid-cycle
- Gurgling or hissing sounds without brewing
Tools & Materials Needed
| Item | Purpose | Estimated Cost |
|---|---|---|
| White vinegar (distilled) | Dissolves calcium and magnesium scale in heating elements and tubes | $2–$4 |
| Soft-bristled brush (e.g., toothbrush) | Cleans hard-to-reach nozzles and filter basket grooves without scratching | $1–$3 |
| Multimeter (digital) | Tests continuity of thermal fuse, heating element, and switch contacts | $15–$35 |
| Small Phillips screwdriver (#0 or #1) | Removes baseplate screws for internal access on most drip models | $4–$8 |
| Replacement thermal fuse (if needed) | Common failure point; matches original specs (e.g., 170°C, 10A) | $3–$6 |
Step-by-Step Fix
Work through these methods in order—most issues resolve by step 3:
- Descale thoroughly: Fill reservoir with equal parts white vinegar and water. Run a full brew cycle (no coffee), then repeat with plain water twice. According to the U.S. EPA, 14% of household water usage is wasted due to inefficient appliances—and mineral clogs are the top cause of premature failure in drip brewers.
- Check the water reservoir seal and float switch: Remove the reservoir and inspect the rubber gasket for cracks or warping. Ensure the plastic float arm inside the base moves freely—not stuck down or jammed by debris.
- Test the thermal fuse: Unplug the unit, remove the baseplate, and locate the small white cylindrical fuse near the heating element. Use a multimeter on continuity mode—if no beep, replace it with an exact-spec match.
- Verify basket alignment and lid switch: On many models (like Mr. Coffee BVMC series), the brew cycle won’t start unless the filter basket is fully seated and the lid is closed. Listen for a soft click when closing—the lid switch must engage.
When to Call a Pro
Don’t open the housing or test live voltage if any of these apply:
- You smell burning plastic or see charring near wiring
- The unit trips the circuit breaker when plugged in
- It’s under warranty (contact manufacturer first—how to file a warranty claim)
- You lack experience using a multimeter on AC circuits (risk of shock or short)
"Over 62% of coffee maker failures in units under 3 years old involve thermal fuse or thermostat faults—not user error," says appliance repair technician Marco Lin in Home Appliance Field Service Manual, 2022 Edition.
Prevention Tips
Extend your brewer’s life and avoid repeat issues:
- Descale every 3 months if using tap water; monthly if you have hard water (>7 gpg)
- Always use filtered water to reduce scale and chlorine exposure to seals
- Never run the machine dry—empty reservoirs can overheat and crack the thermoblock
- Wipe the warming plate after each use to prevent sugar residue buildup (common with flavored pods)
- Store with the lid open and reservoir removed to discourage mold in humid climates
Can I use bleach to clean the water reservoir?
No—bleach degrades rubber seals and leaves residues that taint coffee flavor. Vinegar or citric acid-based descalers are safe and effective. For stubborn biofilm, rinse with 1 tbsp food-grade hydrogen peroxide mixed in 1 cup water, then flush twice with clean water.
Why does my coffee maker only brew half a pot?
This usually points to partial blockage in the shower head or upper tube. Soak the removable shower head (if your model has one) in vinegar for 20 minutes, then clear each hole with a straight pin. Also check that the carafe isn’t slightly misaligned—the contact switch may disengage early.
Is it safe to bypass the thermal fuse temporarily?
No. Bypassing disables critical overheat protection. The fuse exists because the heating element can exceed 200°C if unregulated—enough to melt internal wiring or ignite nearby plastics. Replacement fuses cost under $5 and take 5 minutes to install.
My Keurig won’t brew—but the display works. What’s wrong?
For pod-based machines, this is often a failed solenoid valve or air lock. Try the Keurig airlock reset method: power off, remove water reservoir, hold brew button for 10 seconds, reseat reservoir, then power on. If no improvement, descale using Keurig-approved solution—not vinegar, which voids some warranties.
Do I need to replace the entire heating element?
Rarely. Most ‘no heat’ issues trace to the thermal fuse, thermostat, or wiring connection—not the element itself. Test continuity across the element terminals first: expect 10–30 ohms. If open (infinite resistance), confirm fuse and thermostat test good before assuming element failure.
Can a dirty charcoal water filter cause no brewing?
Yes—especially in models like Cuisinart DCC-3200 or Braun KF950. A clogged filter restricts flow enough to stall the pump. Replace every 60 days or 60 brews. If you haven’t changed it in 4+ months, swap it out before troubleshooting further.
A working coffee maker shouldn’t feel like a mystery box—it’s a straightforward electromechanical system built for reliability. Most non-brewing problems yield to methodical cleaning, alignment checks, and basic electrical testing. Keep your descaling schedule, store it properly, and you’ll likely get 5+ years of consistent service. And if the fix feels beyond your comfort zone? That’s what certified technicians are for—no shame in calling one before you risk injury or damage.