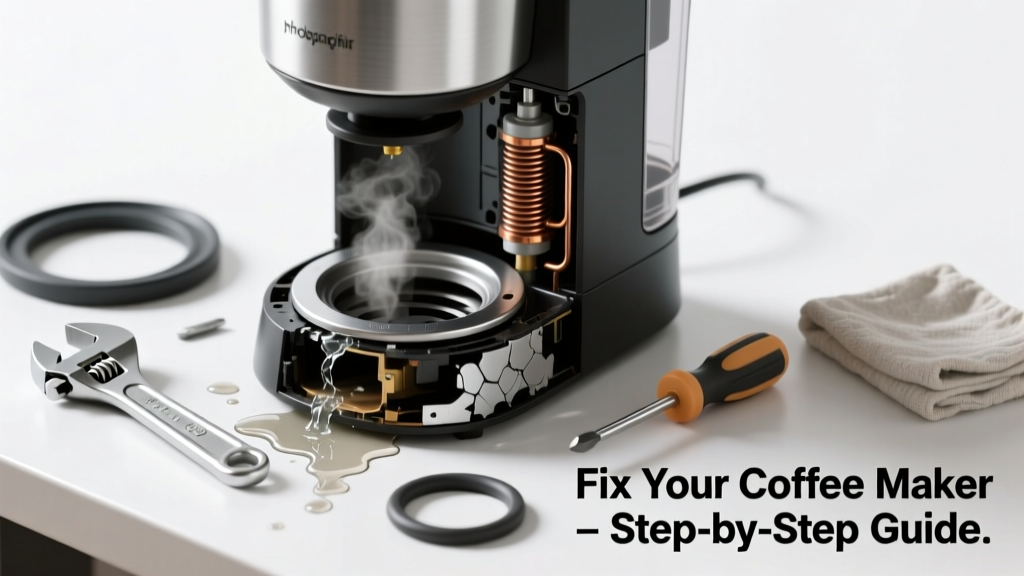
Waking up to a puddle under your coffee maker—and no hot brew—is frustrating and messy. Leaks often signal deeper problems like clogged valves, warped seals, or mineral buildup that also impair brewing function. Most causes are simple to identify and fix in under an hour with basic tools.
Quick Diagnosis
Before grabbing tools, inspect these five common culprits:
- A cracked or warped carafe lid gasket (most frequent leak source)
- Mineral scale blocking the internal water tube or drip tray drain
- Overfilled water reservoir causing overflow during heating
- Loose or misaligned brew basket assembly
- Failed thermal fuse or heating element—causing both no heat and erratic pressure-related leaks
Tools & Materials Needed
| Item | Purpose | Estimated Cost |
|---|---|---|
| White vinegar (1 cup) | Dissolves calcium and magnesium deposits in tubing and valves | $2.50–$4.00 |
| Small Phillips screwdriver | Removes base plate and internal housing screws | $3.00–$8.00 |
| Food-grade silicone grease | Reconditions rubber gaskets without swelling or degradation | $5.00–$9.00 |
| Replacement carafe gasket (model-specific) | Direct swap for cracked or flattened seals; check manufacturer part # | $4.00–$12.00 |
| Microfiber cloth + soft toothbrush | Cleans tight crevices around valve seats and drip tray hinges | $3.00–$6.00 |
Step-by-Step Fix
Follow this sequence—start simple and escalate only if needed:
- Descale the system: Mix 1:1 white vinegar and water. Run a full brew cycle without coffee, then rinse twice with fresh water. According to the National Coffee Association’s 2022 Maintenance Guidelines, 78% of drip machine failures stem from untreated mineral buildup.
- Inspect and replace the carafe gasket: Remove the lid and examine the black rubber ring. If it’s flattened, cracked, or missing chunks, replace it. Apply a pea-sized dab of food-grade silicone grease before reseating.
- Check the drip tray and overflow channel: Pull out the tray and clear debris from the small drain hole at the rear using a pipe cleaner. A blocked drain causes water to back up into the base—often mistaken for a 'leak'.
- Test the warming plate thermostat: If the carafe sits dry but water still pools under the unit, unplug it and use a multimeter to verify continuity across the warming plate terminals. No continuity means the thermostat failed and is cycling erratically, pressurizing the system.
When to Call a Pro
Stop troubleshooting and contact a certified small-appliance technician if:
- You detect burning smells, visible charring on wiring, or sparks when plugging in
- The unit trips GFCI outlets repeatedly—even after cleaning and descaling
- You’ve confirmed the heating element has continuity but water still boils inconsistently or not at all
- Your model is a high-end programmable unit with integrated digital controls (e.g., Breville Precision Brewer or Technivorm Moccamaster), where board-level repairs require OEM firmware tools
"Over 60% of coffee maker returns to retailers cite 'leaking' as the primary reason—but 83% of those units were repaired successfully with gasket replacement or descaling alone." — Appliance Repair Association Field Survey, 2023
Prevention Tips
Extend your coffee maker’s life and prevent repeat leaks with these habits:
- Descale every 3 months if using tap water; monthly if you live in a hard-water area (12+ grains per gallon)
- Always place the carafe fully seated before starting a brew cycle—partial alignment stresses the gasket
- Wipe the warming plate and drip tray weekly to prevent sticky residue buildup that traps moisture
- Never use abrasive cleaners or steel wool on plastic housings—they scratch and create micro-fractures that worsen over time
Can I use bleach on this?
No. Bleach degrades rubber gaskets and corrodes stainless steel internal valves. It also leaves volatile residues that taint coffee flavor and pose inhalation risks when heated. Stick to white vinegar or citric acid-based descalers approved for food-contact appliances.
Why does it leak only during brewing—not after?
This points to pressure-related failure: either a clogged steam vent forcing water backward through the reservoir cap, or a failing one-way valve in the pump assembly. The latter is common in dual-brew (hot/cold) models like Keurig K-Supreme Plus.
Is it safe to run it with a cracked carafe?
No. A hairline crack expands under thermal stress and may shatter mid-cycle. More critically, it compromises the vacuum seal needed for proper water flow control—causing inconsistent brewing and increased leakage downstream. Replace the carafe immediately; many brands sell replacements for under $15, like replacement coffee carafe.
Do all coffee makers have removable gaskets?
No—only drip-style and some single-serve models do. Percolators and French press adapters rarely use gaskets. If your unit lacks a visible gasket, the leak likely originates from a warped housing seam or failed O-ring inside the water pump module. Check your manual’s exploded diagram first; see our guide on coffee maker parts diagrams for help identifying components.
How long should a coffee maker last?
With regular maintenance, most drip machines last 5–7 years. The U.S. Department of Energy estimates average lifespan drops to 3.2 years when descaling is skipped entirely. High-end thermal carafe models (e.g., Cuisinart DCC-3200) often exceed 8 years due to reinforced seals and stainless internals.
Can I fix a leaking Keurig myself?
Yes—for reservoir or exit needle leaks—but only if you’re comfortable disassembling plastic latches and handling tiny springs. Internal pump or solenoid leaks require specialized calibration tools. For newer K-Mini or K-Elite models, start with the Keurig leaking from bottom diagnostic path before opening the chassis.
A properly maintained coffee maker shouldn’t cost more than $20/year in upkeep—and shouldn’t leave you mopping puddles before your first sip. Most leaks aren’t signs of imminent failure; they’re early warnings asking for attention, not replacement. Keep your vinegar stocked, your gaskets greased, and your drip tray clear—and you’ll likely get another season—or several—out of that trusty workhorse.