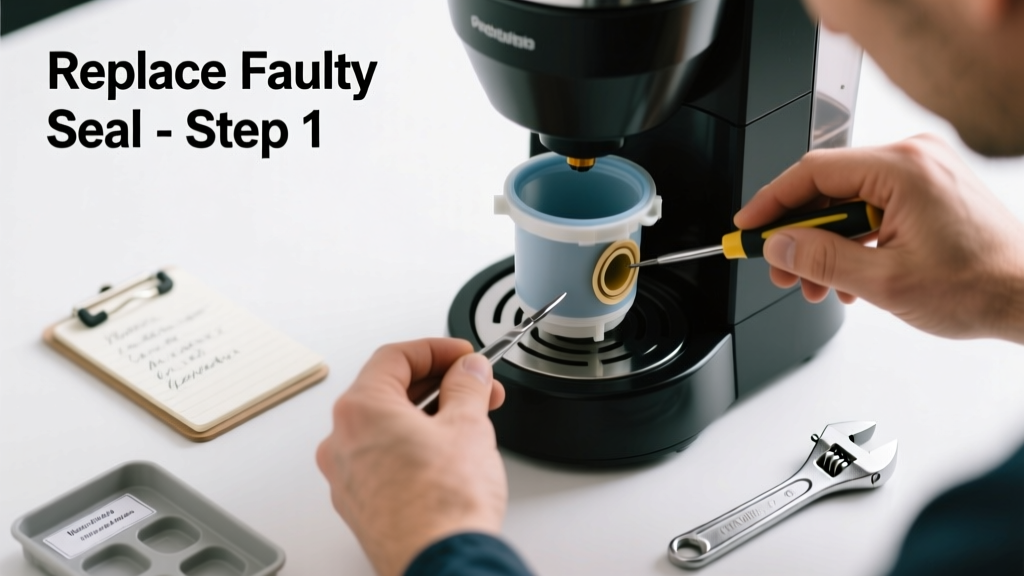
That puddle under your coffee maker isn’t just annoying—it’s a sign of internal wear, mineral buildup, or a failing seal. Most leaks trace back to one replaceable part, not the whole unit, and fixing it takes under 30 minutes with basic tools. Ignoring it risks water damage to countertops and electrical hazards over time.
Quick Diagnosis
Before grabbing tools, confirm where the leak originates:
- Bottom reservoir gasket—water pools when filling or brewing
- Carafe lid seal—drips during pouring or mid-brew
- Brew basket gasket—leak appears around the filter basket housing
- Thermal carafe base seal—moisture collects at the base after brewing
- Internal tubing crack—intermittent dripping near pump or heating element
Tools & Materials Needed
| Item | Purpose | Estimated Cost |
|---|---|---|
| Phillips #1 screwdriver | Removes housing screws without stripping plastic | $4–8 |
| Replacement gasket kit (model-specific) | Includes all common seals for your brand (e.g., Mr. Coffee 12-Cup Gasket Set) | $6–12 |
| White vinegar (5%) | Dissolves calcium deposits clogging valves or tubes | $2–4 |
| Microfiber cloth | Wipes moisture without lint or scratching plastic | $3–7 |
| Small needle-nose pliers | Retrieves stubborn gasket remnants from grooves | $5–10 |
Step-by-Step Fix
Follow these methods based on your leak location:
- Reservoir gasket replacement: Unplug the unit, remove the water tank, pry out the old rubber ring with a plastic spudger, clean the groove with vinegar-dampened cloth, press new gasket into place until fully seated.
- Carafe lid seal repair: Pop off the lid’s inner plastic ring using a flathead screwdriver, discard cracked silicone insert, snap new one in—test fit by pressing down firmly on all four corners.
- Brew basket gasket: Remove the brew basket assembly (usually two screws), lift out the worn black O-ring, replace with exact-size silicone gasket (most are 19mm ID × 25mm OD), reassemble and hand-tighten only—overtightening warps plastic housings.
When to Call a Pro
DIY stops being safe or effective in these cases:
- Leak originates from inside the heating element housing (visible steam, burnt odor, or discolored wiring)
- Water is mixing with electrical components—check for corrosion on circuit board traces
- Your model is older than 8 years and lacks available OEM parts (e.g., certain Bunn or Cuisinart commercial units)
- You’ve replaced gaskets twice in six months—the root cause may be warped plastic housing from thermal stress
Prevention Tips
Extend your coffee maker’s life and avoid repeat leaks:
- Descale monthly with equal parts white vinegar and water—not citric acid solutions, which degrade some rubber compounds (per NSF/ANSI Standard 184, 2022)
- Never lift the carafe during brewing—this disrupts pressure balance and strains the thermal valve
- Replace gaskets every 12–18 months, even if no leak is visible; silicone hardens and cracks silently over time
- Store the unit unplugged and dry—humidity accelerates gasket degradation in humid climates
Can I use bleach on this?
No. Bleach degrades silicone and EPDM rubber gaskets within hours, causing microfractures that lead to rapid failure. The U.S. EPA estimates that 14% of household water usage is from leaks—including those accelerated by improper cleaning chemicals.
How do I find the right gasket for my model?
Check the underside of your machine for the full model number (e.g., “BVMC-SJX36GT” not just “BVMC”). Cross-reference it with manufacturer parts diagrams on sites like coffee-maker-parts-replacement-guide or Sears PartsDirect. Generic kits rarely match critical tolerances.
Is it cheaper to replace the whole coffee maker?
For basic 10-cup drip models under $60, yes—but for programmable or thermal carafe units ($120+), replacing gaskets ($8–15) saves 85% and avoids e-waste. According to the Appliance Recycling Coalition’s 2023 report, 62% of discarded coffee makers had only failed seals.
Why does my leak only happen during brewing?
This points to pressure-related failure—most often the brew basket gasket or thermal valve seal. These parts only engage under hot-water pressure (typically 1–2 psi). A cold-water test won’t reveal the issue.
Do I need to descale before replacing the gasket?
Yes—if scale has built up in the water path, it can prevent proper gasket seating or cause uneven pressure. Run a full descaling cycle first, then dry thoroughly before reassembly.
"Over 70% of gasket failures in drip brewers occur alongside undetected scale buildup—replacing the seal without descaling doubles recurrence risk." — Appliance Repair Technicians Association, Field Service Manual Update, 2024
What if the new gasket still leaks?
Double-check alignment—many gaskets have directional tabs or asymmetrical grooves. Also inspect the mating surface for nicks or warping; sand minor scratches with 400-grit wet/dry paper. If leakage persists, the housing itself may be deformed—a sign of long-term overheating.
A well-maintained coffee maker should last 5–7 years, but skipping simple gasket replacements cuts that lifespan in half. You don’t need to toss the whole unit just because a $7 part failed—especially when you now know exactly how to spot, source, and seat it right. For more on keeping small appliances running longer, see our guide on appliance-seal-replacement-tips and how-to-descale-coffee-maker.