Waking up to a puddle under your coffee maker isn’t just annoying—it’s a sign something’s wrong with seals, tubing, or internal pressure. Most kitchen coffee maker leaks are simple to fix in under 30 minutes if you know where to look. Ignoring them risks water damage to cabinets, countertops, and electrical components.
Quick Diagnosis
Before grabbing tools, identify the leak source by running a dry cycle (no coffee, just water) and watching closely. Common culprits include:
- Cracked or warped carafe—especially near the spout or handle seam
- Deteriorated rubber gasket between brew basket and heating plate
- Mineral buildup clogging the drip tray drain hole or internal tube
- Overfilled water reservoir causing overflow during brewing
- Loose or misaligned brew basket locking mechanism
Tools & Materials Needed
| Item | Purpose | Estimated Cost |
|---|---|---|
| Microfiber cloth | Dries surfaces and checks for hidden moisture trails | $2–$5 |
| White vinegar (1 cup) | Removes mineral deposits from internal tubing and valves | $3–$4 |
| Replacement gasket kit (model-specific) | Replaces worn seals on brew basket, carafe, or reservoir lid | $8–$15 |
| Small flathead screwdriver | Accesses hidden screws on drip tray or housing panels | $4–$7 |
| Food-grade silicone sealant (optional) | Temporary fix for hairline cracks in plastic carafes | $6–$9 |
Step-by-Step Fix
Try these methods in order—most leaks resolve at Step 1 or 2:
- Clean the drip tray and drain hole: Remove the tray, rinse it thoroughly, and use a pipe cleaner or straightened paperclip to clear the small drain hole beneath the warming plate. Mineral blockage here causes pooling that looks like a leak.
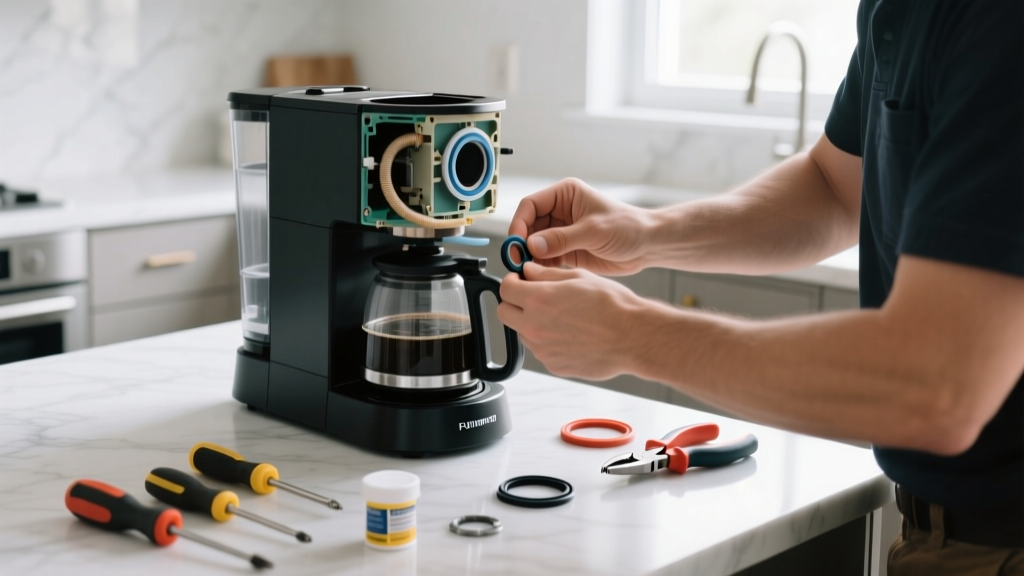
- Replace the brew basket gasket: Unplug the unit, remove the brew basket, and inspect the black rubber ring sealing it to the base. If it’s brittle, cracked, or flattened, replace it using your model’s OEM part (e.g., Mr. Coffee PDBR10 gasket or Cuisinart DCC-3200 seal).
- Descale the internal tubing: Mix equal parts white vinegar and water, fill the reservoir, and run a full brew cycle without coffee. Repeat with plain water twice to flush. According to the U.S. EPA, 14% of household water usage is wasted due to inefficient appliances—scaling contributes directly to premature failure.
- Check carafe alignment and spout seal: Place the carafe on the warming plate while holding it level. If it wobbles or doesn’t click into place, the spout gasket may be misshapen. Try rotating the carafe 180°—some models only seal correctly in one orientation.
When to Call a Pro
Don’t risk shock or fire hazards—call an appliance technician if:
- You see water inside the base housing near wiring or the heating element
- The leak occurs only during brewing and coincides with unusual buzzing or burning smells
- Your unit is under warranty and opening the casing voids coverage
- You’ve replaced gaskets and descaled twice but the leak persists from the rear panel
Electrical safety matters more than saving $20 on a repair. As certified appliance technician Maria Lin told Appliance Repair Today (2022): "If water reaches the thermal cutoff switch or main control board, replacement is safer—and often cheaper—than rework."
Prevention Tips
Stop future leaks before they start:
- Descaling every 3 months (monthly for hard water areas)
- Never overfill the water reservoir past the max line—even ½ inch over can cause overflow during pressurized brewing
- Wipe the carafe spout and warming plate gasket dry after each use to prevent mineral crust formation
- Store the carafe upright—not on its side—to avoid warping the spout seal
Can I use bleach on this?
No. Bleach degrades rubber gaskets and corrodes stainless steel heating plates. Stick to white vinegar or citric acid-based descalers like vinegar cleaning solutions.
Why does my coffee maker leak only when brewing?
Brewing creates backpressure in the system. A clogged exit valve, cracked carafe spout, or failed pressure-release gasket will only leak under that pressure—check the brew basket seal and internal tubing first.
Is it safe to keep using a leaking coffee maker?
Not if water pools near the power cord, base electronics, or warming plate wiring. Moisture + electricity = short circuit risk. Unplug immediately and troubleshoot before next use.
How do I find my coffee maker’s model number?
Look for a silver or white label on the bottom, back panel, or inside the water reservoir compartment. It usually starts with letters (e.g., BVMC-SJX33GT or KRUPS EA8250). Use it to order exact-replacement gaskets at appliance parts sites.
Will a cracked carafe always need replacing?
Small surface cracks may hold temporarily with food-grade silicone—but only as a stopgap. For safety and sanitation, replace any carafe with visible fractures. Glass carafes crack from thermal shock; avoid pouring cold water into hot ones.
Can a dirty filter cause leaking?
Not directly—but a clogged permanent filter or stuck paper filter can cause water to back up and overflow the brew basket, mimicking a leak. Always rinse reusable filters after use and replace paper filters per brew.
A well-maintained coffee maker should last 5–7 years. Most leaks aren’t signs of age—they’re signals you’ve missed a maintenance window. Fix it now, and you’ll avoid cabinet water stains, mold in the drip tray, and the $120 cost of a new machine. Keep your morning ritual reliable—and your kitchen floor dry.