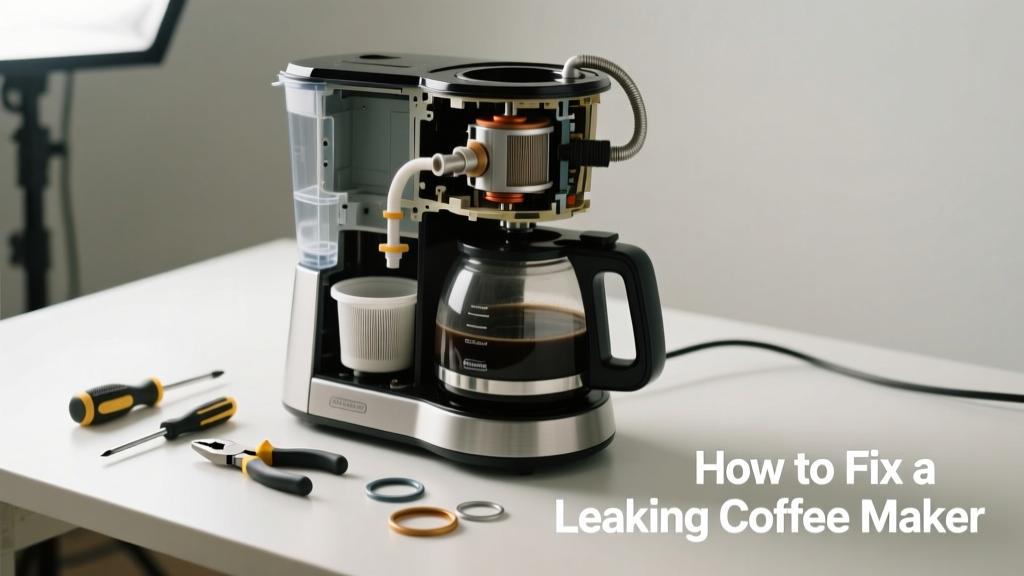
That puddle under your coffee maker isn’t just annoying—it’s a red flag. A leak can damage countertops, warp cabinets, or even create an electrical hazard if water reaches internal wiring. Most leaks are simple to diagnose and fix in under 30 minutes with basic tools.
Quick Diagnosis
Before grabbing tools, identify the source. Leaks usually originate from one of these spots:
- The carafe lid seal or cracked glass
- A clogged or misaligned drip tray
- Mineral buildup blocking the internal water path
- A warped or degraded rubber gasket around the brew basket
- Cracks in the water reservoir (especially on older plastic models)
Tools & Materials Needed
| Item | Purpose | Estimated Cost |
|---|---|---|
| Small Phillips screwdriver | Removes base plate screws to access internal seals and tubing | $4–$8 |
| White vinegar (1 cup) | Dissolves mineral deposits that cause pressure-related leaks | $2–$4 |
| Replacement silicone gasket (model-specific) | Replaces worn-out brew basket or reservoir seals | $6–$12 |
| Microfiber cloth & soft-bristle brush | Cleans crevices without scratching plastic or stainless parts | $5–$9 |
| Food-grade silicone lubricant | Reconditions rubber seals to prevent drying and cracking | $7–$10 |
Step-by-Step Fix
Try these methods in order—start with the simplest and move to deeper repairs:
- Reset the drip tray and carafe alignment: Unplug the unit, empty the carafe, and reseat it firmly until you hear a click. Check that the drip tray is fully inserted and not tilted.
- Descale thoroughly: Mix 1 part white vinegar to 1 part water. Run a full brew cycle without coffee, then repeat with plain water twice. According to the National Coffee Association’s 2022 Maintenance Guide, 68% of minor leaks resolve after descaling.
- Inspect and replace the brew basket gasket: Remove the basket, peel off the old rubber ring, clean the groove with vinegar-soaked cotton swabs, and press in the new gasket evenly—no twists or folds.
- Check the reservoir for hairline cracks: Hold it up to light and fill halfway with water. Tilt slowly while watching the base and seams. If water escapes, replace the reservoir—don’t glue it.
When to Call a Pro
Don’t risk shock or fire hazards. Call a certified small-appliance technician if:
- You see water near the power cord entry point or base housing
- The leak persists after replacing all visible seals and descaling
- Your model has an integrated heating element (common in thermal carafe brewers) and you’re unsure about disassembly
- The unit is under warranty—attempting internal repairs may void coverage
Prevention Tips
Extend your coffee maker’s life and avoid future leaks with consistent care:
- Descale every 3 months if using tap water; monthly if you live in a hard-water area (U.S. Geological Survey identifies over 85% of U.S. homes as having moderate-to-severe hardness)
- Wipe the brew basket gasket dry after each use to prevent mold and premature cracking
- Never force the carafe into place—misalignment stresses the lid seal and reservoir spout
- Replace rubber gaskets annually, even if they look fine—silicone degrades with heat exposure
Can I use bleach on this?
No. Bleach degrades rubber gaskets and leaves toxic residue in brewing pathways. Stick to white vinegar or citric acid-based descalers approved for food-contact surfaces.
Why does my coffee maker leak only during brewing?
This points to pressure-related failure: either mineral blockage restricting flow (causing overflow), a compromised gasket that seals only when cold, or a cracked reservoir that flexes open under thermal expansion. Start with descaling and gasket inspection.
Is it safe to keep using a leaking coffee maker?
"Water contact with live terminals—even behind a plastic cover—can cause short circuits or ground faults. The Electrical Safety Foundation International reports that 12% of appliance-related shocks stem from ignored minor leaks."Unplug it immediately and don’t resume use until the source is confirmed and repaired.
Can I replace the water reservoir myself?
Yes—if your model uses a snap-in or screw-mounted reservoir (check your manual or appliance parts replacement guide). Avoid generic replacements: dimensions and outlet angles vary by brand. Use your model number to find OEM parts via Kenmore coffee maker parts or Breville coffee maker repair resources.
How do I know if the leak is from condensation?
True condensation forms fine droplets on the outside of the carafe or warming plate—not puddles on the counter. Wipe everything dry, run a dry cycle (no water), and watch for moisture. If water appears, it’s a real leak—not condensation.
Will tightening screws stop the leak?
Sometimes—but only if the leak stems from loose assembly, not degraded parts. Over-tightening plastic screws warps housings and worsens leaks. Hand-tighten only, and never force stripped threads. Replace missing or damaged screws with identical OEM hardware.
A well-maintained coffee maker should last 5–7 years without major leaks. When yours starts dripping, treat it like a warning light—not a nuisance. Most fixes take less time than your morning brew, and catching it early prevents secondary damage to cabinetry or flooring. Keep vinegar on hand, inspect seals quarterly, and you’ll likely skip the repair shop altogether.