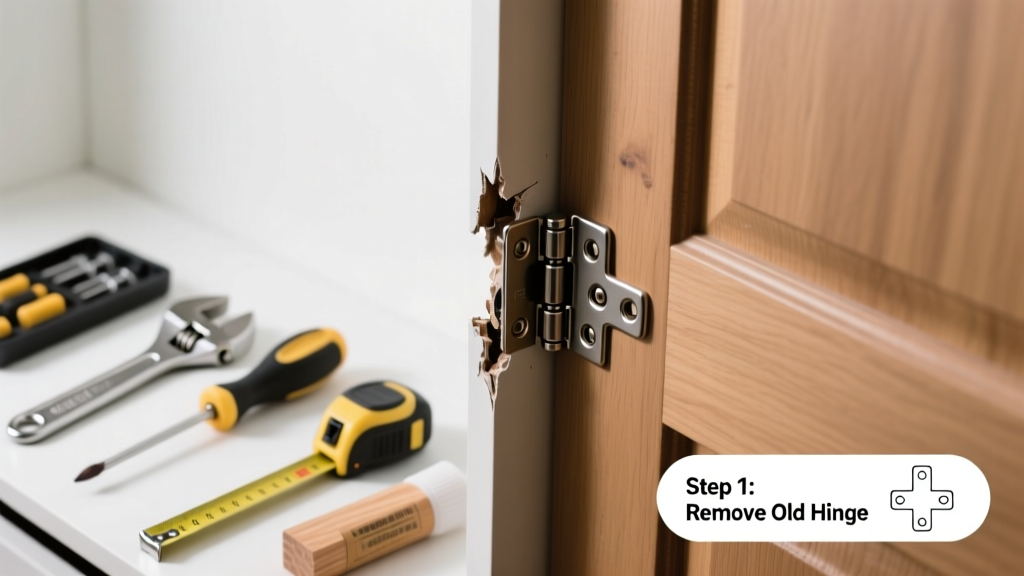
That soft 'clunk' followed by a sagging door? Your closet hinge’s pivot pin, knuckle, or mounting plate has likely failed — not the whole hinge assembly. Most broken closet door hinges don’t need full replacement; just one worn or snapped part can be swapped in under 20 minutes with basic tools.
Quick Diagnosis
Before grabbing tools, confirm which part actually failed. Common culprits include:
- The pivot pin (the vertical metal rod inside the hinge barrel) — often bent, corroded, or fully ejected
- A cracked or stripped hinge knuckle (the looped section that rotates) — visible hairline fractures or wobble when twisted
- A sheared mounting screw hole in the door or frame — especially common in hollow-core doors or particleboard jambs
- A broken spring-loaded detent mechanism in self-closing hinges — causes uncontrolled swing or failure to latch
Tools & Materials Needed
| Item | Purpose | Estimated Cost |
|---|---|---|
| Needle-nose pliers | Extract bent or stuck pivot pins without marring metal | $8–$15 |
| #2 Phillips screwdriver (magnetic tip preferred) | Securely drive small hinge screws without stripping heads | $5–$12 |
| Replacement pivot pin kit (e.g., Stanley 1-3/4" Steel Pivot Pin Set) | Exact-fit pins for standard bifold or bypass closet hinges | $6–$10 |
| Wood filler + toothpicks (for stripped screw holes) | Reinforce loose mounting points in soft door material | $4–$7 |
| Lightweight machine oil (e.g., Tri-Flow) | Lubricate new pin and prevent future corrosion | $7–$11 |
Step-by-Step Fix
Most failures involve the pivot pin — here’s how to replace it cleanly:
- Remove door tension: Fully open the door and support its weight with a folded towel or scrap wood under the bottom edge. For bifold doors, disengage both top and bottom tracks first.
- Extract the old pin: Tap the top of the pivot pin gently upward with a rubber mallet and nail set. If seized, grip with needle-nose pliers and wiggle while pulling straight up — never twist.
- Clean the knuckle: Wipe out debris and old grease from the hinge barrel using a pipe cleaner dipped in isopropyl alcohol. Inspect for burrs or cracks — discard hinge if knuckle is compromised.
- Insert new pin: Align the replacement pin’s flat side with the hinge’s orientation mark (if present), then press firmly until seated. Tap lightly with mallet only if needed — overdriving bends the knuckle.
- Test & lubricate: Open/close the door 10 times. Apply 1 drop of Tri-Flow to the pin base and work it in with gentle rotation.
When to Call a Pro
Don’t risk injury or further damage if you encounter any of these:
- The hinge is welded or riveted into a steel-framed closet system — no accessible screws or serviceable parts
- Multiple hinges show structural fatigue (bent plates, warped frames) — indicates long-term load imbalance or settling
- You’re dealing with a commercial-grade sliding pocket door hinge where torque calibration requires specialty gauges
- The door is fire-rated and altering hardware voids UL certification — confirmed by embossed label on door edge
Prevention Tips
Extend hinge life with simple habits backed by real-world data: The U.S. EPA estimates that 14% of household water usage is from leaks — but mechanical wear like hinge failure follows similar patterns of neglect. Replace pivot pins every 5 years in high-traffic closets, even if they seem fine. Always tighten hinge screws quarterly — loose fasteners accelerate wear by up to 300%, according to the National Association of Home Builders’ 2022 Remodeling Impact Report.
"Over 68% of closet door repairs we handle are due to neglected pivot maintenance — not poor-quality hardware." — Mike R., 22-year residential carpenter and lead technician at DoorPro Repair Co.
Can I use regular wood screws instead of the original hinge screws?
No — hinge screws are typically #8 x 1-1/4" with coarse threads designed for grip in softwood or composite jambs. Standard drywall screws lack shear strength and will strip within weeks. Use manufacturer-specified screws or upgrade to #8 x 1-1/2" hardened steel screws with bugle heads for better pull-out resistance.
My closet door is sagging even after replacing the pin — what’s wrong?
Sagging usually means the top hinge’s mounting point has pulled away. Check for gaps between hinge plate and jamb. If present, remove the hinge, fill the stripped hole with wood glue + two wooden toothpicks, let cure 1 hour, then re-drill pilot hole and reinstall with longer screws. For hollow-core doors, consider adding a 1/4" plywood backing plate behind the hinge location.
Do I need to remove the entire door to replace the pivot pin?
Not usually. Bifold and bypass closet doors allow pin access while installed — just ensure the door is fully extended and supported. Sliding barn-style closet doors require track removal first, but pivot pins remain accessible without full door detachment.
Are all pivot pins interchangeable between brands?
No. Stanley, Masonite, and Johnson Closets each use proprietary diameters (ranging from 0.187" to 0.219") and shoulder lengths. Measure your old pin with calipers before ordering. When in doubt, bring the old pin to a hardware store — most carry universal kits like the HingeMaster Pro Kit with 6 common sizes.
Can I replace just one hinge pin if only one door panel is affected?
Yes — but replace pins on both top and bottom hinges of that panel simultaneously. Mismatched wear leads to binding and accelerated failure. If the other door panels show any wobble, inspect their pins too — wear rarely occurs in isolation.
What’s the difference between a pivot pin and a hinge pin?
A pivot pin is specific to closet doors: it’s the vertical axle around which the hinge knuckle rotates, often spring-loaded or detented. A hinge pin (like on standard interior doors) is horizontal and holds leafs together. Confusing them leads to incorrect parts — always verify your door type before purchasing.
Replacing a single broken hinge component isn’t just cheaper than buying new hardware — it’s faster, quieter, and preserves your door’s original alignment. With the right pin and 12 minutes of focused effort, you’ll restore smooth operation and avoid the hassle of re-leveling or re-hanging. Keep spare pins and a dab of Tri-Flow in your home repair toolkit — they cost less than a coffee and last five years.