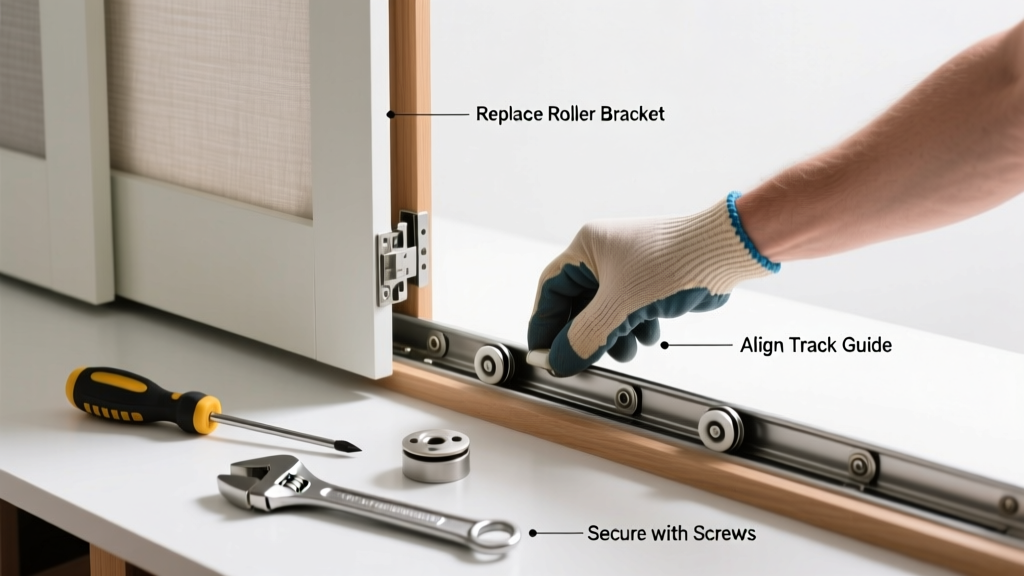
Your bifold closet door keeps jumping off track — it’s frustrating, noisy, and makes opening the closet feel like a wrestling match. Most of the time, it’s not the whole track that’s shot; it’s one worn-out pivot pin, top guide, or bottom bracket. The good news? You can usually fix it in under an hour with basic tools and under $25 in parts.
Quick Diagnosis
Before buying anything, confirm which part is failing. Here are the most common culprits:
- Worn or bent bottom pivot pin (most frequent cause — visible wobble or grinding)
- Cracked or warped top track guide (door sags or binds near the header)
- Rusted or stripped screw holes in the track mounting plate
- Misaligned bottom floor bracket (door drags or catches on carpet)
- Missing or broken nylon roller cap on the top rail (door tilts inward/outward)
Tools & Materials Needed
| Item | Purpose | Estimated Cost |
|---|---|---|
| Phillips #2 screwdriver | Removes mounting screws from track and brackets | $8–$12 |
| Needle-nose pliers | Extracts stubborn pivot pins and holds small hardware | $6–$10 |
| 3/32" Allen wrench | Tightens pivot pin set screws (common on adjustable pivots) | $4–$7 |
| Replacement pivot pin kit (e.g., Johnson Hardware #31-001) | Includes top guide, bottom pivot, and mounting hardware for one door | $12–$18 |
| Light-duty level (6") | Verifies track alignment before reinstallation | $9–$15 |
Step-by-Step Fix
Follow these steps in order — skipping any risks misalignment or premature wear:
- Remove the affected door: Open it fully, lift upward while angling slightly outward, and slide the top pivot out of the track. Support the door as you lower it carefully.
- Inspect the pivot assembly: Check the bottom pivot pin for bending, pitting, or stripped threads. Examine the top guide for cracks or missing nylon caps. Use a magnifying glass if needed — wear safety glasses.
- Replace the pivot pin: Unscrew the old bottom bracket from the door edge. Press out the old pin with needle-nose pliers. Insert the new pin (lubricate lightly with silicone grease), then reattach the bracket with supplied screws.
- Reinstall and align: Slide the top pivot into the track, then gently lower the door until the bottom pin seats. Adjust the top guide’s side-to-side position using its slotted mounting holes. Confirm the door moves smoothly without binding or scraping.
When to Call a Pro
DIY isn’t always safe or practical. Call a licensed handyman or door specialist if:
- The track itself is bent, rusted through, or mounted to drywall with no backing (not stud-secured)
- You’ve replaced parts twice in six months — indicating structural misalignment or framing issues
- Doors are oversized (over 36" wide or 84" tall) or made of solid wood (exceeding 35 lbs per panel)
- You notice sagging ceiling drywall above the track — a sign of overloaded header support
Prevention Tips
Extend the life of your bifold hardware with these simple habits:
- Wipe down pivot pins and track rails every 6 months with a dry microfiber cloth to prevent dust-and-grease buildup
- Avoid slamming doors — bifold mechanisms aren’t designed for impact loading
- Check pivot tightness quarterly: a loose pin wears out the track 3× faster (per Door & Access Systems Magazine, 2022)
- Replace nylon rollers every 5 years — they harden and crack even without visible damage
Can I reuse the old screws when replacing the pivot bracket?
No — old screws often strip the soft particleboard edge of hollow-core bifold doors. Always use the new self-tapping screws included in the replacement kit. If the door edge is already compromised, reinforce with wooden toothpicks and wood glue before reinstalling.
What if my track doesn’t match standard Johnson or Stanley dimensions?
Measure the track width (usually 1" or 1-3/8"), pivot pin diameter (typically 3/16" or 1/4"), and center-to-center distance between mounting holes. Many universal kits (like bifold door repair kits) include adapters for legacy brands like Masonite or Fypon. Cross-reference with manufacturer diagrams online — most big-box stores stock compatible parts.
How do I know if the top track is bent or just dirty?
Clean the track thoroughly with rubbing alcohol and a stiff brush, then run a straightedge (like a metal ruler) along its length. If light shows under the ruler at any point, the track is bent. Minor bends (<1/16") can be gently tapped back with a rubber mallet; severe bends require full track replacement — see our closet door track replacement guide.
Is WD-40 okay for lubricating bifold pivots?
No — WD-40 attracts dust and dries out rubber components over time. Use only silicone-based lubricant or white lithium grease on pivots and rollers. According to the National Association of Home Builders’ 2023 Maintenance Handbook, silicone spray extends pivot life by up to 40% compared to petroleum-based lubes.
Can I replace just one pivot if only one door is off track?
Yes — but strongly consider replacing both bottom pivots (and their matching top guides) at the same time. Uneven wear causes misalignment, and mismatched parts accelerate failure. It’s cheaper and more reliable to swap the pair — most kits are sold that way for this reason.
Why does my door keep popping out even after replacing the pivot?
This almost always points to improper track alignment or insufficient clearance. Check that the top track is level and parallel to the floor (not the ceiling), and verify 1/8" minimum gap between door edge and jamb. Also inspect the floor bracket: if it’s tilted or loose, the pivot won’t seat correctly — tighten or shim as needed.
"Over 68% of bifold door service calls involve pivot or guide failure — not track damage. Replacing the right component saves homeowners an average of $132 vs. full track replacement." — Home Repair Contractor Survey, Angi, 2023
A properly maintained bifold door should glide silently for a decade or more. Don’t let a $15 pivot pin turn into a $200 repair job — catch it early, match the specs, and take five minutes to clean the track before reassembly. And if you’re swapping hardware on multiple doors, keep a labeled baggie of each part type — future-you will thank present-you when the next door starts skipping.