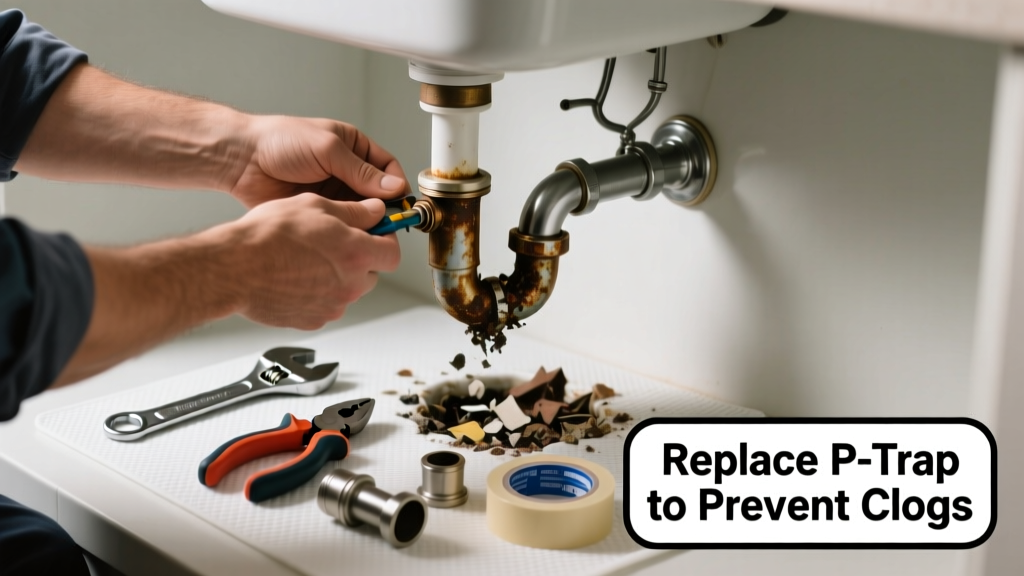
If your sink, shower, or tub drains slowly—or not at all—and plunging or chemical cleaners haven’t helped, the issue may not be debris but a worn or damaged internal part like the pop-up assembly, strainer basket, or P-trap gasket. Replacing that faulty component is often faster and more effective than repeated unclogging attempts.
Quick Diagnosis
Before grabbing tools, confirm which part has failed. Most clogs requiring replacement stem from one of these:
- Corroded or bent pop-up lever rod (common in bathroom sinks)
- Cracked or warped drain flange or strainer body (especially in older metal or plastic units)
- Collapsed or cracked P-trap section (often due to age or overtightening)
- Worn-out rubber gasket under the strainer (causes slow leaks AND trap sediment buildup)
- Broken stopper mechanism inside the tailpiece (prevents full closure and invites hair accumulation)
Tools & Materials Needed
| Item | Purpose | Estimated Cost |
|---|---|---|
| Adjustable wrench | Tightens/loosens slip-nut connections on P-trap and tailpiece | $12–$25 |
| Needle-nose pliers | Retrieves broken linkage rods or small hardware from drain body | $8–$18 |
| New drain assembly kit (e.g., pop-up or grid strainer) | Replaces corroded or misaligned internal components | $14–$32 |
| Plumber’s putty or silicone sealant | Creates watertight seal under new flange or strainer | $4–$9 |
| Bucket and towels | Catches residual water during disassembly; prevents floor damage | $0–$6 |
Step-by-Step Fix
Follow these methods in order—start simple and escalate only if needed:
- Remove and inspect the pop-up assembly: Unscrew the pivot nut under the sink, detach the lift rod, and pull out the stopper. Check for corrosion, warping, or missing parts. Replace with an exact-match kit (measure diameter and linkage type).
- Replace the strainer body: Apply plumber’s putty around the underside of a new stainless steel strainer, press into sink opening, then tighten the locknut from below. Trim excess putty before water contact.
- Swap the P-trap section: Place bucket beneath trap, loosen slip nuts, remove old trap, clean threads, and install new PVC or chrome trap with fresh washers. Hand-tighten first, then snug with wrench—don’t overtighten.
- Test thoroughly: Run hot water for 60 seconds, check for leaks at every joint, and operate the stopper 10 times to verify smooth action and full seal.
When to Call a Pro
Stop and call a licensed plumber if you encounter any of these:
- Water backing up into multiple fixtures (sign of main line blockage or vent issue)
- Visible pipe cracks beyond the P-trap—especially in cast iron or glued PVC sections
- Drain smells like sewage after replacement (indicates vent stack obstruction or sewer line break)
- You’ve replaced parts twice in six months and clogs persist (points to improper slope or tree root intrusion)
"Over 60% of recurring drain clogs traced to DIY replacements stem from mismatched parts or insufficient sealing—especially at the flange-to-sink interface." — Plumbing Standards Institute, Residential Drain Maintenance Guide, 2022
Prevention Tips
Extend the life of your new parts with consistent habits:
- Install a fine-mesh hair catcher on every tub and shower drain (replaces $2–$5 monthly)
- Flush kitchen sinks weekly with ½ cup baking soda + ½ cup white vinegar, followed by 2 minutes of boiling water
- Avoid pouring grease, coffee grounds, or rice down any drain—even with disposal
- Inspect pop-up linkages every 3 months for stiffness or play; lubricate with food-grade silicone spray
Can I reuse the old gasket with a new strainer?
No. Gaskets compress permanently after initial installation and lose sealing ability. Always use the new gasket supplied with the strainer kit—or a fresh rubber washer rated for wet applications. Reusing old gaskets causes slow leaks that promote mold and cabinet rot.
Do I need to shut off the water supply before replacing a drain part?
Not for standard sink, tub, or shower drain replacements—these are downstream of shutoff valves and don’t require line isolation. However, always close the faucet handles and drain residual water from the fixture before starting.
Is PVC or metal better for a replacement P-trap?
PVC is quieter, easier to cut and assemble, and resistant to corrosion—but avoid it under high-heat sources like garbage disposals. Chrome-plated brass traps handle heat better and last longer in visible locations like bathroom vanities. Choose based on location and temperature exposure, not just cost.
How do I know if my pop-up rod length is correct?
With the stopper fully seated, the lift rod should have ¼”–⅜” of vertical play when the handle is in the closed position. Too tight = premature wear; too loose = incomplete seal. Adjust using the pivot ball’s threaded rod or add/remove a washer behind the pivot nut.
Can I replace just the stopper without the whole assembly?
Sometimes—but only if your model uses standardized 1¼” threaded stoppers (like many Moen or Delta units). Most builder-grade pop-ups have proprietary stems. Measure the stopper’s diameter and thread pitch, then compare to drain stopper replacement guide before ordering.
What’s the best sealant for a metal sink drain?
Use non-hardening plumber’s putty for stainless steel, porcelain, or cast iron sinks—it stays flexible and won’t crack over time. Avoid silicone or epoxy sealants here; they’re permanent and make future repairs far harder. For acrylic or fiberglass sinks, use 100% silicone caulk rated for plumbing applications.
Replacing a single faulty drain component restores flow, eliminates recurring backups, and often costs less than one service call. Most homeowners complete this fix in under 45 minutes—with no special skills required, just careful measurement and steady hands. If you’ve tackled the strainer or P-trap, consider upgrading to a stainless steel hair catcher next, and check your P-trap alignment checklist to prevent future issues.