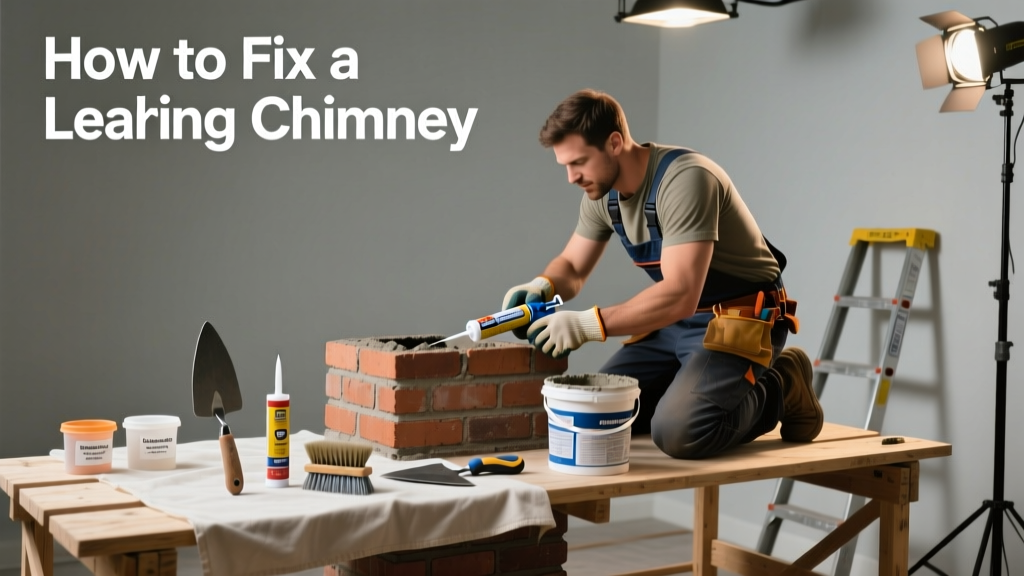
Water dripping down your chimney flue during rain isn’t just annoying—it’s a red flag for structural decay, mold risk, and potential fire hazard. Left unaddressed, even a small leak can rot framing, rust dampers, and compromise your home’s air quality. Most chimney leaks originate from preventable issues—not mysterious ghosts in the flue.
Quick Diagnosis
Before grabbing tools, identify the source. Water rarely enters where you see it. Start at the top and work down:
- Cracked or missing chimney crown (the concrete slab atop the masonry)
- Gaps between the chimney and roof flashing (especially step or counter-flashing)
- Deteriorated mortar joints (spalling or recessed by 1/4" or more)
- Missing or rusted chimney cap or chase cover (for prefab chimneys)
- Blocked or damaged drip edge on the chimney crown
Tools & Materials Needed
| Item | Purpose | Estimated Cost |
|---|---|---|
| Chimney crown repair compound (e.g., CrownSeal or Quikrete Concrete Resurfacer) | Rebuilds cracked or eroded crowns without full replacement | $18–$32 |
| Roofing cement + aluminum flashing tape (UL-listed) | Seals gaps around flashing; withstands thermal expansion better than caulk | $12–$25 |
| Mortar mix (Type N or S) + pointing trowel | Repairs open or crumbling mortar joints (tuckpointing) | $10–$16 |
| Chimney cap (stainless steel, UL 127 rated) | Prevents rain entry, animal intrusion, and downdrafts | $45–$120 |
| Sturdy ladder (24' extension), safety harness, and non-slip boots | Safe access—most chimney leaks occur above roofline | $120–$280 (if not already owned) |
Step-by-Step Fix
Choose the method based on your diagnosis. Don’t skip inspection—applying sealant over cracked mortar won’t last.
- Repair the chimney crown: Clean debris, chisel out loose concrete, dampen surface, apply bonding agent, then trowel on resurfacer (minimum 1/2" thick). Slope edges downward 1/4" per foot for runoff.
- Re-seal flashing: Remove old caulk or tar. Slide new step flashing under shingles (not over), overlap each piece like shingles, and bed base in roofing cement. Seal seams with aluminum tape—not silicone.
- Tuckpoint mortar joints: Rake out deteriorated mortar to 3/4" depth using a carbide grout saw. Dampen brick, pack in fresh mortar with a pointing trowel, and strike flush. Cure 48 hours before rain exposure.
- Install or replace chimney cap: Measure flue opening precisely. Secure with stainless steel screws into the flue tile (not mortar). Ensure 5" clearance from flue top and no interference with draft.
When to Call a Pro
DIY works for surface-level issues—but stop if you spot any of these:
- Vertical cracks wider than 1/8" in the chimney structure (sign of foundation settlement or seismic stress)
- Spalling bricks below the roofline (indicates prolonged water saturation—masonry may need partial rebuild)
- Leak persists after three separate repairs (likely hidden internal liner breach or concealed flashing failure)
- No access to roof or comfort working at heights—CSA-certified chimney sweeps charge $150–$350 for full inspection and targeted repair
"Over 68% of chimney-related water damage stems from failed flashing—not the flue liner," states the Chimney Safety Institute of America's 2022 Field Survey Report.
Prevention Tips
Annual maintenance beats emergency repair. Here’s what actually works:
- Inspect crown and flashing every fall—before winter rains and freeze-thaw cycles begin
- Install a stainless steel chimney cap with mesh sides (prevents nesting and allows airflow)
- Trim overhanging branches—sap and debris accelerate crown erosion and clog gutters near chimney
- Apply breathable masonry sealer (e.g., Siloxane-based) every 5 years—never film-forming acrylics, which trap moisture
Can I use regular caulk around my chimney flashing?
No. Standard silicone or latex caulk shrinks, cracks, and loses adhesion under UV exposure and temperature swings. Use only UL-listed aluminum flashing tape or high-temp roofing cement designed for metal-to-masonry transitions.
Will sealing the bricks stop my chimney from leaking?
Not if the leak originates above—like a cracked crown or faulty cap. Sealing brick is only effective for minor efflorescence or surface absorption. It won’t redirect water entering at the roofline or through mortar joints.
How long does a DIY chimney crown repair last?
A properly executed crown repair with bonding agent and correct slope lasts 10–15 years. Skipping the slope or using thin-set mortar instead of resurfacer cuts lifespan in half—water pools and freezes, accelerating spalling.
Is a leaking chimney dangerous beyond water damage?
Yes. Moisture corrodes metal damper mechanisms and flue liners. According to the U.S. EPA, damp chimneys increase creosote condensation by up to 40%, raising the risk of chimney fires. Plus, persistent dampness encourages Aspergillus mold growth inside flues—detectable by musty odors even when fireplace is unused.
Do I need a permit to repair my chimney crown?
Most municipalities don’t require permits for crown resurfacing or flashing repairs—only for structural rebuilds or liner replacements. Still, check with your local building department; some counties (e.g., Cook County, IL) mandate inspections for any masonry work above 10 feet.
Can I fix this in rainy weather?
Avoid all repairs during active rain or when surfaces are wet. Mortar won’t bond, sealants won’t cure, and resurfacer will blister. Wait for 48 hours of dry forecast—and ensure overnight humidity stays below 80% for proper curing.
A well-maintained chimney should shed water like a duck’s back—not channel it into your attic or living room. Most leaks aren’t emergencies, but they’re never ‘just a little drip.’ Catch them early, match the fix to the cause, and remember: that puddle on your hearth is your chimney’s way of asking for help. For deeper issues, explore our guide on chimney inspection checklist or flue liner replacement costs before winter sets in.