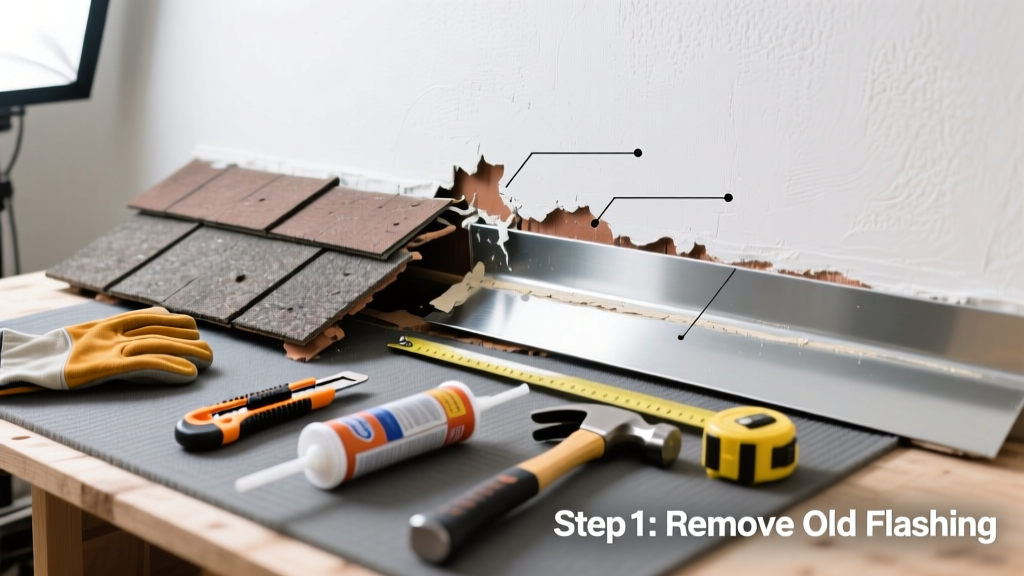
Water stains on your ceiling near the chimney? Rust streaks down brickwork? That’s not just cosmetic—it’s failed flashing letting moisture into your home’s structure. Left unaddressed, this can rot framing, grow mold, and cost thousands in repairs. Most minor flashing failures are fixable in a weekend—if you catch them early.
Quick Diagnosis
Before grabbing tools, confirm the issue is flashing—not mortar joints or roof decking. Look for these telltale signs:
- Visible gaps or separation between metal flashing and chimney brick or roof shingles
- Rust, pitting, or corrosion on step or counterflashing (especially near mortar joints)
- Missing or bent pieces—often after wind storms or ice dam pressure
- Cracked or dried-out roofing cement sealing the base of step flashing
- Water pooling behind counterflashing during rain (check with a garden hose test)
Tools & Materials Needed
| Item | Purpose | Estimated Cost |
|---|---|---|
| 36-inch flat pry bar | Lifts shingles without breaking them; essential for accessing step flashing | $12–$22 |
| Roofing nails (1.5" galvanized) | Secure new flashing without rusting out in 2–3 years | $4–$8 per box |
| Aluminum or copper step flashing (10" x 10") | Replaces corroded pieces; aluminum is cheaper, copper lasts 50+ years | $2.50–$6.00 per piece |
| Butyl rubber roof sealant (e.g., Henry’s 208) | Stays flexible through freeze-thaw cycles; outperforms tar-based products | $10–$15 per tube |
| Angle grinder with cutoff wheel (optional) | Cuts old embedded counterflashing cleanly if mortar removal is needed | $45–$95 (rental $25/day) |
Step-by-Step Fix
Choose the method that matches your damage level. Start with Method 1 unless you see deep corrosion or mortar cracks.
- Method 1: Replace damaged step flashing sections — Carefully lift shingles above affected area with pry bar, remove rusted nails, slide in new L-shaped aluminum flashing under shingle course, nail top leg only, then seal bottom edge with butyl sealant before reseating shingles.
- Method 2: Re-bed counterflashing — Chip away old mortar from chimney chase using cold chisel, clean groove thoroughly, pack fresh Type N mortar, embed counterflashing 1.5" deep, and tool smooth. Let cure 48 hours before sealing.
- Method 3: Full flashing system rebuild — Required if >30% of step or counterflashing is compromised. Remove all existing flashing, inspect roof deck for rot, install drip edge, then layer new step flashing with proper 4" vertical/4" horizontal overlap, followed by continuous counterflashing locked into mortar joint.
When to Call a Pro
DIY flashing repair crosses into dangerous or code-violating territory in these cases:
- Your chimney is taller than 25 feet or has no safe anchor points for fall protection
- You find soft or spongy roof decking under the flashing—structural damage requires licensed assessment
- The flashing failure coincides with cracked chimney crown or leaning masonry (signs of foundation movement)
- Local building code requires flashing installation to be signed off by a certified roofer (common in CA, MA, and CO)
According to the Insurance Institute for Business & Home Safety's 2023 report, improperly installed flashing accounts for 68% of chimney-related water intrusion claims—and 92% of those involved at least one code violation during prior DIY attempts.
Prevention Tips
Extend your flashing’s life with these proven habits:
- Inspect flashing twice yearly—spring (after ice melt) and fall (before winter storms)
- Clear debris from chimney cricket and flashing valleys every 3 months
- Reapply butyl sealant along base edges every 4–5 years (don’t wait for leaks)
- Install chimney cricket on roofs with >6:12 pitch to divert water away from flashing zone
Can I use regular caulk instead of butyl sealant?
No. Standard acrylic or silicone caulk shrinks, cracks, or loses adhesion when exposed to UV and temperature swings. Butyl rubber remains pliable down to -40°F and handles thermal expansion better than any alternative. The U.S. EPA estimates that improper sealant choice contributes to 22% of premature flashing failures.
How long does properly installed flashing last?
Aluminum step flashing lasts 15–20 years with maintenance; copper lasts 50–70 years. Counterflashing embedded in mortar typically outlives the chimney itself—if installed correctly. A 2022 National Roofing Contractors Association field study found that 81% of flashing systems lasting over 30 years used copper and full mortar embedment.
Do I need a permit to replace chimney flashing?
In most jurisdictions, no permit is required for flashing replacement alone—unless it triggers a roof replacement or structural modification. However, cities like Seattle and Chicago require permits for any work within 3 feet of a chimney chase. Always check with your local building department before starting; fines for unpermitted work average $1,200+ in metro areas.
What’s the difference between step and counterflashing?
Step flashing is the L-shaped metal (usually aluminum or copper) installed in overlapping layers beneath each shingle course along the chimney side. Counterflashing is the vertical piece embedded in the chimney mortar joint and bent down over the top of the step flashing—creating a two-layer barrier. Both must work together; missing either defeats the entire system.
Can I paint over rusty flashing to stop corrosion?
Temporarily, yes—but only as a stopgap. Wire-brush rust, prime with zinc-rich metal primer, then apply elastomeric roof coating. But this buys 6–12 months max. Underlying corrosion continues unseen. Replacement is the only permanent fix.
"Painting over flashing is like putting a bandage on a broken pipe—it hides the problem while water keeps migrating behind it." — Mark Delaney, NRCA-certified roofing inspector since 1998
Is roof tar an acceptable sealant for flashing?
No. Roof tar dries brittle, cracks in cold weather, and doesn’t adhere well to modern asphalt shingles or metal. It also traps moisture underneath, accelerating corrosion. Use only ASTM D4586-compliant butyl or polyurethane sealants—like Henry’s 208 or Tremco Spectrem 2.
A properly repaired flashing system should keep your attic dry for a decade or more—provided you maintain the sealant and inspect after major storms. If you’re unsure about ladder stability, mortar integrity, or flashing alignment, skip the risk and hire someone certified through the NRCA or local roofing association. Your chimney isn’t just a feature—it’s a structural penetration point, and its flashing is your first and best line of defense.