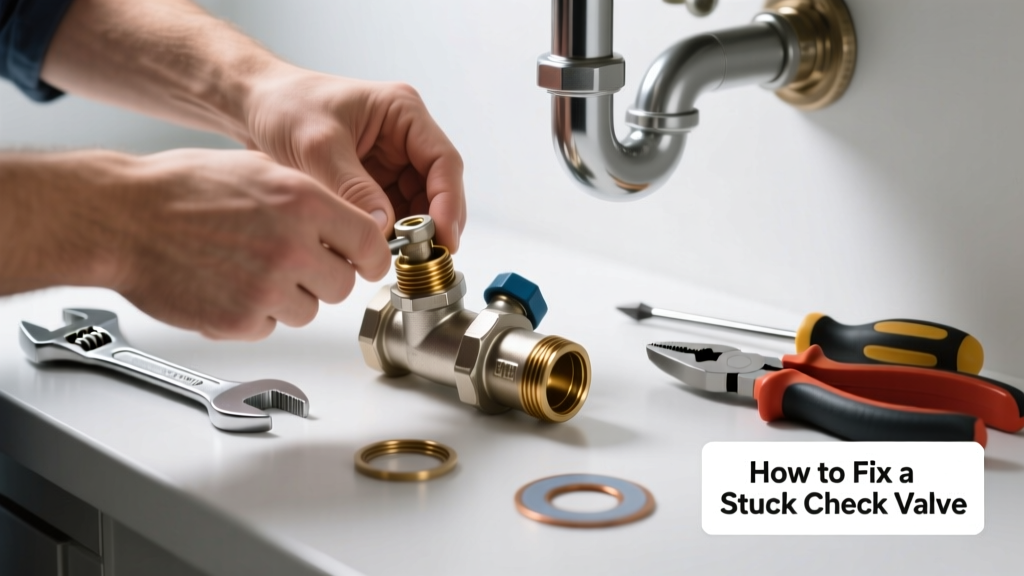
A stuck check valve can silently sabotage your plumbing—causing backflow, reduced water pressure, or even sewage odors in sinks or laundry rooms. If your sump pump runs constantly, your washing machine drains sluggishly, or you hear gurgling from floor drains, the culprit may be a seized check valve. This repair is often simpler than it sounds—but timing and technique matter.
Quick Diagnosis
Before grabbing tools, confirm the issue isn’t misdiagnosed. A stuck check valve typically shows these signs:
- Water backing up into fixtures when another appliance drains
- Sump pump cycling on without rising water levels
- Visible corrosion or mineral buildup around the valve body
- No audible 'click' when water flow stops (a working valve seals with a distinct sound)
- Leakage at the valve’s threaded joints despite tight connections
Tools & Materials Needed
| Item | Purpose | Estimated Cost |
|---|---|---|
| Adjustable wrench (10-inch) | Grips and loosens brass or PVC check valve unions without marring threads | $12–$25 |
| Vinegar (white, 5% acetic acid) | Dissolves calcium carbonate scale that commonly jams flapper mechanisms | $3–$5 |
| Small wire brush (brass or nylon) | Cleans internal hinge pins and sealing surfaces without scratching | $4–$8 |
| Replacement check valve (PVC or brass, same size) | Required if internal parts are pitted or cracked—never reuse a damaged valve | $8–$32 |
| Teflon tape (PTFE) | Ensures leak-free reassembly on threaded connections | $2–$4 |
Step-by-Step Fix
Work methodically—and always shut off water supply and relieve line pressure before starting. For sump pump check valves, unplug the pump first.
- Isolate and drain: Shut off water upstream; open the lowest faucet to drain residual pressure. Place a bucket under the valve.
- Remove the valve: Use an adjustable wrench to loosen both ends. For glued PVC, cut 2 inches of pipe on either side and replace the entire section.
- Inspect and clean: Disassemble the valve (if serviceable). Soak the flapper and spring in vinegar for 20 minutes. Gently scrub hinge points with the wire brush.
- Test movement: Manually lift and release the flapper—it should snap shut smoothly. If sluggish or warped, replace the valve.
- Reinstall with care: Wrap threads with 3–4 layers of Teflon tape, hand-tighten, then snug with wrench—no over-torquing. Test with slow water reintroduction.
When to Call a Pro
Some scenarios demand licensed expertise—not just for safety, but code compliance:
- The valve is soldered into a copper main line behind drywall or under concrete slab
- You detect sewer gas odor after opening the valve (indicates potential cross-connection risk)
- Multiple check valves fail within 6 months—points to aggressive water chemistry or system design flaw
- Your home has a backflow prevention assembly required by local ordinance (e.g., in irrigation or fire sprinkler lines)
"Over 60% of premature check valve failures stem from improper installation—not material defects." — ASSE International Standard 1007 Technical Bulletin, 2022
Prevention Tips
Extend valve life with simple habits:
- Install a whole-house sediment filter if your water has >3 ppm iron or hardness >12 gpg
- Flush sump pump discharge lines quarterly using a garden hose and vinegar solution
- Replace rubber flappers every 3 years—even if they appear intact (they degrade internally)
- Use brass or stainless steel valves in hot-water recirculation lines (PVC softens above 140°F)
Can I use bleach to clean a stuck check valve?
No. Bleach accelerates corrosion of brass springs and degrades EPDM rubber flappers. Vinegar or citric acid solutions are safer and more effective for mineral deposits. If organic slime is present, a diluted hydrogen peroxide soak (3%) works better than chlorine-based cleaners.
Why does my check valve stick only in winter?
Cold temperatures thicken lubricants inside older valves and cause minor pipe contraction, misaligning flapper seats. Also, frozen condensation in vent lines can create negative pressure that holds the flapper open. Insulate exposed discharge pipes and verify vent stacks are clear of ice.
Is it okay to bypass the check valve temporarily?
Never. Bypassing creates backflow risk—especially dangerous in sump systems where groundwater could flood your basement, or in irrigation lines where fertilizers might contaminate potable water. The U.S. EPA estimates that 14% of household water usage is from leaks—including those caused by failed backflow devices (EPA WaterSense Report, 2023).
Do all sump pumps need a check valve?
Yes—unless your pump is installed in a sealed, pressurized system with built-in anti-siphon features (rare in residential setups). Without one, water drains back into the pit after each cycle, forcing the pump to restart repeatedly—a leading cause of motor burnout.
Can a stuck check valve cause high water bills?
Indirectly—yes. A leaking or stuck-open valve allows constant back-siphoning, which may trigger continuous pump operation or pressure tank cycling. That extra runtime increases electricity use and wears components faster. Monitor your meter overnight with all water off—if it moves, investigate further.
What’s the difference between a swing check and a spring-loaded check valve?
Swing checks rely on gravity and flow direction: a hinged disc swings open/closed. They’re common in horizontal runs but prone to sticking if installed vertically. Spring-loaded types use tension to seal instantly—even with low flow—and work reliably in any orientation. Choose spring-loaded for sump discharge or vertical risers.
Fixing a stuck check valve restores system integrity and prevents cascading issues like pump failure or cross-contamination. Most repairs take under 45 minutes with basic tools—and catching it early avoids emergency calls. If you’ve replaced the valve twice in one year, consider upgrading to a water hardness test or consulting a plumber about installing a whole-house sediment filter. Small interventions now pay off in reliability and longevity.