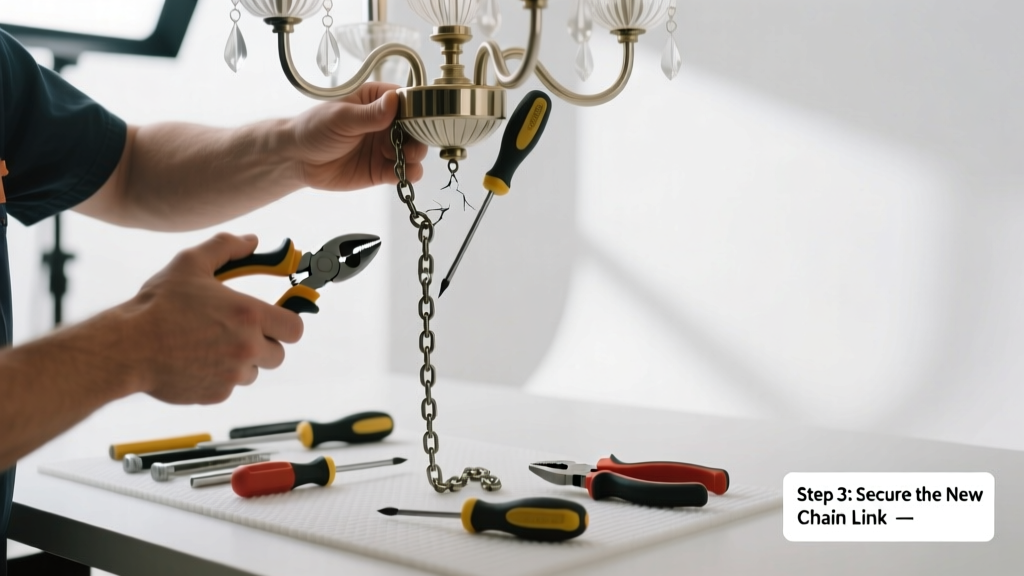
You glance up—and there it is: your dining room chandelier tilted at an alarming angle, chain snapped mid-air, or dangling by a single link. A broken chandelier chain isn’t just unsightly—it’s a safety hazard and a sign of wear you can’t ignore. The good news? Most breaks are fixable in under an hour if you act carefully and methodically.
Quick Diagnosis
Before grabbing tools, identify the root cause. Chandelier chains rarely fail without warning. Here are the most common culprits:
- Corrosion from humidity (especially in bathrooms or kitchens)
- Over-tightening during prior installation or adjustment
- Excess weight—adding heavy crystals or retrofitting LED drivers without reinforcing support
- Age-related metal fatigue (chains older than 15 years lose tensile strength)
- Poor-quality replacement links installed during past repairs
Tools & Materials Needed
| Item | Purpose | Estimated Cost |
|---|---|---|
| Wire cutters (flush-cut) | Cut damaged links cleanly without burrs that snag wires | $8–$15 |
| Needle-nose pliers (insulated handles) | Open/close links safely while maintaining grip on live fixtures | $6–$12 |
| Replacement chain (brass or nickel-plated steel) | Matches original gauge (usually 3/32" or 1/8") and load rating (min. 50 lb) | $12–$28 |
| Voltage tester (non-contact) | Confirms power is off before touching any wiring or mounting hardware | $10–$22 |
| Step ladder (4-ft, Type I duty rating) | Provides stable, safe access without wobbling near ceiling junction boxes | $45–$95 |
Step-by-Step Fix
Always turn off power at the circuit breaker—not just the wall switch—before starting. Verify with your voltage tester.
- Lower and stabilize: Gently lower the chandelier using its existing chain or rope support. If the chain is fully detached, secure the fixture temporarily with a sturdy nylon strap looped over a joist and attached to the canopy bracket.
- Inspect the break point: Look for corrosion, kinks, or flattened links. If more than two adjacent links show pitting or deformation, replace the entire chain segment—not just one link.
- Remove damaged section: Use flush-cut wire cutters to snip out compromised links. File sharp edges smooth with a metal file to prevent fraying of nearby insulation.
- Reconnect or replace: For minor breaks, open a new link with needle-nose pliers, thread through both ends, and close tightly—twisting, not squeezing—to maintain tension integrity. For longer replacements, match the number of links removed and ensure the new chain’s weight rating exceeds the fixture’s total mass (including bulbs).
- Test & rehang: Reattach canopy, restore power, and test operation. Watch for unusual sway or hum—signs of unbalanced hanging or loose connections.
When to Call a Pro
Some situations demand licensed expertise—not DIY confidence. Call an electrician immediately if:
- The chandelier weighs over 35 lbs and the ceiling box isn’t rated for fixture support (only 15% of older homes meet current NEC 314.27(A)(2) standards)
- You see exposed copper wiring, melted insulation, or scorch marks near the canopy or junction box
- The break occurred after recent electrical work—or if the fixture flickers even after chain repair
- Your home has knob-and-tube wiring or aluminum branch circuits (both increase shock risk during repair)
"A single corroded link can reduce overall chain strength by up to 60%. Never reuse old links—even if they look intact." — National Lighting Bureau, Fixture Maintenance Guide (2022)
Prevention Tips
Extend your chandelier’s life and avoid repeat failures with these practical habits:
- Wipe down chains quarterly with a dry microfiber cloth—never damp cloths near electrical components
- Replace incandescent bulbs with lightweight LEDs to reduce thermal expansion stress on metal links
- Check chain tension every 6 months: gently tug upward; movement beyond 1/4" indicates mounting hardware loosening
- Install a ceiling brace kit if upgrading to a heavier fixture—standard plastic octagon boxes aren’t designed for dynamic loads
Can I solder a broken chandelier chain link?
No. Solder creates a brittle joint that fails under vibration and thermal cycling. Chains rely on mechanical interlock—not metallurgical bond—for load transfer. Attempting solder introduces fire risk near wiring and voids UL listing compliance.
Is it safe to hang a chandelier from a drywall anchor?
Never. Drywall anchors cannot support dynamic loads. According to the National Electrical Code (NEC 314.27), all ceiling-mounted luminaires over 6 lbs must be supported by a listed outlet box secured to framing. Use a ceiling box replacement kit anchored directly to a joist.
How do I know what chain gauge my chandelier needs?
Measure the diameter of an undamaged link with calipers—or compare against standard sizes: 3/32" (common for 10–25 lb fixtures), 1/8" (25–50 lb), or 5/32" (heavy-duty commercial). When in doubt, consult the manufacturer’s spec sheet or use a chandelier weight calculator before ordering.
Can I shorten the chain myself without rewiring?
Yes—if the fixture uses a standard loop-and-hook suspension system. Remove links evenly from both sides of the center hook to preserve balance. Avoid cutting near the canopy where strain concentrates. Always recheck ground continuity with a multimeter after adjustments.
Why does my chandelier chain keep breaking in the same spot?
That’s almost always a stress concentration point: either a sharp bend where the chain meets the canopy, a bent link causing uneven load distribution, or friction against a rough-edged mounting plate. File down burrs, add a nylon bushing sleeve, or replace the canopy bracket with a smooth-radius design.
Do LED chandeliers still need chain maintenance?
Absolutely. While LEDs reduce heat-related expansion, they don’t eliminate vibration, humidity corrosion, or gravitational creep. In coastal or high-humidity homes, brass chains still oxidize within 3–5 years—making annual inspection critical. See our guide on LED chandelier maintenance for seasonal checklists.
A repaired chandelier should hang true, operate silently, and hold steady under normal air currents. If it sways more than usual—or if you hear faint metallic ticking when bulbs cycle on—you’ve likely missed a subtle alignment issue or underlying bracket fatigue. Don’t ignore those signals. A few minutes now prevents a crash later—and preserves both your ceiling plaster and your peace of mind.